Adobe Color Themes
Adobe Color Themes
Adobe Photoshop has been serving the role of the best editing application since forever. It gives us many features and effects to put in our document/images. Adobe also has many color themes to make our pictures more attractive and creative.
In this section, we will discuss stealing colors and Adobe color themes with the help of the Hue and Saturation tool.
Following are the steps for using adobe color themes and stealing colors:
STEP 1: Create a New Document
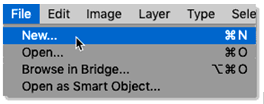
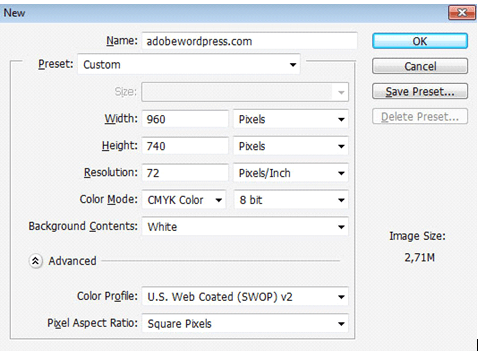
Open Photoshop and navigate to File menu, create a new folder in the top left corner of Photoshop's opening tab, Click on "new". Set your required size of the new document and press "OK". Consider the below image:
STEP 2: Open the File
Now, Open the file in which you want to apply the colors. To do so, go to the File menu and select ‘Open’.As soon as you open the file, the screen will show your image/document in the same size, which you have chosen while creating the document.
STEP 3: Click on the Windows
After opening the file, you have to click on the window option in the upper left side menu bar. Go to the color themes to open the color panel.
STEP 4: Take a Look at the Color Themes
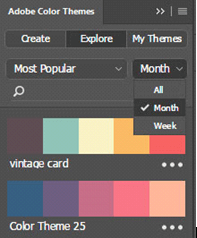
Now, the Adobe Color Themes panel will appear. The Explore tab displays all general color themes. If needed, you can change the color themes by region, or if you're looking for a specific style, you can use the search bar as well. You can make your style, too.
STEP 5: Changes in the Color Theme
Choose the most appropriate color theme for your image file. The next step you have to do is click on the three dots icon to select the best option from the flyout menu of a color theme.
There you will get the following three choices:
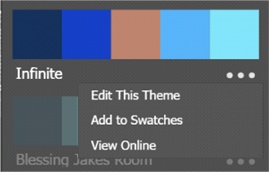
EDIT THIS THEME: This option will open your color theme in the Adobe color Panel's "Create" tab. You can also enhance and work as needed with the colors used in the theme and save them as per your requirements in your Creative Cloud Libraries.
ADD TO SWATCHES: This will save the selected color theme in the Swatches panel of Adobe color themes.
VIEW ONLINE: This will help you to explore the source of your color theme. It will open your color theme in the browser and show you the date of sharing the theme, name of the creator, etc. You are free to edit your theme through the browser as well.
Choose all of them according to your needs.
Step 6: Create and Save The Theme of Color
On the Adobe Color Themes screen, select the Create button. Pick the color rule that you want to set a theme. The color rule choices available are Analog, Monochromatic, Triad, Complementary, Compound, Shades, and Custom. Analogous uses adjacent colors on the color wheel; Monochromatic includes variants of a single color in terms of saturation and brightness.
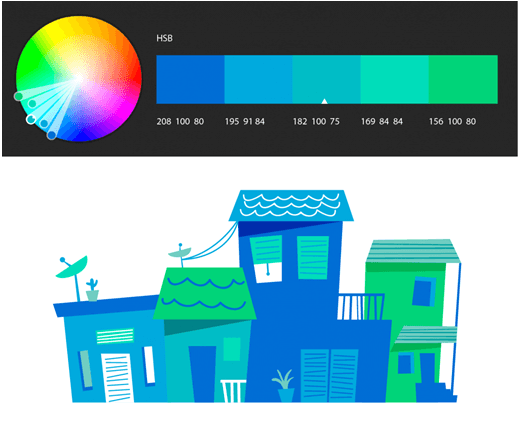
The above image is an example of the Analogous color rule.
STEP 7: Choose a Root Color
Now, select the root color by clicking on the small triangle that matches the color of the theme that you are changing. Based on the chosen color law, a color theme will be built around the base color.
(Optional) When arranging your color theme, you can select one of the following choices:
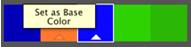
i) To add the active color from the Illustrator workspace to your color theme, press the "Set Selected Color" button on the Active Color icon.
ii) To apply your color theme to the Swatches screen, press the "Apply to Swatches" button.
STEP 8: Press the Save Button
Once you are satisfied with the created theme, you can save it. To save the theme, pick the creative cloud file and then click on the SAVE button.
STEP 9: Open the My Themes
In the Adobe Color Themes panel, click on the My Themes tab. You may also choose a selection of orders for themes; For example, ascending or descending, by date, by name, or by quantity. Select the theme which you want to use and click on apply.
STEP 10- Hue And Saturation (Optional)
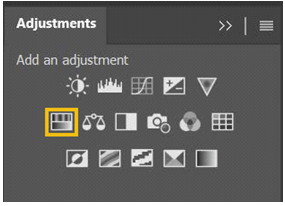
With the "hue and saturation" feature, you can change the hue, saturation, and lightness of the range of colors in a picture. To use it, navigate to Layer > New Adjustment Layer > Hue / Saturation menu.
Click on the Hue and Saturation icon given below.
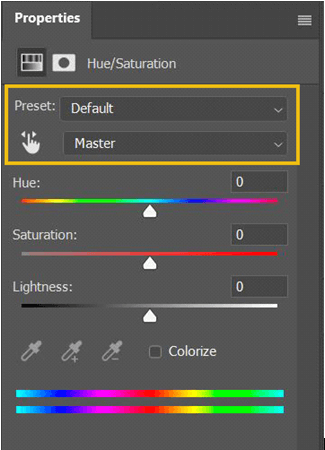
The dialogue box will appear with three sliders to change Hue, Saturation, and Lightness. Move the sliders to left or right according to your preference to adjust the various colors in your image.
STEP 10: Click on Save
If you are happy with the color theme and saturations applied to your image file, save it. Your image is still editable. You can add several other effects to it using Photoshop.