Create a project on Eclipse using Gradle
Following are the steps used to create a project on eclipse.
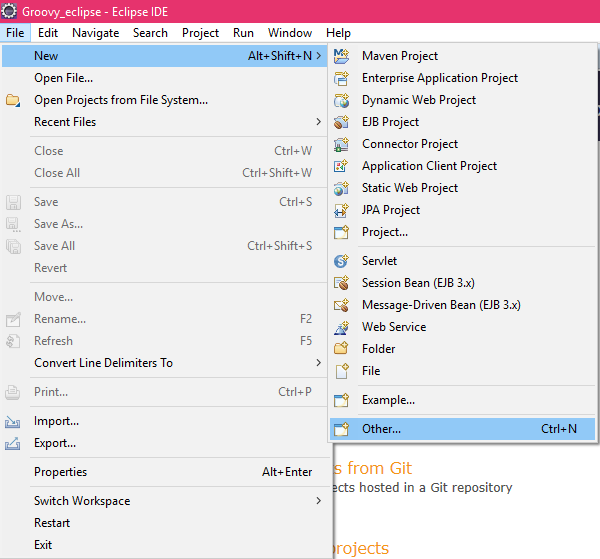
1) Click on File, then on New and then select Other... option.
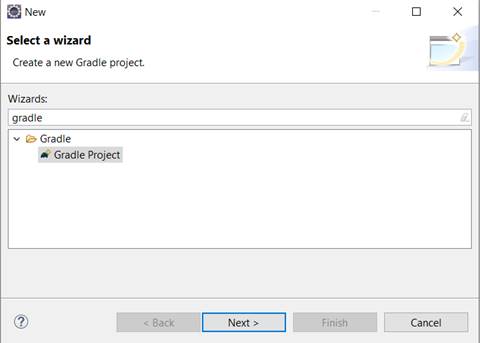
2) Now search for the Gradle and select Gradle project and click on Next.
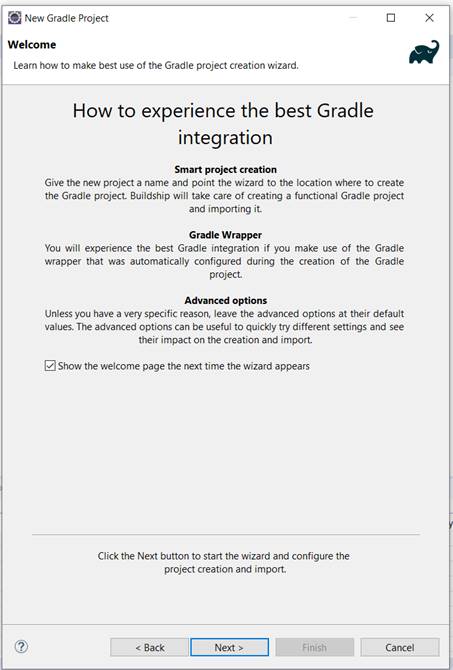
3) A new Gradle project window will appear, click on the Next button.
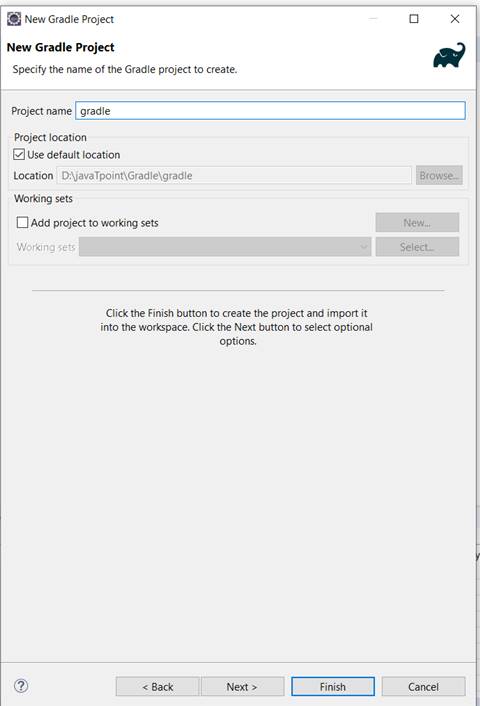
4) Give project name and click on Next button.
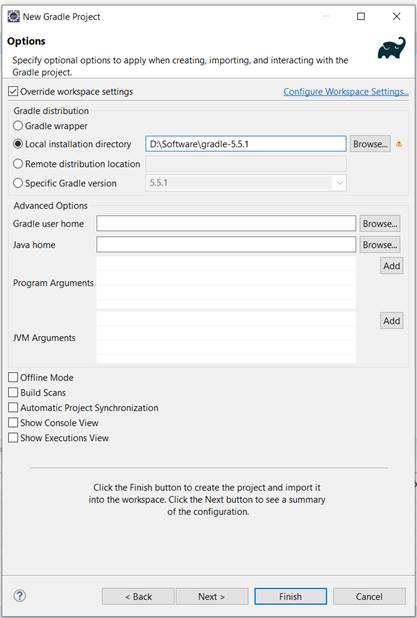
5) Now click on Override workspace settings and then select Local installation directory and paste the path of the gradle folder where it is installed and then click on Next button
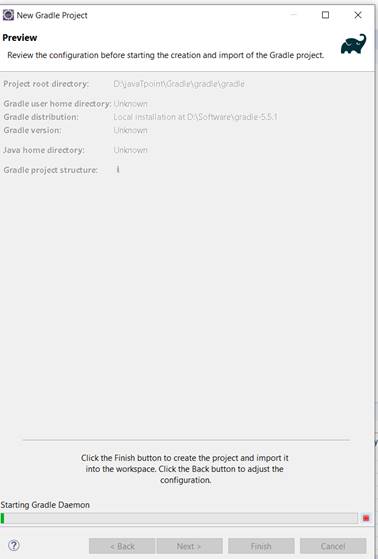
6) Now click on the Finish button.
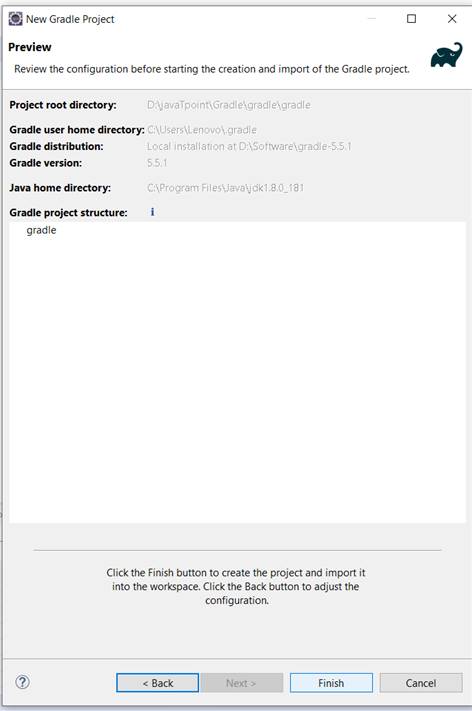
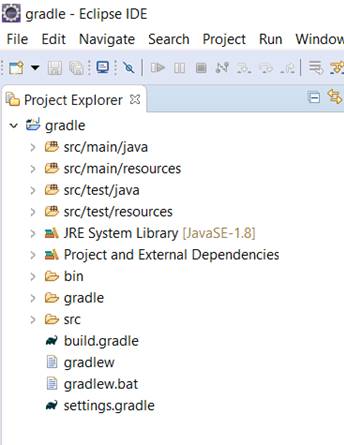
7) Finally, the Gradle project is created.