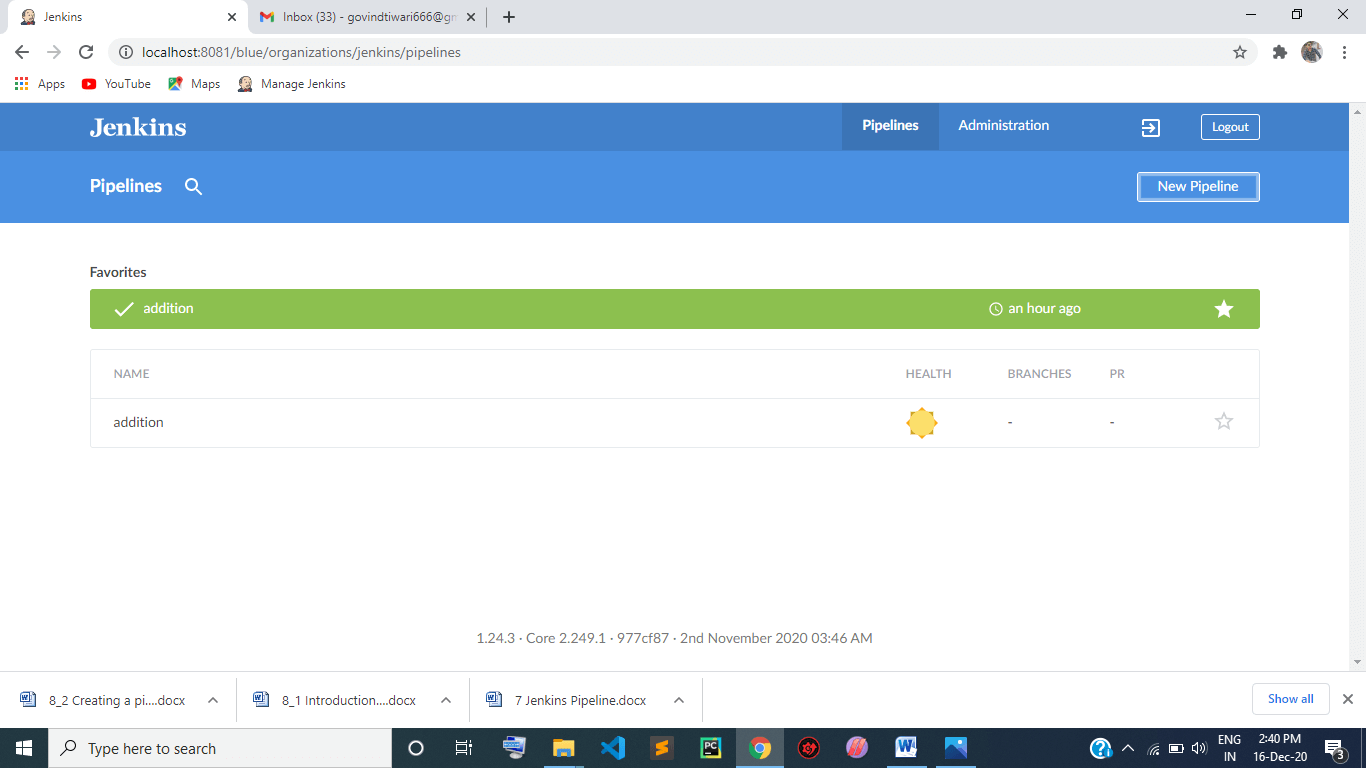
Creating a pipeline using Blue Ocean - Jenkins
Creating a pipeline using Blue Ocean: You can create the pipeline by using the Jenkins file, but creating a Jenkins pipeline by using the Blue Ocean is easy. Blue Ocean pipeline editor makes it easier. If you are familiar with CI and CD concept, this will be easier for you. Creating a pipeline will take 30 to 40 minutes if you have a properly working system and a good network connection.
Pre-requirements:
Before creating your pipeline, you have to fulfill some requirements of the Blue Ocean. These requirements are:
- A windows, Linux or MacOS system with:
- RAM: minimum 256 MB (512 MB is recommended)
- ROM: Minimum 10 GB from your selected drive.
- You have pre-installed java in your system. The version required: JDK - 8
Follow the given steps to create your pipeline using Blue Ocean:
It is easy to create The Jenkins pipeline in the Blue Ocean. You can easily create scripted and declarative pipelines by clicking on the "new pipeline" option available in The Blue Ocean's dashboard.
It requires login details, GitHub account details and coding skills for creating a pipeline. It will give you the options under the section "Where do you store the code?"
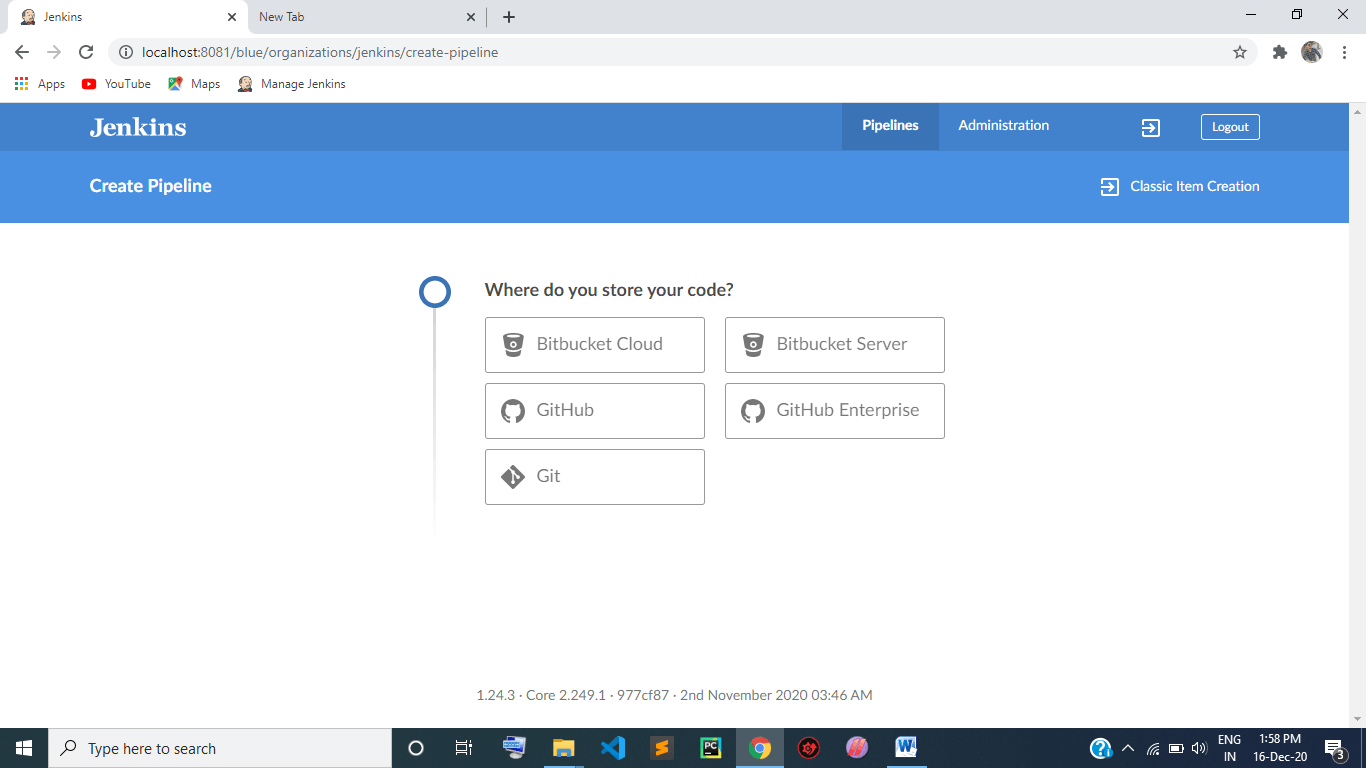
The options are:
- Standard Git repository
- Repository on GitHub or GitHub Enterprise
- Bitbucket Server or Bitbucket Cloud
Standard Git repository
If you choose the standard Git repository, click on the "Git" button given in the section and provide the repository URL. There are two types of repositories:
Local repository
OR
Remote repository
Local repository:
Local repository means your file or data is stored in your system directories. If you store your pipeline code in the local directory, you need to provide that directory path in the Repository URL section. This directory path will always start with the forward slash. For example:
/home/javatpoint/git repository/FILE_NAME.git
Blue Ocean scans the given Jenkins file in your local repository and starts the Pipeline run for every branch with a Jenkins file. If it doesn't find any Jenkins file, then Blue Ocean allows you to create one by using pipeline editor.
Using the local directories is a little difficult compared to remote directories because local directories have limited access. They can be seen only from the master node. Repositories path names are also complicated, especially windows user repository names.
Now, you can move on for further steps.
Remote repository:
It is the recommended repository for the Blue Ocean pipeline process. It uses the SSH protocol to access the .git file from the remote repositories. You can write your URL in 2 ways:
ssh://user@host/path_to_git_file
OR
user@host:path_to_git_file
Here, user >> it is your Git account
host >> it is your Git server URL
path_to_git_file >> here provide the path of your .git file
In the remote repository, it is mandatory to use the SSH protocol. Blue Ocean will give you a public and private key. The Blue Ocean automatically generates this key. These keys will be automatically submitted in the Jenkins server with their identification like Name, ID and Domain. You need to check that these identifications of keys are successfully registered with your Git server or not before starting the process. If this process is done, then go with the following steps:
- You need to configure the SSH public key component; you can do this easily with the copy and paste from the Blue Ocean UI. This process allows you to access your Git repository.
- After completing this setup, go back to your Blue Ocean UI.
Now, you can move on for further options.
- After specifying your repository, click on the "Create Pipeline" button.
Repository on GitHub:
If you want to make your repository on GitHub, you need to click on the "GitHub" option. You can create your pipeline project here without any restrictions, and you can directly store them on the GitHub repository. You need to follow the given instruction to create a successful and direct connection with the GitHub repository for your pipeline project. The instructions are given below:
- When you click on the GitHub option, it will take you to the news section. This section's name is "Connect to GitHub." Here it will ask you to provide your GitHub access token.
Note: If you have done this before, then Blue Ocean doesn't require the GitHub access token; it will directly ask you to choose your GitHub account and move for further options. If you are not creating your pipeline project for the first time, for direct association with the GitHub repository by using Blue Ocean, you don't need any access token. This access token is required only for the first time in establishing a direct connection with the GitHub repository.
- Type the GitHub access token into the "Your GitHub access token" field and click on the "Connect" button to proceed.
- If you do not have an access token, then you need to create your access token. Click on the "Create an access key here" hyperlink text to create the token.
Create a GitHub access token:
Normally a GitHub access token is a string of alphanumeric characters. This token represents your GitHub account, and it permits you to access several features of GitHub through your GitHub account.
When you create your GitHub access token, it will also have some pre-selected and appropriate permissions regarding the Blue Ocean. These permissions will help Blue Ocean in accessing and interacting with your GitHub account.
You can create the GitHub access token only from GitHub. Blue Ocean provides you the link to move on the GitHub page. When you click on the hyperlink text, it will take you to the New Personal access token page, and this is a GitHub page. Here you will create your access token, now follow the given steps to create it:
- Sign in with your GitHub account (optionally).
- Give a brief description of your GitHub access token on the "New personal access token" page.
- Scroll down your page and go at the end of it.
- There will be a "Generate token" button at the end of the page; click on it.
- It will redirect you to the "Personal access token" page. Here your new generated access token is available, now copy your GitHub access token.
- Go back to the Blue Ocean page from where you left and paste this newly generated access token into the "Your GitHub access token" field.
- Now click on the "Connect" button for further options.
Choose your GitHub account and repository
After clicking on the connect button, we have two options. The 1st one is: Blue Ocean asks you to choose your GitHub account, and the 2nd one is: Blue Ocean asks you to provide the information about your organization, for which you work as an employee.
Then it will ask about the repository. This repository has a .git file from which your pipeline project will build. If this repository is from your GitHub account, it will directly ask for the file's name and root to access it. And in 2nd case, if your repository belongs to your organization, then it will ask for some more details about it. The details are:
- It will take you to the new section, i.e., "Which organization does the repository belong to?" Here click on
- 1st option is to create the pipeline project with your repository; provide your own GitHub account details.
- 2nd option is to provide the details of your Organization's GitHub account.
- Now it will take you to the "Choose a repository" section. Here click on the repository on which you want to build your pipeline project. If your repository list is very large, you can use the search field to filter your repository.
- After completing all the above steps, here you come to this final step. Here click on the "Create Pipeline" button to start building your pipeline project.
Repository on a Bitbucket Server:
If you want to create your pipeline project with Git or with an unstable repository, then you need to click on the "Bitbucket Cloud" option under the section "Where do you store your code?"
- When you click on the Bitbucket cloud, this will move you to the "Connect to Bitbucket" section. Here it will ask for your user name and password. Provide your email ID and password of your Bitbucket account.
Note: If you have done this before with the Blue Ocean, you don't need to worry. Blue Ocean will automatically access your ID to make the repository. Blue Ocean will skip the "connect to Bitbucket" section; it will redirect you directly to the "Choosing your Bitbucket account/team and repository" section.
When you enter your ID and password in the User name and Password field, respectively; Jenkins will register the user information with the following details:
- Domain
- ID
- Password
- ID
- After providing the user name and password, click on the "Connect" button. Now the Jenkins user can access your Bitbucket account and will take you for further options.
- Choose your Bitbucket account and repository: After clicking on the connect button, we have two options. The 1st one is: Blue Ocean asks you to choose your Bitbucket account, and the 2nd one is: Blue Ocean asks you to provide the information about your organization, for which you work as an employee.
Then it will ask about the repository. This repository has a .git file from which your pipeline project will build. If this repository is from your Bitbucket account, it will directly ask for the file's name and root to access it. And in 2nd case, if your repository belongs to your organization, then it will ask for some more details about it. The details are:
- It will take you to the new section, i.e., "Which organization does the repository belong to?" Here click on
- 1st option is to create the pipeline project with your repository; provide your own Bitbucket account details.
- 2nd option is to provide the details of your Organization's Bitbucket account.
- Now it will take you to the "Choose a repository" section. Here click on the repository on which you want to build your pipeline project. If your repository list is very large, you can use the search field to filter your repository.
- After completing all the above steps, here you come to this final step. Here click on the "Create Pipeline" button to start building your pipeline project.
Jenkins created a multi-branch pipeline project through the Blue Ocean. So your pipeline project is a multi-branch pipeline project; therefore, it becomes necessary that there will be at least one Jenkins file available in any branch of your repository.