First test case of Selenium-IDE
First Test Case of Selenium-IDE:
In this part, we are discussing how to create a basic test case in Selenium-IDE:
The entire test script execution process in Selenium -IDE can be divided into the following steps:
- Recording (record the user interactions with the browser)
- Playing back (executing the recorded script)
- Save the test case suite
- Export the test script
Now, we will look into the implementation of the above three steps.
Recording:
- Launch the Firefox browser.
- Click on the Selenium icon, which was present on the top right corner of the Firefox browser.
- The browser will launch the default interface of Selenium-IDE, and asking you to create a project.
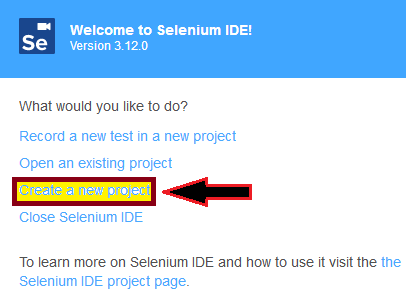
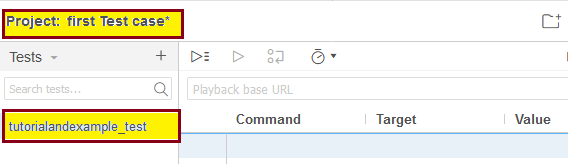
- Give a project name, e.g., first_test_case
- Give a test name, e.g.-tutorialandexample_test.
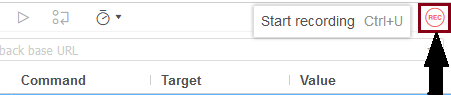
- Click on the Start Recording Button, which is present at the top right corner on the Selenium-IDE interface.
- After click on the start recording button, one pop-up window will be shown where you have to give a base URL. e.g., https://www.google.com/ and again click on the start recording button.

- It will redirect you to the Google search page, where you can type tutorial and example.com and click on the first link.
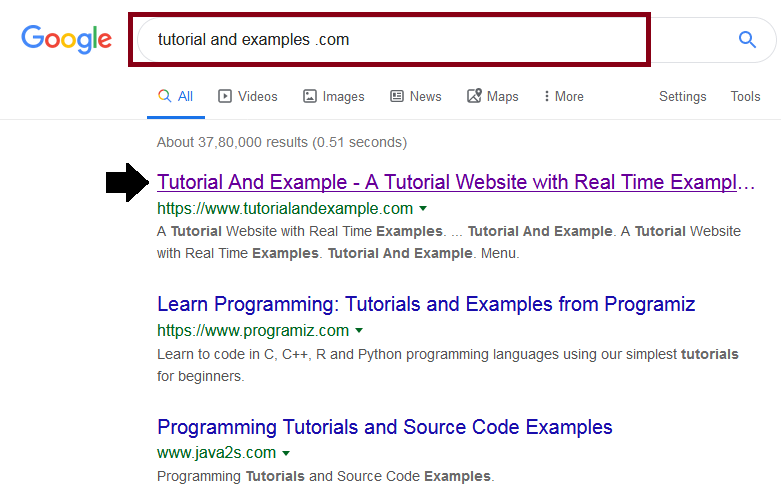
- It will redirect to the home page of tutorial and examples .com.
- Go to selenium –IDE and click on the stop recording button, it will stop your action with browser immediately.
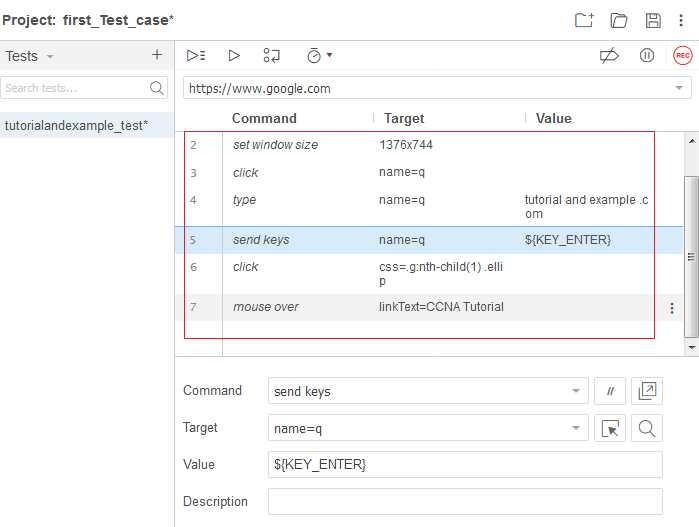
- And the text editor box has recorded all the action performs on the browser.
Now, we are going to the next step, which includes executing the recorded script.
Playing Back:
- Click on Run Current test button, which is present on the toolbar menu of the Selenium-IDE.
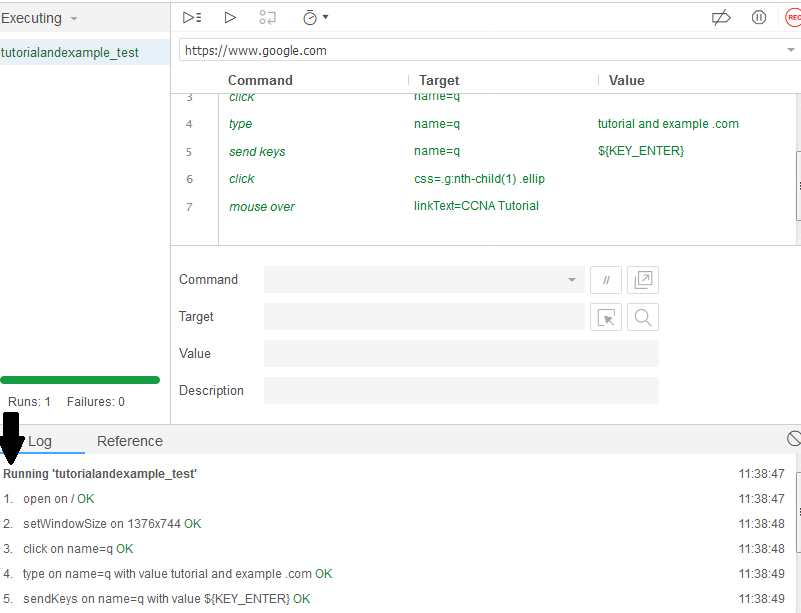
- It will execute all the interactions with the browser and gives you an overall summary of the completed test scripts.
- Executed test scripts summary will be displayed on the log pane.
Now, we are coming to our next segment, where we can learn about how we can save the project.
Save Project:
- Click on the save project button present on the extreme right corner of the menu bar.
- Save the test case suite as First_Test_case.
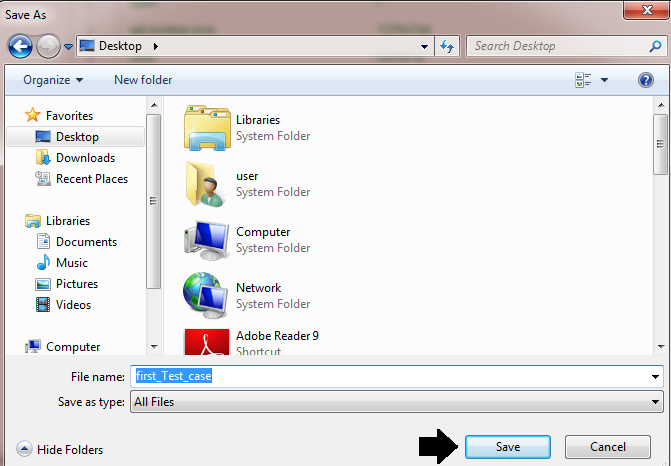
- The test case suite can be found at the location provided in the above steps. Notice that the test script saved as .side format.

Export Test Script
There is no export option in the latest version of Selenium IDE because there is no file menu present in the IDE interface.
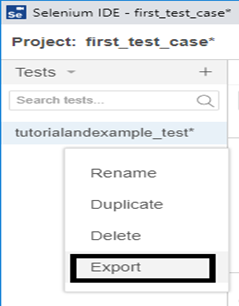
But it is available in the test suit box which is shown in the below snapshot:
To export our test case in different languages in selenium ide, follow below steps:
For our better understating that how we export our test script in a different language, we are considering the above example
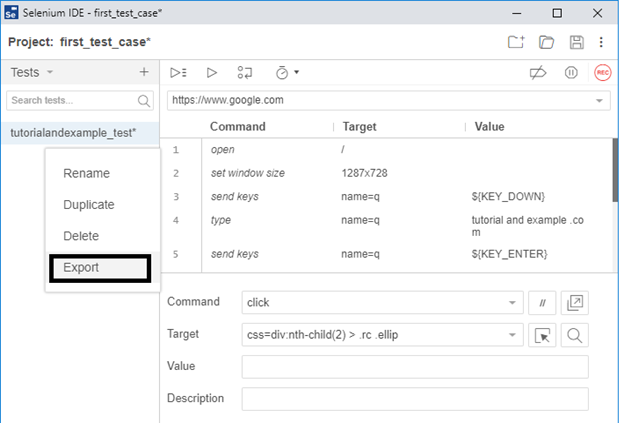
- First right click on the existing test case tutorialandexample_test and click on the export button.
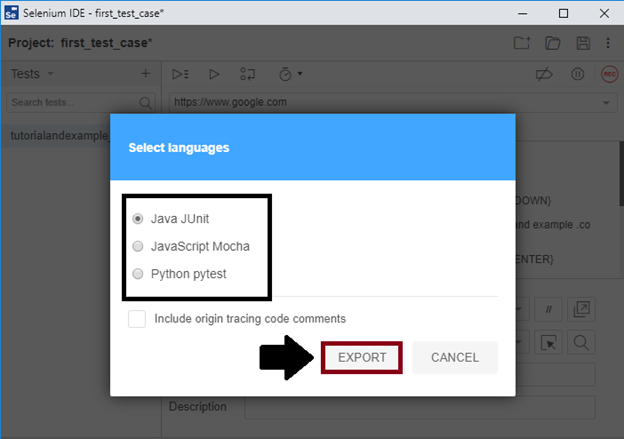
- After click on the export button, one pop-up window will be opened and ask you to select one of the programming languages.
- Select one of the options and click on the export button.
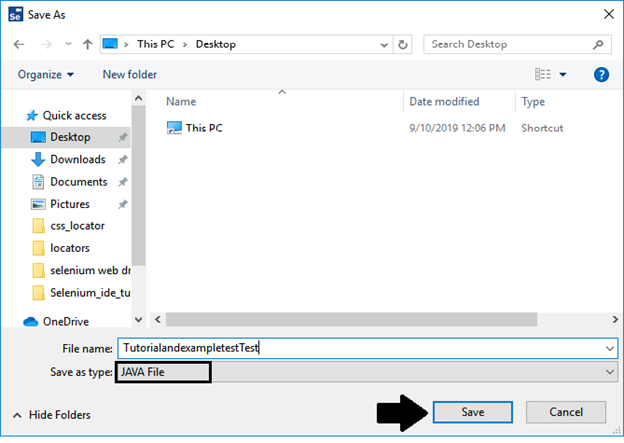
- Export your test case file in your local system and save it with a particular name.
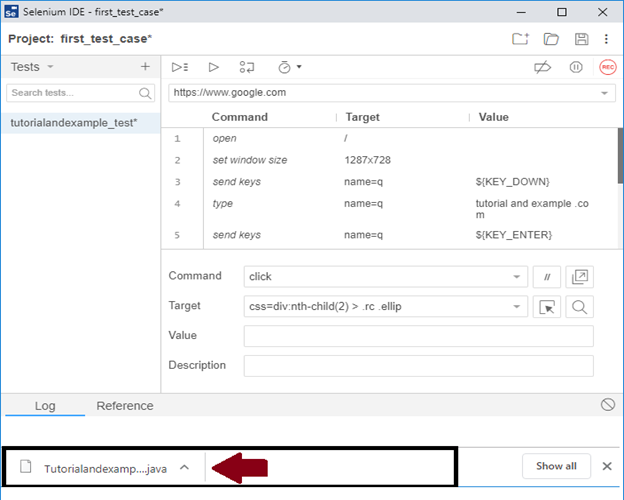
- After saving the exported file in our local system, we will open that file. You can open that exported file, go to your Selenium IDE interface and click on the particular file.
- When we click on the saved file, one pop-up window will appear and ask you to open your file in a different text editor.
- Select one of the text editors and click on the ok button.
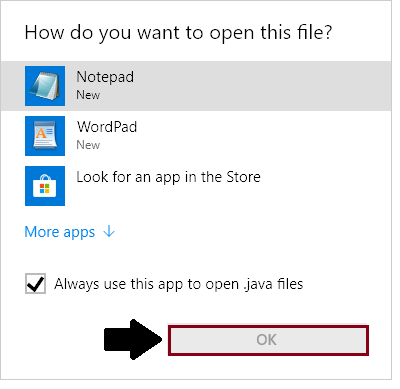
- Your test script will look like this in java language.
// Generated by Selenium IDE
import org.junit.Test;
import org.junit.Before;
import org.junit.After;
import static org.junit.Assert.*;
import static org.hamcrest.CoreMatchers.is;
import static org.hamcrest.core.IsNot.not;
import org.openqa.selenium.By;
import org.openqa.selenium.WebDriver;
import org.openqa.selenium.firefox.FirefoxDriver;
import org.openqa.selenium.chrome.ChromeDriver;
import org.openqa.selenium.Dimension;
import org.openqa.selenium.WebElement;
import org.openqa.selenium.interactions.Actions;
import org.openqa.selenium.support.ui.ExpectedConditions;
import org.openqa.selenium.support.ui.WebDriverWait;
import org.openqa.selenium.JavascriptExecutor;
import org.openqa.selenium.Alert;
import org.openqa.selenium.Keys;
import java.util.*;
public class TutorialandexampletestTest {
 private WebDriver driver;
 private Map vars;
 JavascriptExecutor js;
 @Before
 public void setUp() {
 driver = new ChromeDriver();
 js = (JavascriptExecutor) driver;
 vars = new HashMap();
 }
 @After
 public void tearDown() {
 driver.quit();
 }
 @Test
 public void tutorialandexampletest() {
 driver.get("https://www.google.com/");
 driver.manage().window().setSize(new Dimension(1287, 728));
 driver.findElement(By.name("q")).sendKeys(Keys.DOWN);
 driver.findElement(By.name("q")).sendKeys("tutorial and example .com");
 driver.findElement(By.name("q")).sendKeys(Keys.ENTER);
 {
 WebElement element = driver.findElement(By.cssSelector("div:nth-child(2) > .rc .iUh30"));
 Action builder = new Actions(driver);
 builder.moveToElement(element).perform();
 }
 {
 WebElement element = driver.findElement(By.tagName("body"));
 Action builder = new Actions(driver);
 builder.moveToElement(element, 0, 0).perform();
 }
 driver.findElement(By.linkText("CCNA Tutorial")).click();
 driver.findElement(By.cssSelector("div:nth-child(2) > .rc .ellip")).click();
 }
}