Hibernate Annotation with Example
Hibernate is an ORM (Object-Relational Mapping) tool which simplifies the application development. Hibernate provides a framework which interacts with the data stored in the databases and it also uses the specifications of the Java Persistence API (JPA).
Hibernate provides Annotations for the ease of web development. Without using hibernate-mapping file, you can map a java class to the corresponding table with the help of JPA Annotations. Some of the JPA Annotations are listed below:
i. @Entity- It is used for making a bean class an entity bean, so it must contain a no-arg constructor.
ii. @Table- It is used to create a table for the annotated entity.
iii.@Id- The primary key in the table is denoted as @Id.
iv.@Generatedvalue- It is used to auto-generate the value of the @Id field.
v.@Column- It is used to define the details of the column to which an attribute is mapped.
- Add Dependencies
When using hibernate annotations, you need to add dependencies in pom.xml. Add dependencies between <dependencies>...</dependecies> tag. Some dependencies are listed below:
  org.hibernate
  hibernate-core
  5.3.1.Final>/version>


  org.hibernate
  hibernate-validator
  6.0.17.Final
You need to add Oracle dependency manually. If you are using Mysql, then you need to add MySQL jar or dependency.
2. Create a POJO/ Bean/ Persistence class
The encapsulation of many objects into a single object is done by POJO class or Bean class.
All the variables of bean class are set as private with public setter and getter methods.
Here we use Annotations in the bean class.
Bean class-Book.java
 import javax.persistence.Column;
 import javax.persistence.Entity;
 import javax.persistence.GeneratedValue;
 import javax.persistence.GenerationType;
 import javax.persistence.Id;
 import javax.persistence.Table;
 @Entity
 @Table(name="Book01")
 public class Book {
  @Id
  @GeneratedValue(strategy=GenerationType.AUTO)
  private int bno;
  @Column(name="bname")
  private String bname;
  @Column(name="price")
  private int price;
  public int getBno() {
  return bno;
  }
  public void setBno(int bno) {
  this.bno = bno;
  }
  public String getBname() {
  return bname;
  }
  public void setBname(String bname) {
  this.bname = bname;
  }
  public int getPrice() {
  return price;
  }
  public void setPrice(int price) {
  this.price = price;
  }
  }
3. Create a Configuration File
The name for configuration file should be hibernate.cfg.xml. It contains information about the mapping file and relational database.
hibernate.cfg.xml
        update
        org.hibernate.dialect.MySQL5Dialect

        jdbc:mysql://localhost:3306
/test2
        com.mysql.jdbc.Driver

        root
        root
        true
4. Create the Application Class
It is a class which contains the main() method used to run the application.
Let’s create AppTest.java.
import org.hibernate.Session;
import org.hibernate.SessionFactory;
import org.hibernate.cfg.Configuration;
public class AppTest
{
public static void main( String[] args )
{
Configuration cfg= new Configuration();
cfg.configure("hibernate.cfg.xml");
SessionFactory fact = cfg.buildSessionFactory();
Session sess= fact.openSession();
sess.beginTransaction();
Book book=new Book();
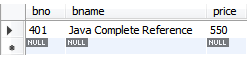
book.setBno(401);
book.setBname("Java Complete Reference");
book.setPrice(550);
sess.save(book);
sess.getTransaction().commit();
System.out.println("saved successfully ");
sess.close();
}
}
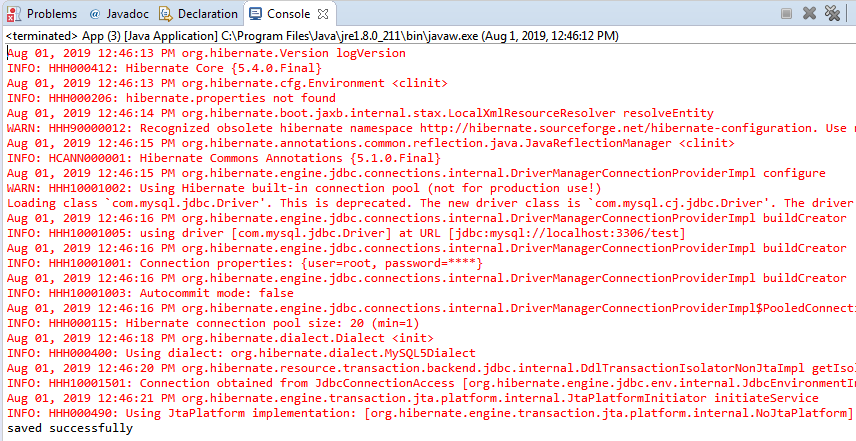
Table-Book01