How to insert image in HTML
An image (technically digital image) in HTML or even in general technical aspects is a binary representation of visual information. By visual information we mean, in the form of drawings/pictures, gifs/individual video frames, logos, or graphs etc.
“Inserting images in HTML” can be easily achieved with the help of <img> tag. This tag is an empty tag, as it only contains attributes and hence the closing tag is not required here.
Note: The images can be inserted anywhere or in any section by using the <img> tag. We’ll see various examples regarding this as we proceed. The only point to remember regarding this is, that the <img> tag must be declared within the <body> </body> tag.
Example:
<!DOCTYPE html>
<html lang="en">
  <head>
    <meta charset="UTF-8" />
    <meta http-equiv="X-UA-Compatible" content="IE=edge" />
    <meta name="viewport" content="width=device-width, initial-scale=1.0" />
    <title>HTML image</title>


  </head>
  <body>
    <img
      src="https://pixabay.com/get/g6da506c7a5c5b778d227c75e55fa3d525c8f87b42693d64cf7ec72f9807d423767579867119e9305f82e5ecf213f6dbb765c5e09f3ff6cc5f8c26037f828b1ce088515f71e3ed381fcba4240df5fa20a_1920.jpg"
      alt="Image of 'home in the hills'"
    />
  </body>
</html>
Syntax:
<img src = “image location” alt = “alt text” height = “in pixels” width = “in pixels“>| <img> | stands for image tag |
| src | stands for source tag, containing the address/location of the image. |
| alt | containsthe text which is shown/displayed instead of the image, when the image fails to load, address is not found or any other error. |
| height | for adjusting the height of the image. |
| width | for adjusting the width of the image. |
Note: We can have more attributes in the image tag like style, border, align etc. Above are the most commonly used attributes of image tag to define and declare basic structure of the image to be displayed. It is advised to always use the above 4 attributes in your HTML script/code.
*pixels: It can be of different sizes depending on the resolution of the screen you are displaying your output at.
Inserting image in HTML:
Although <img> tag is the tag that is used to insert images in HTML, there are various ways of inserting the image location in the src tag. These are as follows:
- Adding the hyperlink of the location of image
- Adding the image file from local storage
- Anchor <a> tag
Adding the hyperlink of the location of image
This is generally used for displaying images directly from the internet to your own HTML page. In this method, we simply take the URL of the image from the internet and pass the URL to the src tag of <img>.
Example:
File 1: index.html
<!DOCTYPE html>
<html lang="en">
<head>
<meta charset="UTF-8" />
<meta http-equiv="X-UA-Compatible" content="IE=edge" />
<meta name="viewport" content="width=device-width, initial-scale=1.0" />
<title>HTML image</title>
<link rel="stylesheet" href="style.css" />
</head>
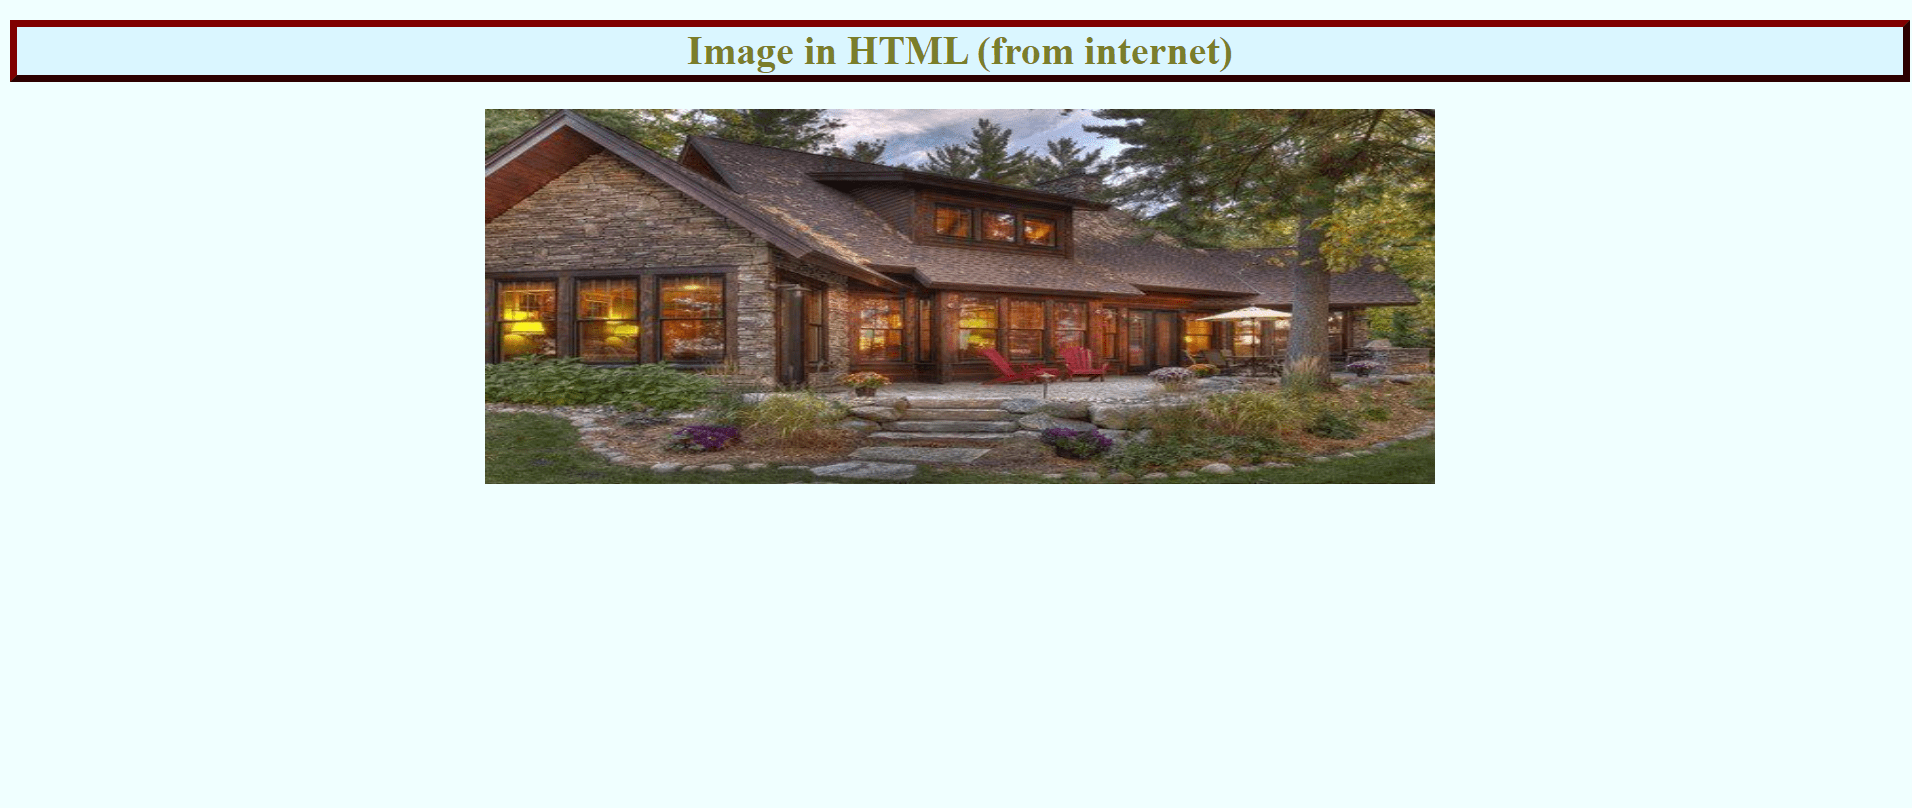
<body style="background-color: azure">
<h1 class="contentinfo">Image in HTML (from internet)</h1>
<img src="https://i.pinimg.com/originals/f7/67/2d/f7672d04fc037f5b22cae37ef569919b.jpg"
alt="Image of 'home in the hills'"
height="300"
class="center"
/>
</body>
</html>
File 2: style.css
.center {
  display: block;
  margin-left: auto;
  margin-right: auto;
  width: 50%;
}
.contentinfo {
  color: rgb(122, 126, 42);
  border: 6px outset maroon;
  background-color: rgb(218, 246, 255);
  text-align: center;
}
Output:
Adding the image file from local storage
This is generally used for displaying images which are already present in your pc/local storage to your HTML page. In this method, we simply place the image file inside the destination folder (folder inside which you are currently saving your .html file), and then simply put the name of the image file inside the src tag of <img>.
Example:
<!DOCTYPE html>
<html lang="en">
  <head>
    <meta charset="UTF-8" />
    <meta http-equiv="X-UA-Compatible" content="IE=edge" />
    <meta name="viewport" content="width=device-width, initial-scale=1.0" />
    <title>HTML image</title>
    <link rel="stylesheet" href="style.css" />
  </head>


  <body class="body">


    <h1 class="contentinfo">Image in HTML (from local storage)</h1>


<img
      src="home-in-the-hills.jpg"
      alt="Image of 'home in the hills'"
      height="300"
      class="center"
    />
  </body>
</html>
File 2: style.css
center {
  display: block;
  margin-left: auto;
  margin-right: auto;
  width: 50%;
}
.contentinfo {
  color: rgb(4, 35, 82);
  border: 6px outset maroon;
  background-color: #7dd56f;
}


.body {
  height: 100vh;
  display: flex;
  align-items: center;
  background: linear-gradient(to top left, #28b487, #7dd56f);
}
Output:

Anchor <a> tag
<a> stands for anchor tag, and is used to inherit URL inside our HTML. We can use it to create an image as hyperlink or for below stated points:
- The message displayed by alt tag when the image src is absent/not working etc.
- Use of anchor tag to inherit URLs in our HTML.
Example:
File 1 = index.html
<!DOCTYPE html>
<html lang="en">
  <head>
    <meta charset="UTF-8" />
    <meta http-equiv="X-UA-Compatible" content="IE=edge" />
    <meta name="viewport" content="width=device-width, initial-scale=1.0" />
    <title>HTML image</title>
    <link rel="stylesheet" href="style.css" />
  </head>
  <body class="body">
    <h1 class="contentinfo">Image in HTML (from internet)</h1>
    <a    href="https://i.pinimg.com/originals/f7/67/2d/f7672d04fc037f5b22cae37ef569919b.jpg" />
    <img alt="Image of 'home in the hills'" height="300" class="center" />
  </body>
</html>
File 2: style.css
center {
  display: block;
  margin-left: auto;
  margin-right: auto;
  width: 50%;
}
.contentinfo {
  color: rgb(4, 35, 82);
  border: 6px outset maroon;
  background-color: #7dd56f;
}
.body {
  height: 100vh;
  display: flex;
  align-items: center;
  background: linear-gradient(to top left, #28b487, #7dd56f);
}
Output:

Conclusion:
<img> tag is used to insert images in our HTML page. The tag is an empty tag and hence does not require the closing tag.
The images can be inserted anywhere or in any section by using the <img> tag. The only point to remember regarding this is, that the <img> tag must be declared inside the <body> “ “ </body> tag.
<img    src="https://i.pinimg.com/originals/f7/67/2d/f7672d04fc037f5b22cae37ef569919b.jpg"
      alt="Image of 'home in the hills'"
      height="300"
    />
Note: We can mention both height and width attributes here, but we only mention either of them to maintain the aspect ratio of the image. By doing so, the aspect ratio is automatically maintained and we don’t have to calculate it manually.