How to unarchive in Gmail?
How to unarchive in Gmail
Earlier, we have learned how to archive an email on a computer or a phone device via the Google app. But archiving is not sufficient; you must also learn the steps to unarchive a mail on a computer and mobile device so you can reverse the archive process when needed or in case if you have archived any email by mistake.
Definition of ‘Unarchive’
Unarchive means to undo the archive process and restore all the messages. The Unarchive process is also known by the term ‘Unmute.’ Archive mails are used to mute the mails you don’t want to highlight and don’t want to delete. Hence, to alter and restore the messages, we unarchive an email.
Steps to Unarchive mail on Computer
Below are the step-by step demonstrations to unarchive a mail on desktop:
STEP 1: Login to your Email address
- Open the Google Gmail application on your web browser, or you can directly visit the URL: https://mail.google.com/. Login into your account by using your email address and password.
- You will arrive in your Gmail Inbox window.
STEP 2: Find the Archive email
There are two ways two find the archived email in Gmail, which are as follows:
Note: Before hopping to this step, make sure that you already have archived a mail-in your Gmail.
- If you remember the name or the email address, type it in Gmail's search bar and press the “Enter” button
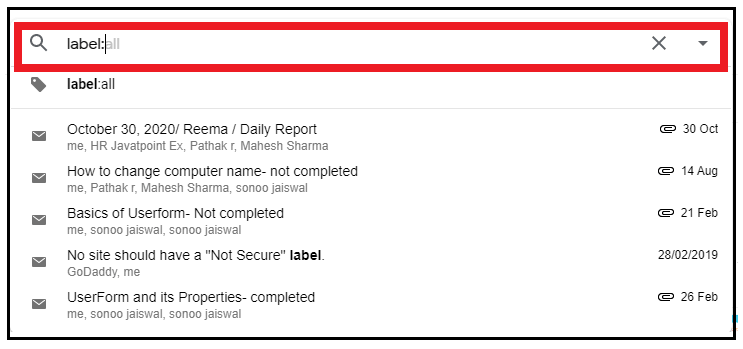
- Else you can type 'label: all' on the Search box and press the “Enter” button.

You can follow any of the above two methods and it will display your archived email.
STEP 3: Unarchive the mail
- Right-click on the archive email that you wish to unarchive. The following window will be displayed.
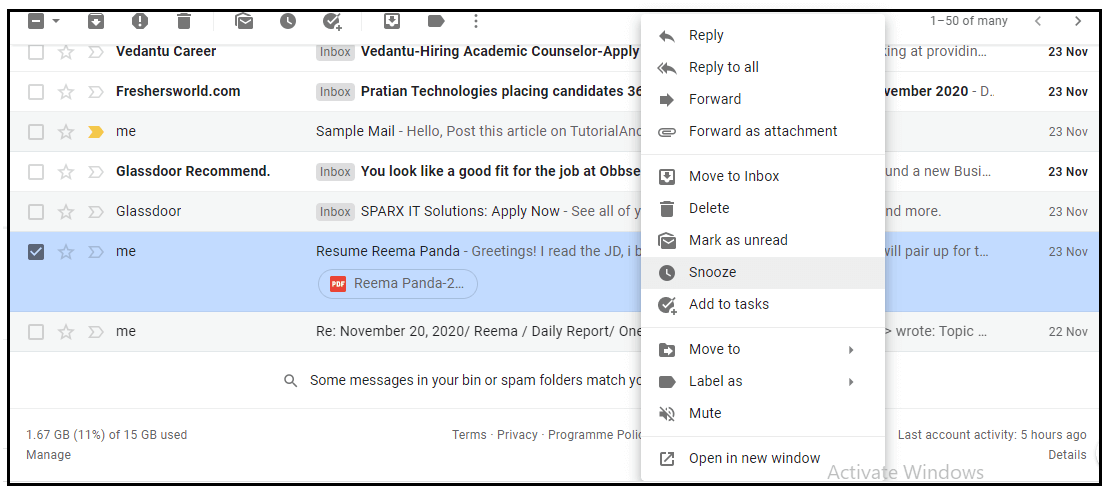
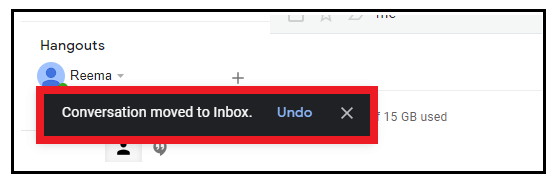
- Click on the ‘Move To Inbox’ option from the given window.
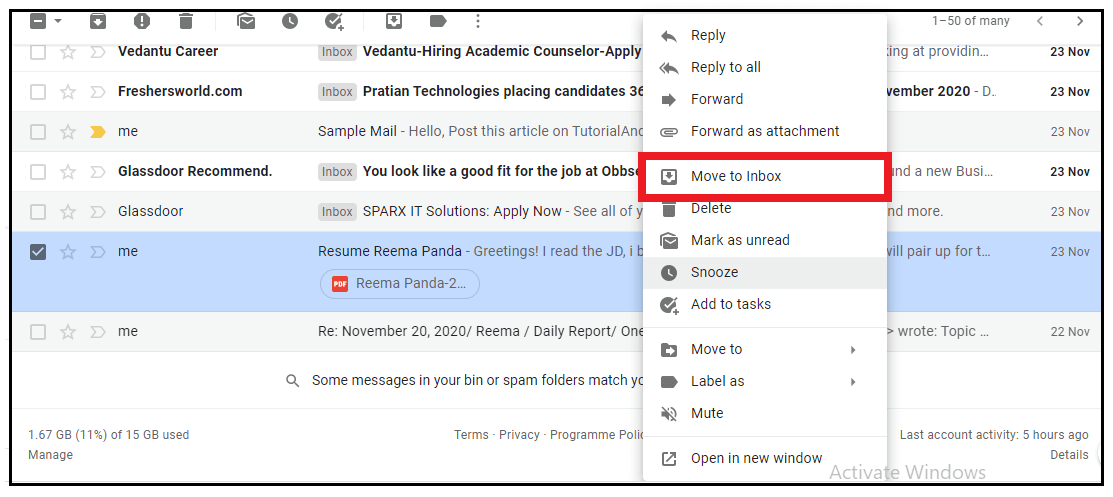
- The selected mail will immediately be moved to your inbox, and Gmail will mark it as unarchive.
Steps to unarchive an email on Android via Gmail app
Below are the step-by step demonstrations to unarchive an email in Android smartphone:
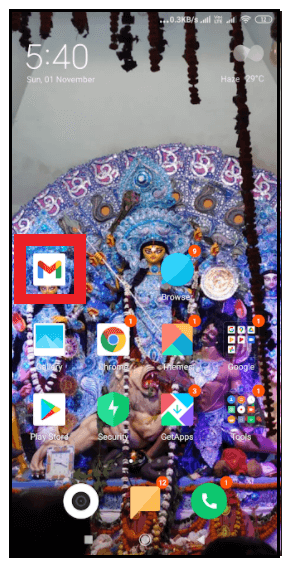
Step 1: Download and Open the Gmail app
Unlock your android phone. Go to your play store, download the Gmail app. In some smartphones, it comes by default. Once downloaded, double click to open the app.
Step 2: Login or Sign up
Login into your email account by entering your email id and password, and you will be landed on your Inbox page.

STEP 3: Find the archived mail
There are two ways two find the archived email in Gmail app, which are as follows:
Note: Before hopping to this step, make sure that you already have archived a mail-in your Gmail app.
- If you remember the name or the email address, type it in Gmail's search bar and click on the “search icon” present on your phone’s keypad.

- Else you can type 'label: all' on the Search box and click on the search icon present on your phone’s keypad.
STEP 4: Unarchive the mail
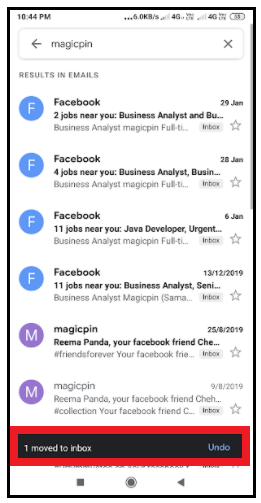
- Open the mail that you wish to unarchive.

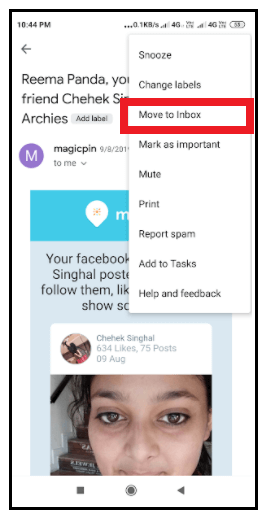
- Click on the three dots located at the screen's top-right position (refer to the below screenshot). Although you will see this icon at two places. Make sure to click on the top one.

- The following window will be displayed. Click on the 'Move To Inbox' option.
- The selected mail will immediately be moved to your inbox, and Gmail will mark it as unarchive.