COBOL Installation And Environment Setup
Installing COBOL
- To work on COBOL, first, we have to understand abstracted features. We need special mainframe emulators to work on; there are many special mainframe emulators for windows to start with. In this tutorial, we will be working with "Hercules", as it can be easily installed on windows and provides the user with a great experience.
- Hercules is open-source software implantation of the mainframe. It was designed to work on the latest 64-bit z/architecture. Besides, it can easily run on windows. Linux, Solaris, Mac OS.
- Further, to connect to a mainframe server, the user can opt several ways like a client, Virtual client system (VCS), dummy terminal, or Virtual Desktop System (VDS). To enter the Z/OS interface, every user is provided with a login id to enter.
COBOL can be installed using the following few steps stated below,
you can have a reference through the pictures provided:-
STEP-1) Installing the mainframe server, "Hercules."
To do so, visit the official site of Hercules through the link www.hercules-390.eu.
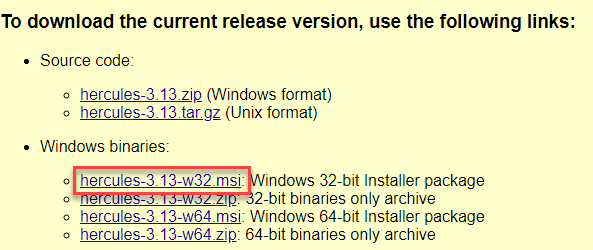
You will find multiple variants for the emulators for 32-bits,64-bits, Linux, and you can proceed by downloading the desired version of Hercules according to you working space.
For this tutorial; we will be working with
Hercules-3.13-w64.msi: Windows 64-bit Installer package
STEP-2)
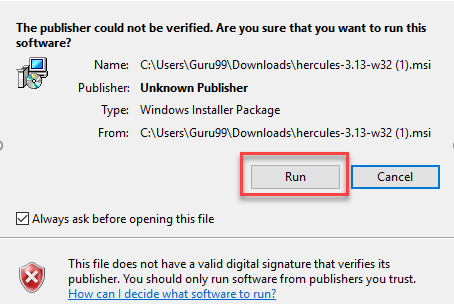
Once the download is complete, you will see a run prompt; through that, press on the run button.
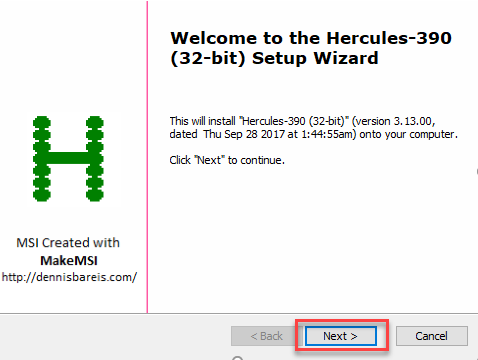
STEP-3)
Further, you will proceed through the installation wizard and click on next
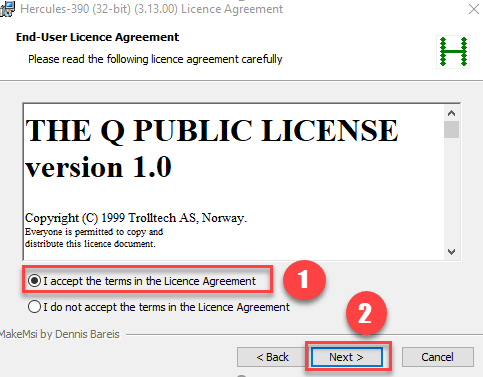
STEP-4)
In the public license agreement window, agree to the terms by accepting the user license agreement and press next.
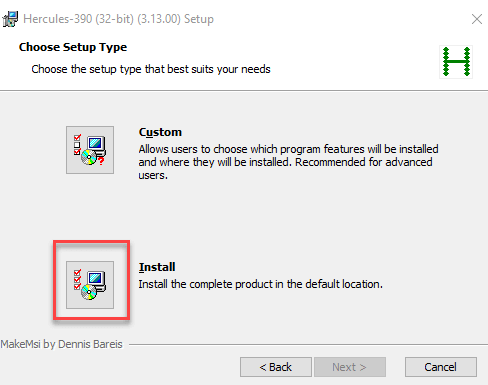
STEP-5)
Later you will find two installation menu:
- CUSTOM installation-it allows the user to choose which program feature will be installed and where they will be installed. (Recommended for advance users).
- COMPLETE installation-it allows the installation of the complete product in the default location.
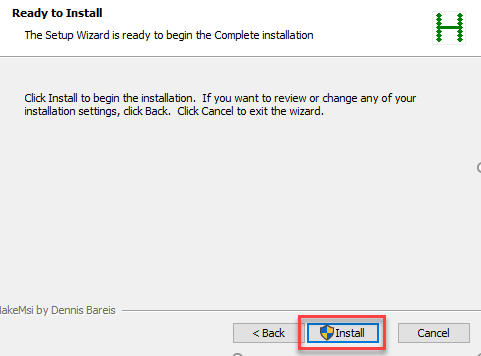
STEP-6)
Finally, select the Install button providing administrative access to start the installation.
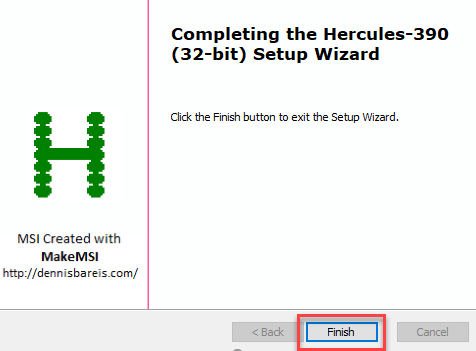
STEP-7)
Once the installation is complete, press the finish button.
After installation, it will be placed in a folder with an address.
C:/hercules/mvs/COBOL. on your specific machinery.
STEP-8)
In the search bar, search for HERCULES CMD(command prompt) and open it.
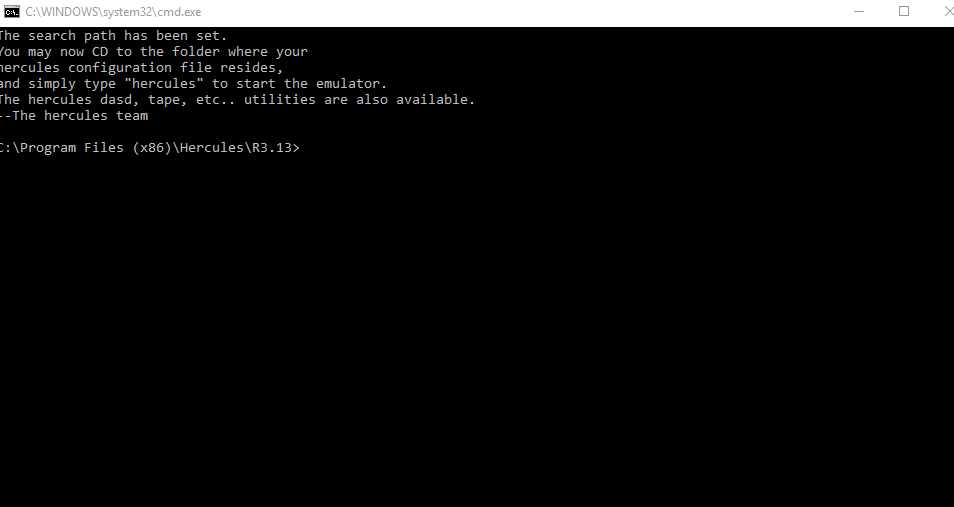
STEP-9)
Once you reach the command prompt, the main task begins here.
Mainframe and IBM Logistics
- Before directly going over core programming, we have to first understand a few of the abstracted features of Mainframe and how we can run it on our machinery.
- A mainframe is a term used for high-end/high-performance computers used for processing large scale data. Usually, these types of machinery are humongous and require a room separately to establish such large setups.
- We will be mimicking the same processing of this Mainframe set up in our small machinery using emulators for this course.
- The Mainframe generally consists of a mainframe processor to process the data and a mainframe terminal to display the processed output, which is a vast setup and requires a huge investment.
- In this course, we will be setting up our terminal on our personal computer.
- To replicate the mainframe processor's functioning, we will be using Mainframe Emulator (HERCULES installing has already been mentioned above). This will mimic the functionalities of IBM mainframe computers on our Windows. HERCULES will handle all our processing and analysis. Apart Hercules, we have to install VMS(multiple visual storages) to work with HERCULES. In this course, we will be using MVS 3.8J TUR(n)KEY version 4 (free of cost MVS ).
- For duplicating the process of Mainframe Terminal, we will be using substitute SCREEN/TERMINAL emulators freely available to display the output on WINDOWS. Here are a few of the free accessible terminal emulators one can use any for this course (ERICOM x3270, Emtec zoc, Mocha, Crypto term, VISTA TN3270, ETC)
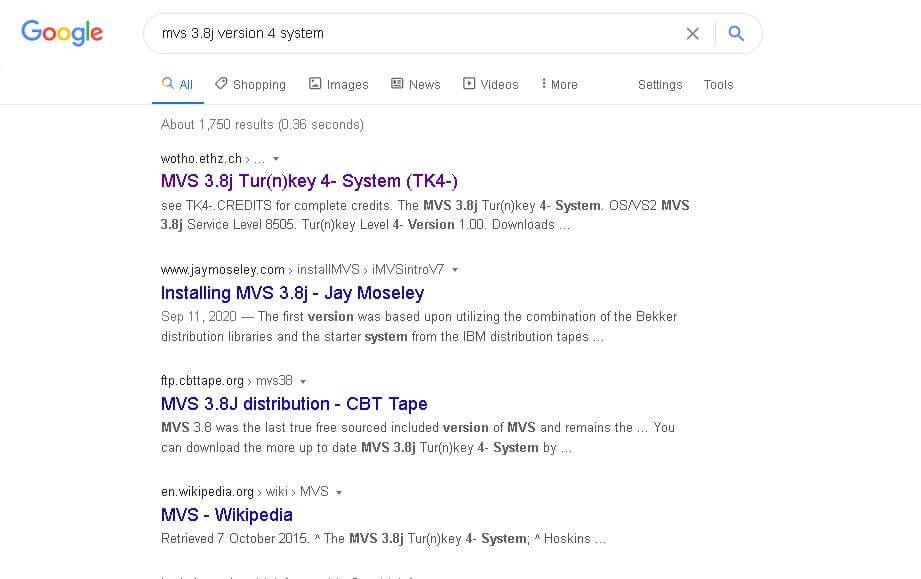
As earlier stated, for this course, we will be working with mvs 3.8j TUR(n)key 4
STEP 1) through your browser search for mvs 3.8j version 4 system. Click on the first link with url:wotho.ethz.ch...you will land on the main website of TUR(n)key 4
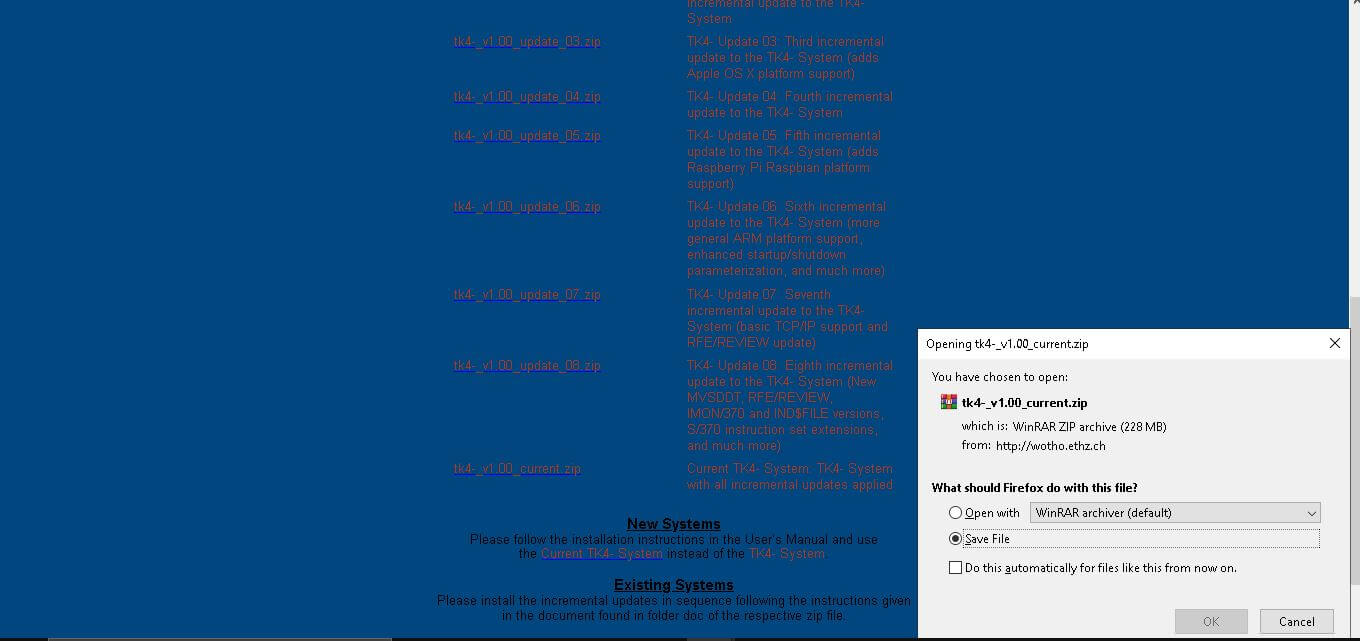
STEP 2) Search for the latest update of the mvs version and click on the link
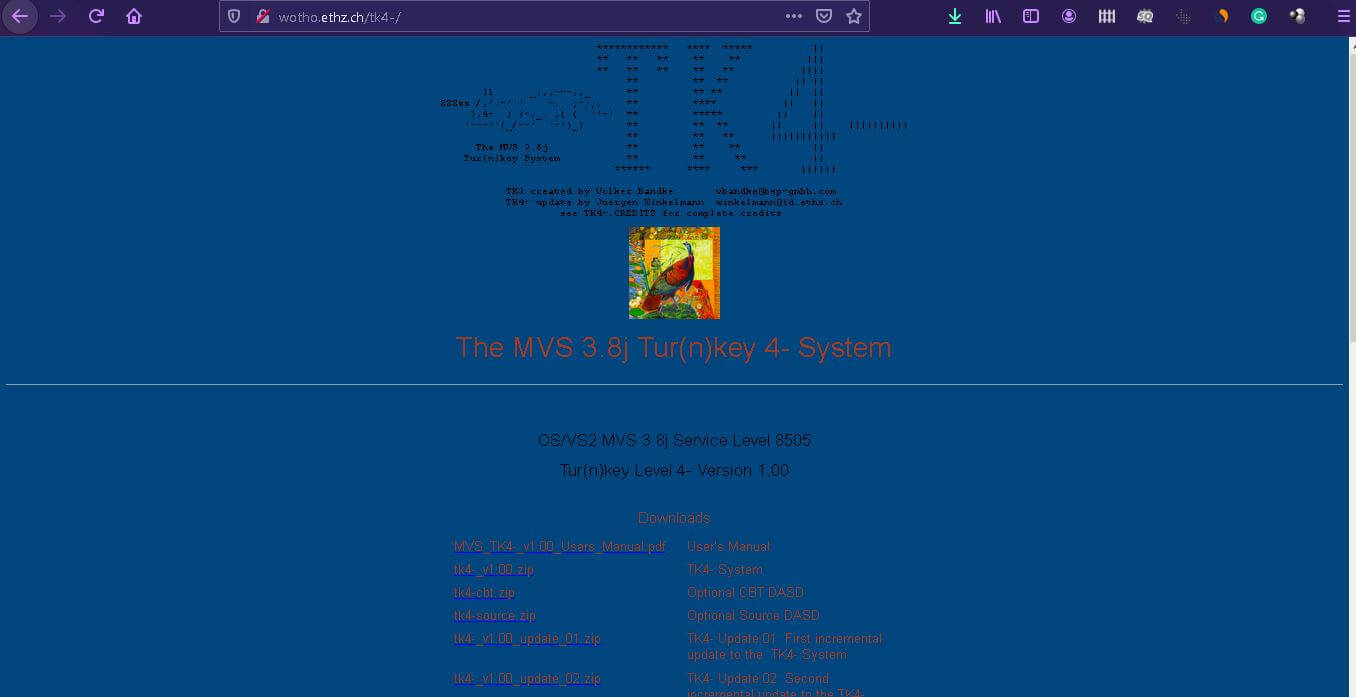
STEP 3) Your files will be downloaded in ZIP format
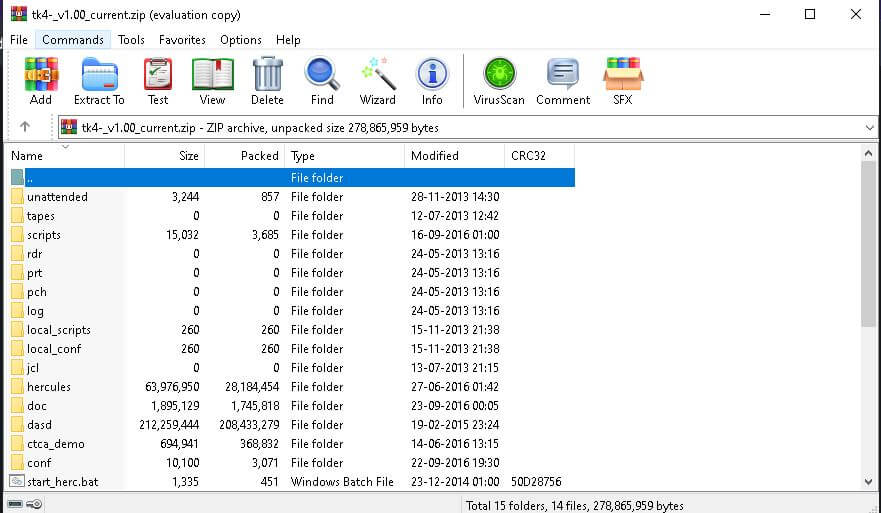
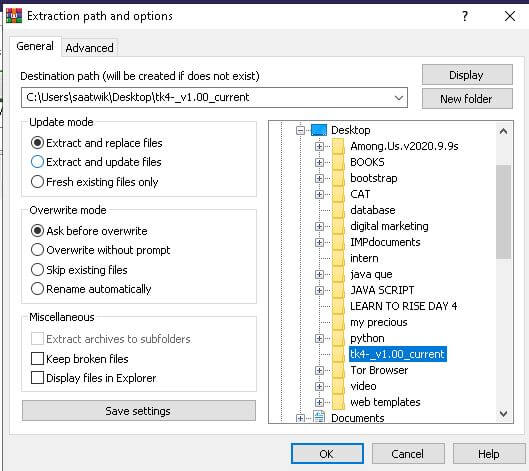
STEP 4) Extract the files to your desired location. We have extracted our files in C: DESKTOP for convenience.
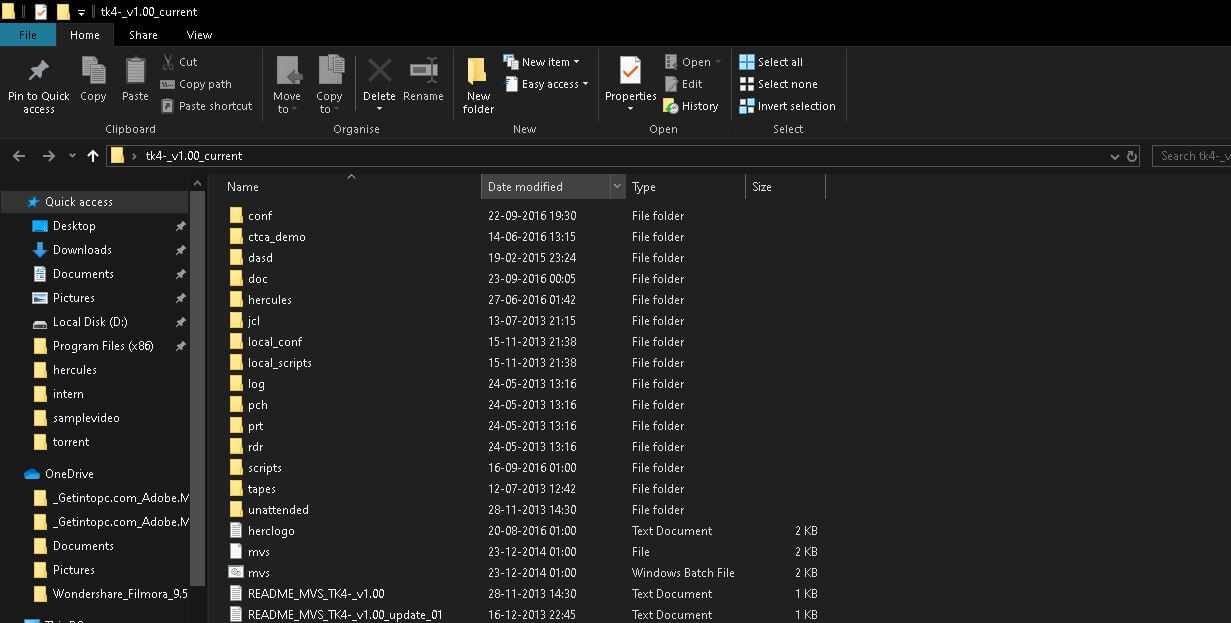
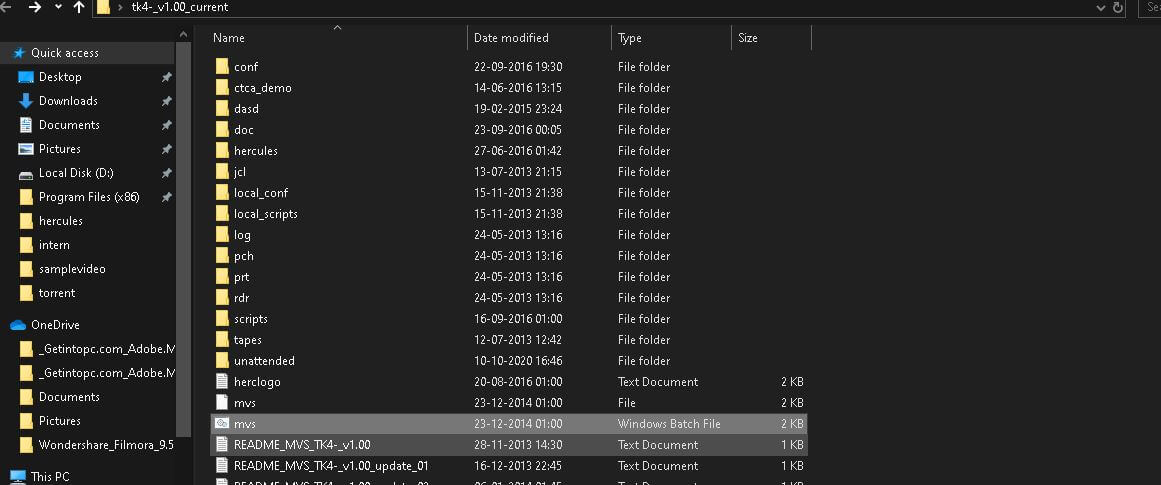
STEP 5) Your file will be saved by the name tk4-_v1.00_current
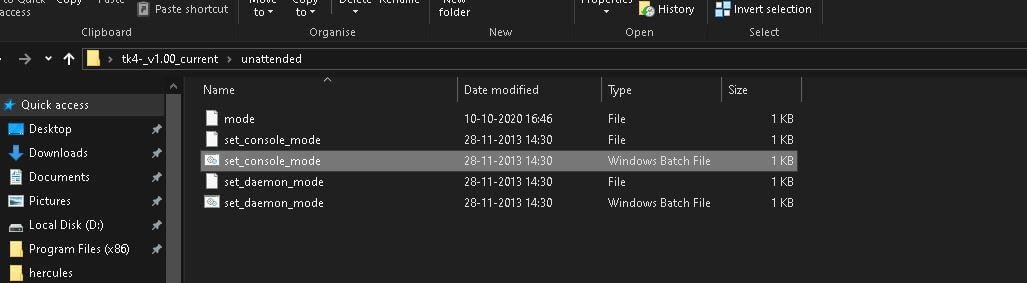
STEP 6) through the files, search for the unattended folder
STEP 7) In the unattended folder, you will find set_console_mode and set_demon_mode. Use the set_console mode windows batch file to work on windows
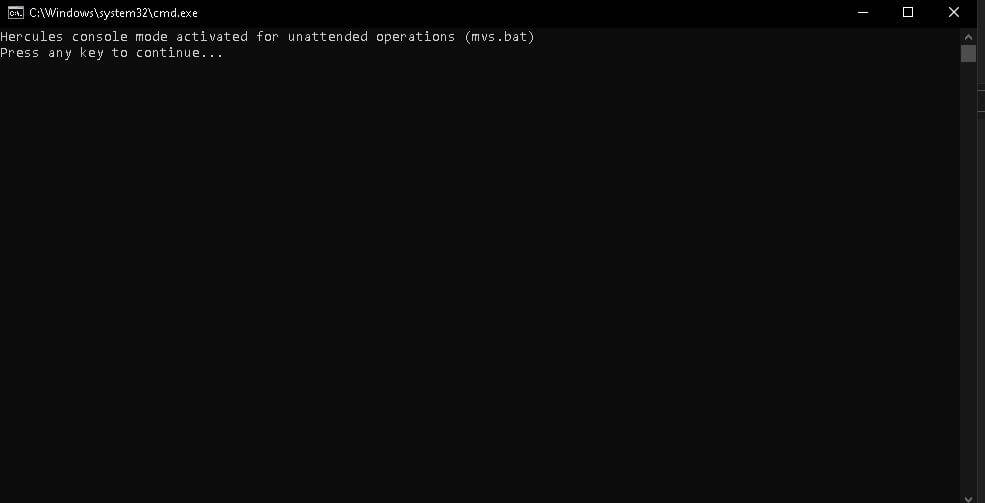
STEP 8) you command prompt will open with the activation message of Hercules
STEP 9) Go back to the file and search for mvs windows batch file and select it.
STEP 10) Command prompt will appear with an administrative approval message, give admin access to Hercules
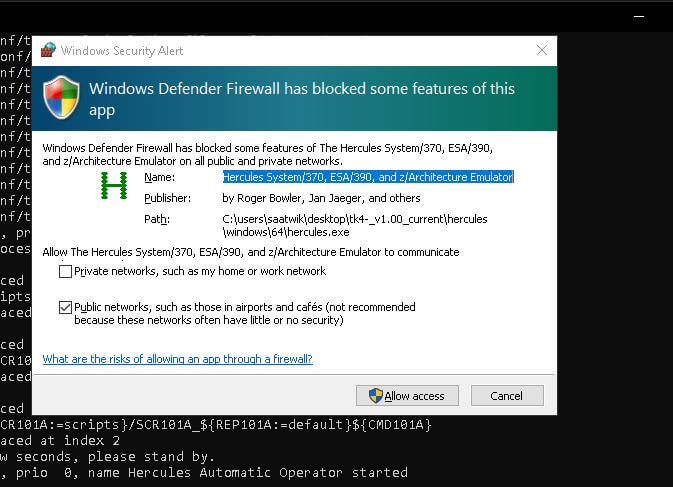
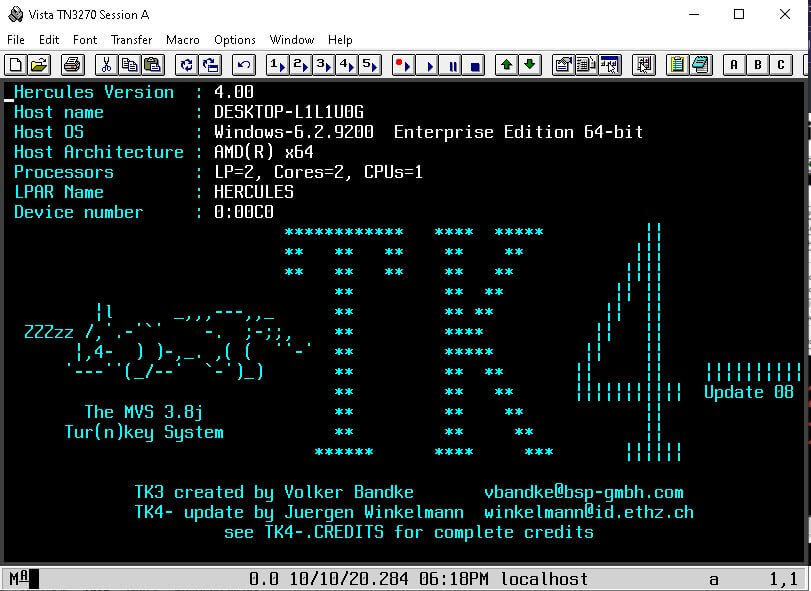
STEP 11) You will see Hercules activation process
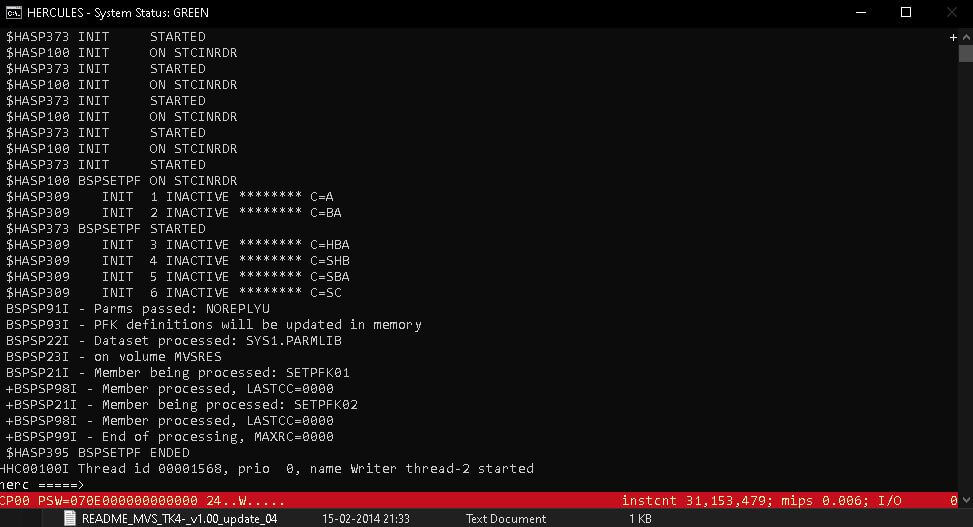
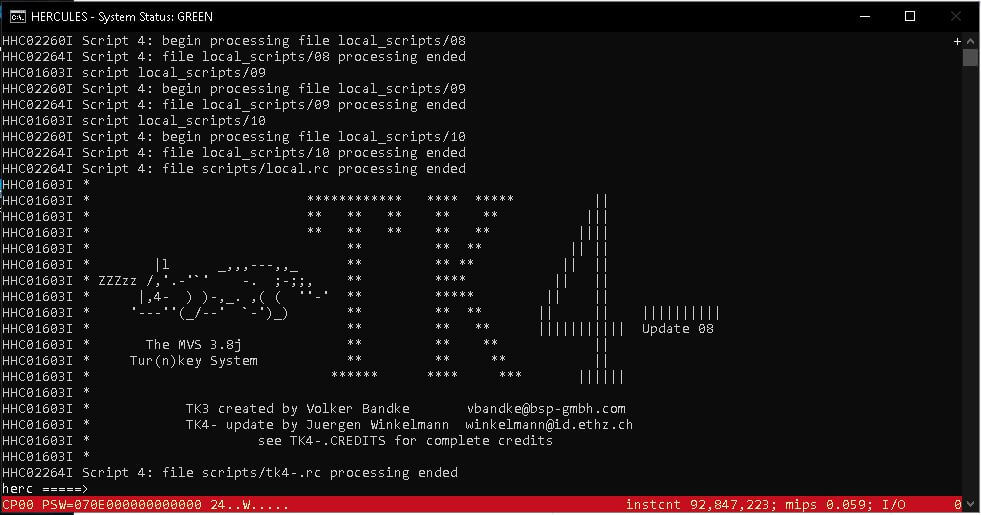
STEP 12) Once the activation completes, you will see the process ended the message with the company's logo
Using the above steps, you can easily install MVS and set the working environment. Finally, we will be installing the terminal emulator, and then all set to work on COBOL.
Installing and Setting Up Terminal Emulator
For this course, we will be working on VISTA tn3270.
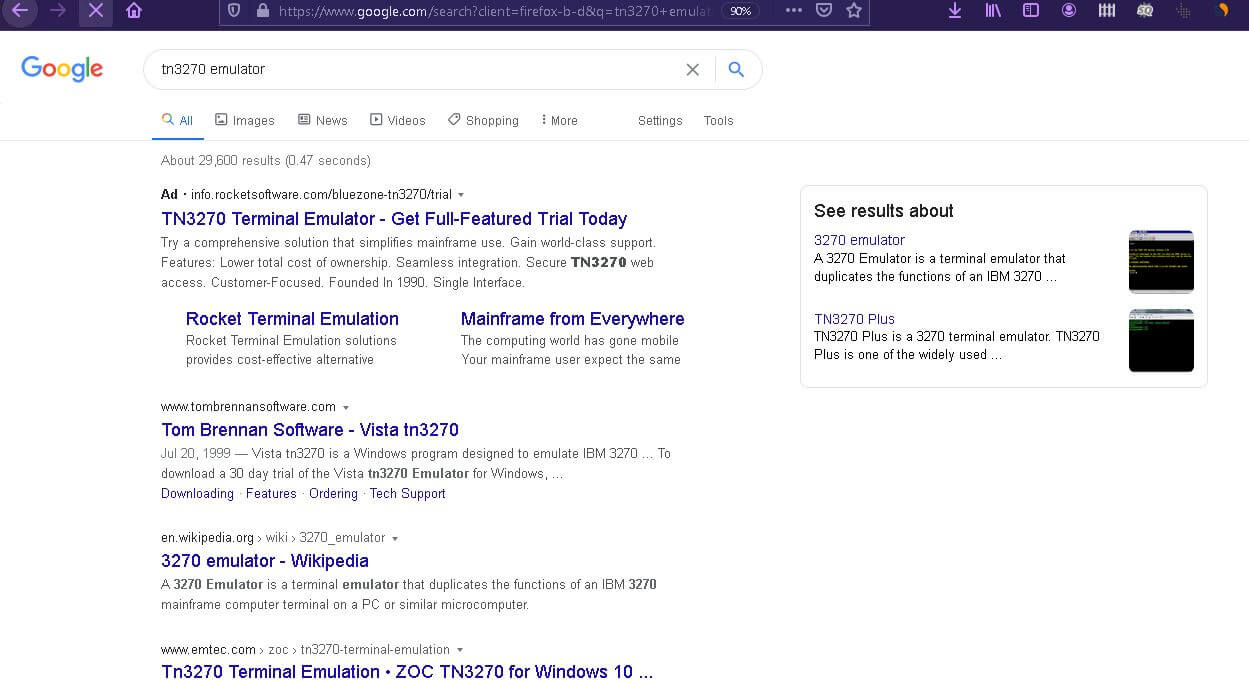
STEP 1) Through your browser search for tn3270 emulators, you will find numerous software and install according to your convenience.
Select tom Brennan software -VISTA tn3270.
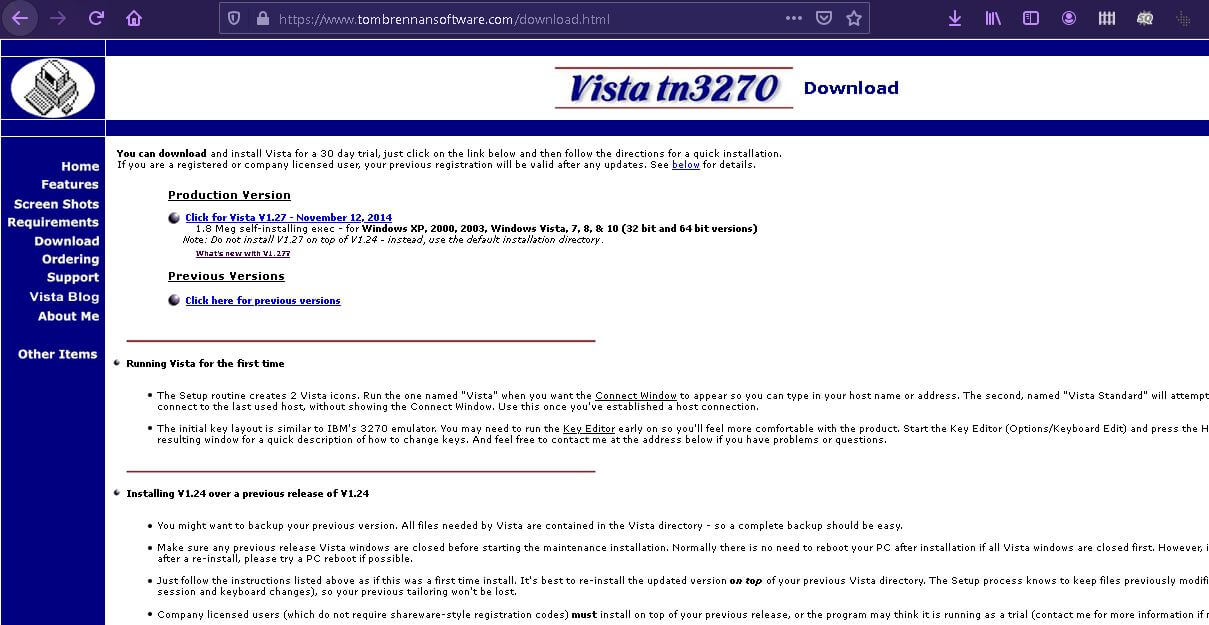
STEP 2) You will land on the main site of tom Brennan search for download
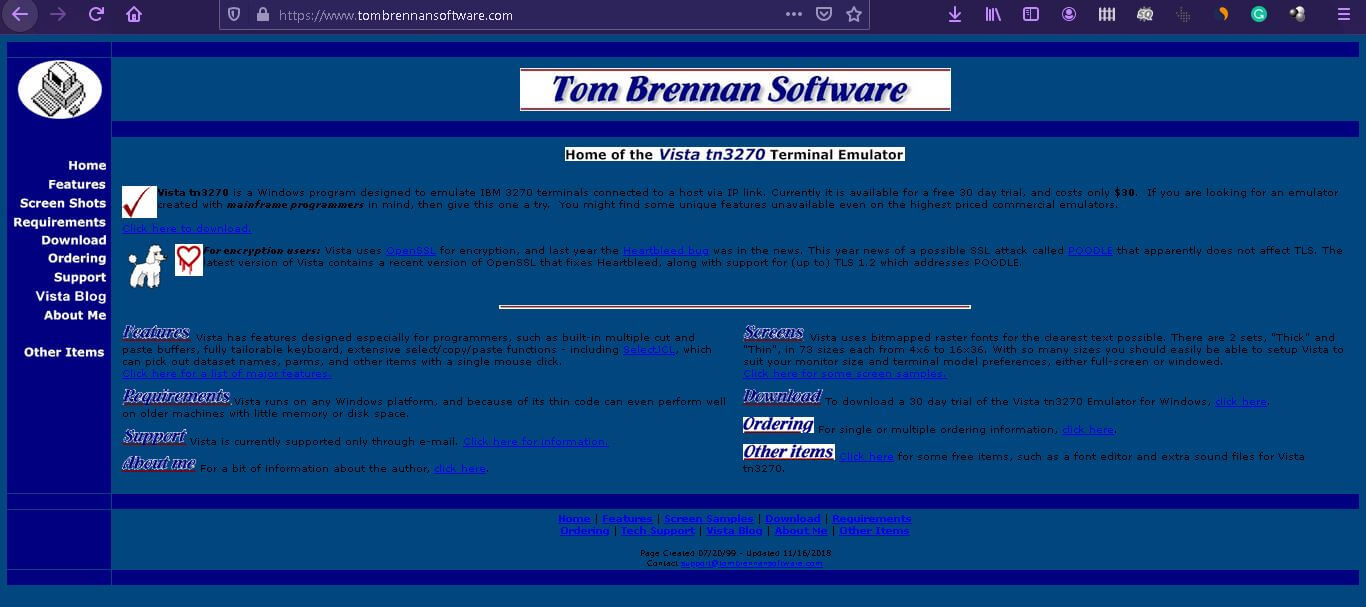
STEP 3) Click on the latest version for vista V1.27(available for all Windows XP, Vista,7,8,10(32and 64 bits)), your downloading will start.
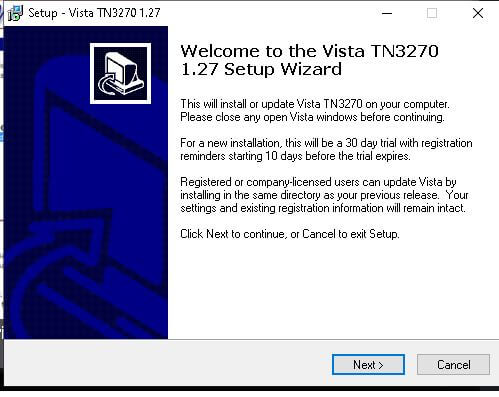
STEP 4) After downloading, start installation by following the basic steps as guided
STEP 5) After complete installation, your terminal will be placed in c drive.
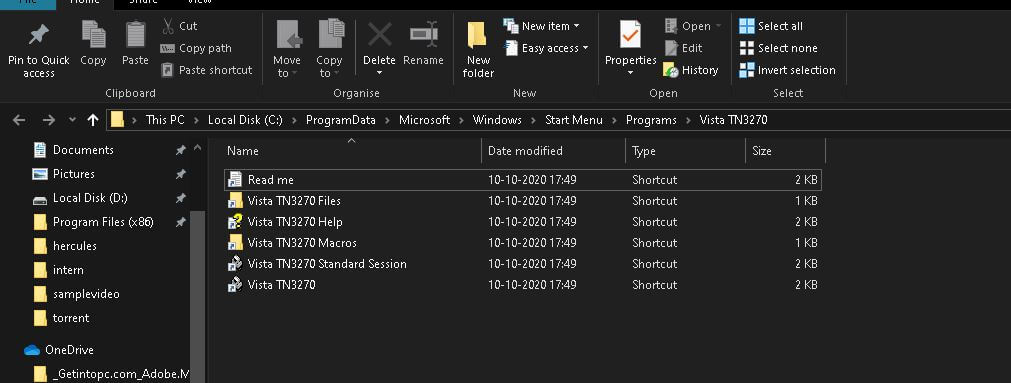
STEP 6) Open the folder and select VIST TN3270, now we will be setting up the working environment.
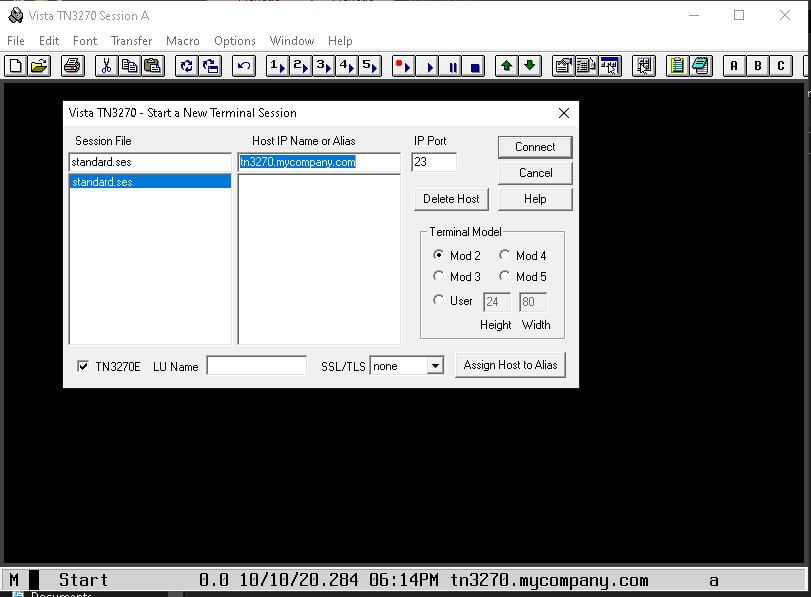
STEP 7) A dialogue box will appear

STEP 8) Select standard.ses in session file and set localhost in IP address, and set the port to 3270(this will link to your personal computer).
STEP 9) Once completing the above steps, you will see this dialogue box
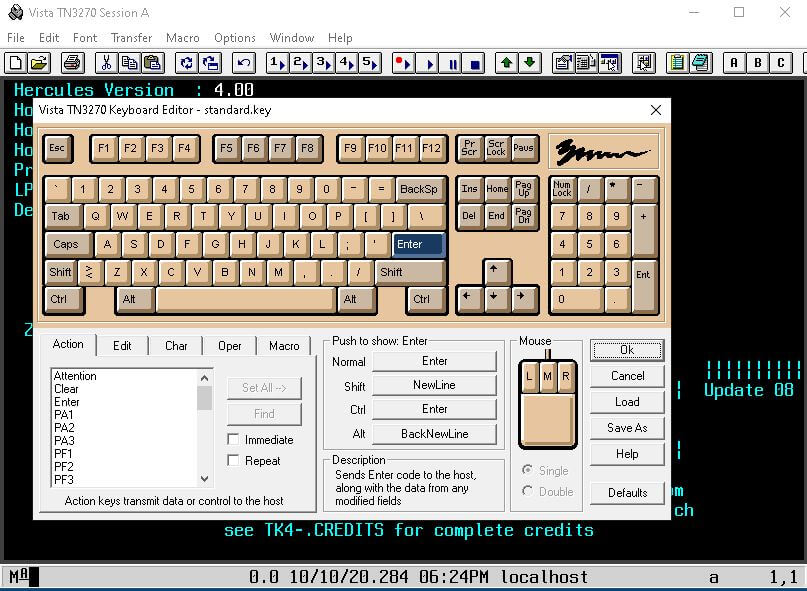
STEP 10) We will be aligning our keyboard with vista keyboard select options-> KEYBOARD edits Select the ENTER key on the vista keyboard, press a new line, press the control key on the vista keyboard, and then select ok command, and press ENTER.

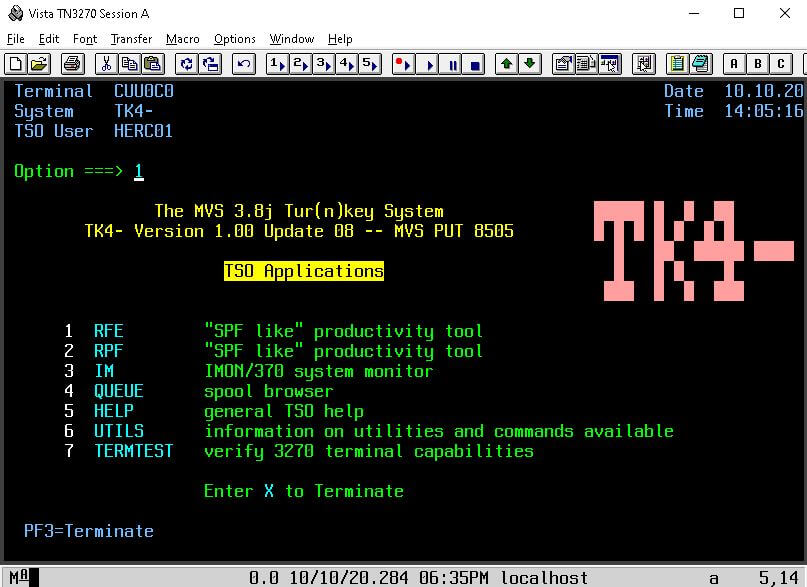
STEP 11) Now, we have to enter the USER ID that is "HERC01."
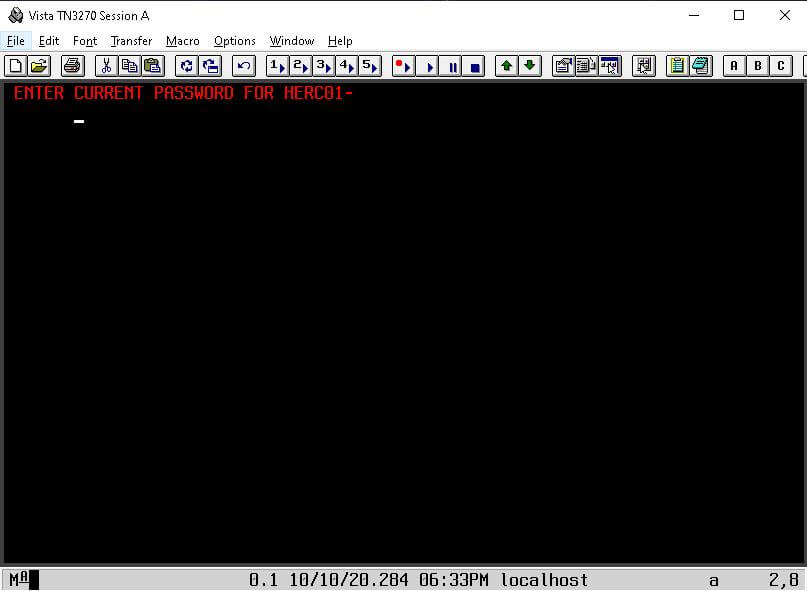
STEP 12) Now enter the password "CUL8TR" and press enter
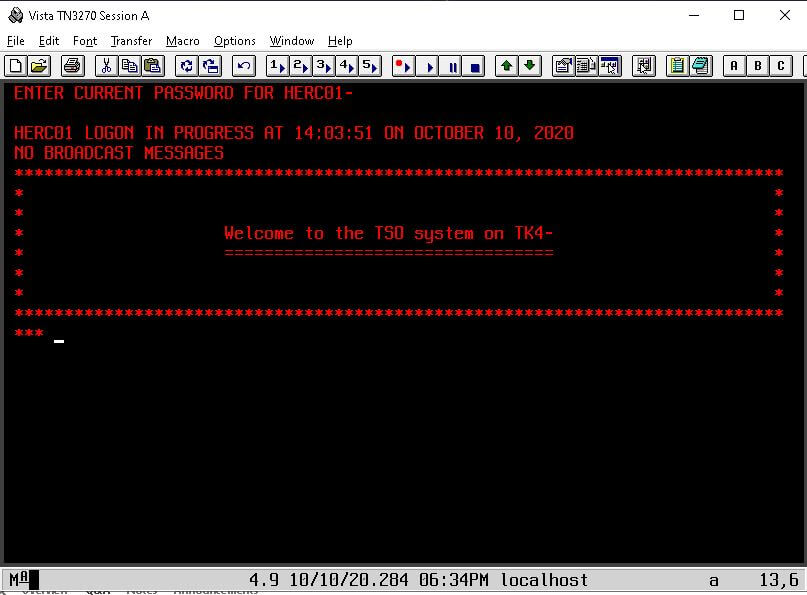
STEP 13) you will see the welcome section, press enter again here. We have successfully set the environment, and we are all set to work.
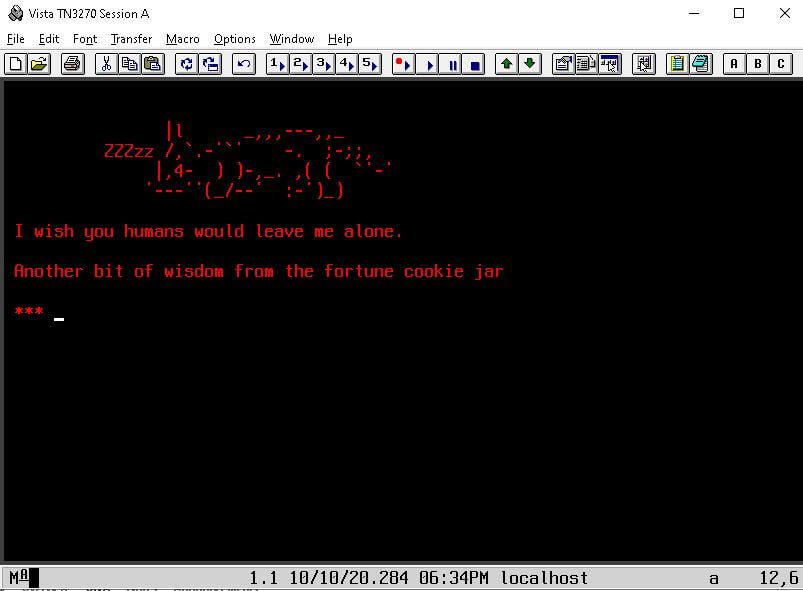
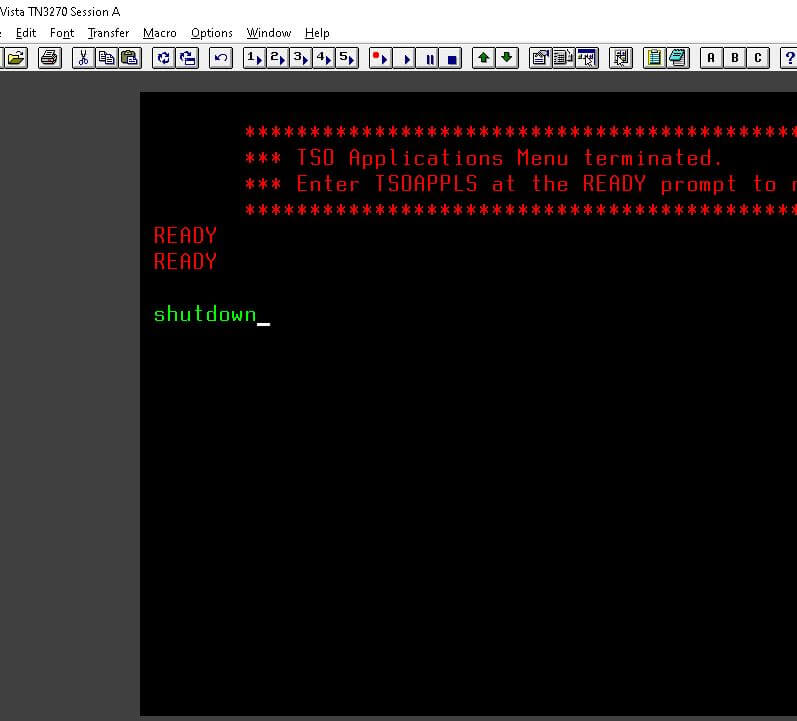
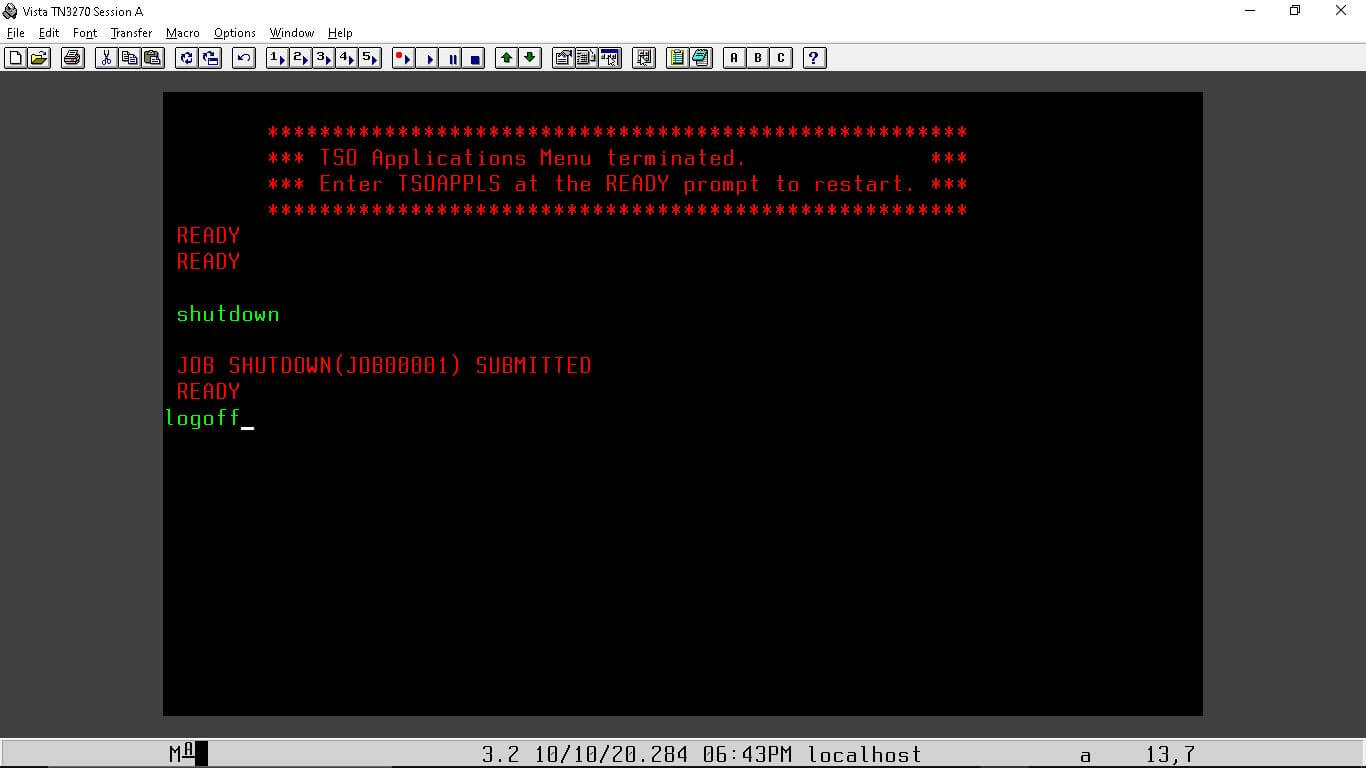
STEP 14) Terminate using the X command and type shutdown to exit the terminal
STEP 15) Type logoff to exit the terminal this is how you can log in and logout mainframe through your personal computer.