Installation of CodeIgniter
Before installing CodeIgniter, you need to
make sure that the wamp or xampp server in the system is
preinstalled. The installation
procedure for CodeIgniter is very easy. You can download CodeIgniter by
following these steps:
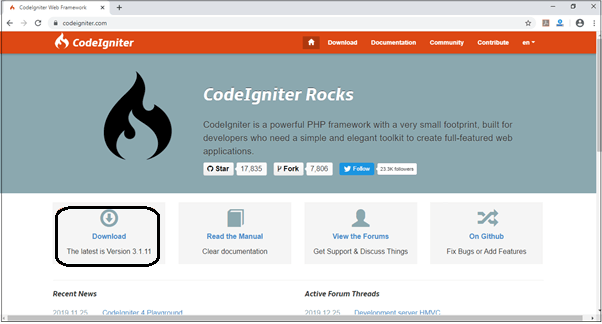
Step1: Go to the CodeIgniter main website by writing the given url
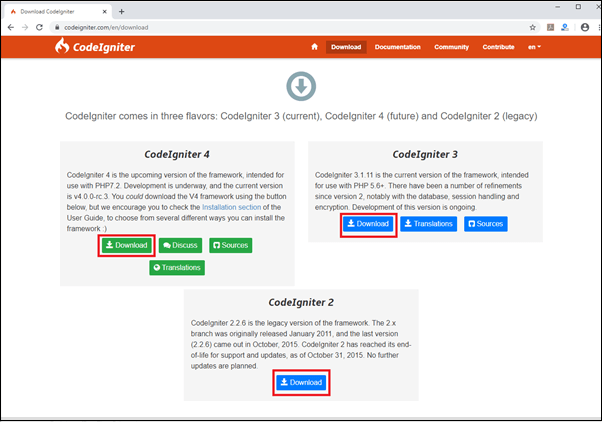
In the above screen, you will see a download icon for downloading the current version of the CodeIgniter is 3.1.11. And, if you want to download the legacy (old) and future version 4.0 of the CodeIgniter then you have to click on the download button, and it will show the given below screen.
Step2. After downloading the CodeIgniter. It will show in the ZIP folder.

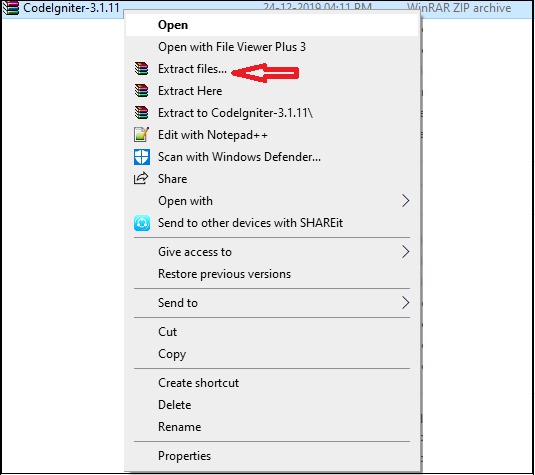
Step3. Right-click on the CodeIgniter folder and click on the Extract files like this.
After that, it will show the given below image:
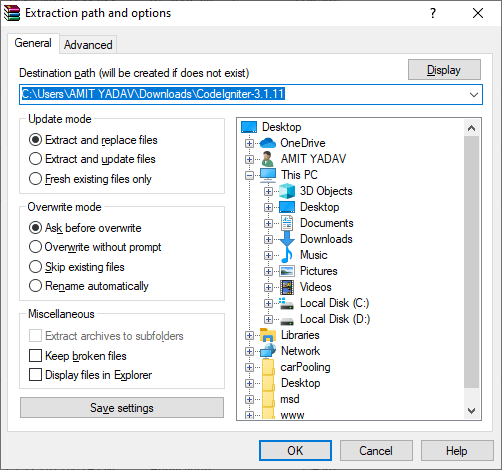
Step4. Click on the OK button, and then it will show this pop-up.
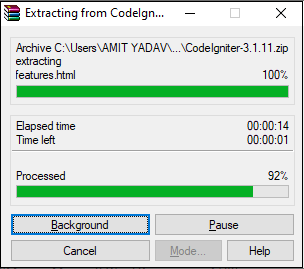
When the processed will be 100%, then it will automatically create a CodeIgniter folder like the given below image.

Step5. After that, copy the CodeIgniter folder into your local server by following the pictures below, either the Wamp's www folder or the Xampp server's htdocs folder.
Firstly, go to the C directory of the system, where you will see the wamp64 folder of your local server.
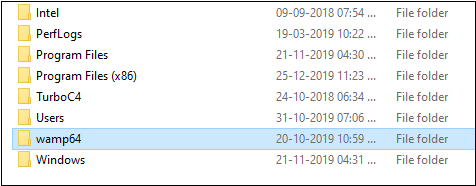
Secondly, click on the wamp64 folder where you will see the www folder.
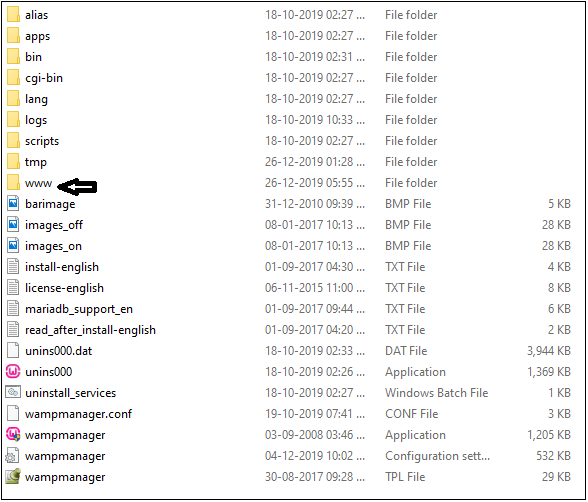
Now, paste the CodeIgniter folder inside the www folder, as shown in the given below image.
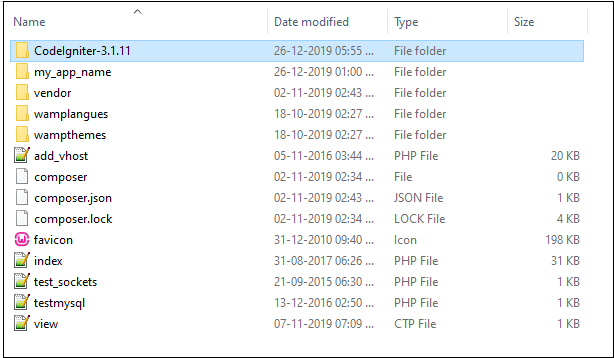
Step6. After starting the local server like the given below image where you will see the CodeIgniter folder which you have pasted in the www folder.
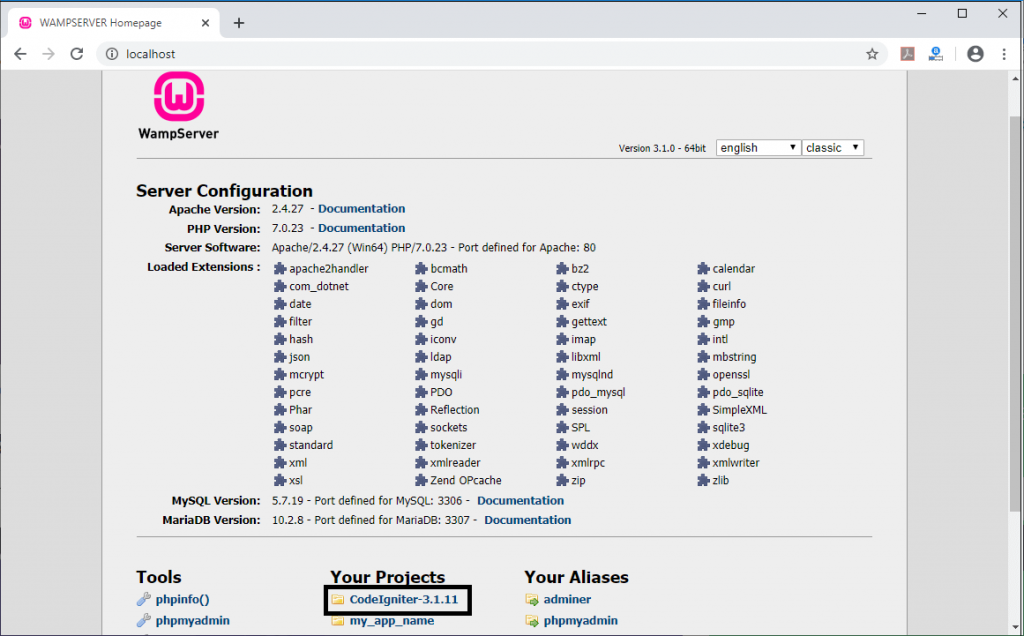
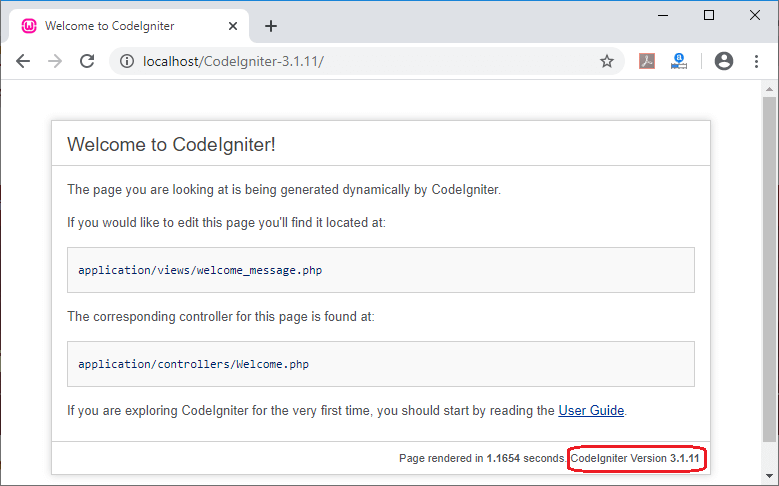
Step7. Run your CodeIgniter folder in localhost by writing as localhost/CodeIgniter-3.1.11, which shows you the given below screen.