Ionic Toolbar
A toolbar is a general toolbar that can be used in an application such as a header, sub-header, footer, or even a sub-footer. Because the ion-toolbar is flexbox-dependent, no matter how many toolbars are on your page, they will display correctly, and the ion content will be adjusted accordingly.
Toolbars are placed above or below the content. When the toolbar located in the <ion-header>, it will appear fixed at the top of the content, and when in the <ion-footer>, it will appear set at the bottom. Full-screen content will scroll behind the toolbar in the header or footer. When located within <ion-content>, toolbars will scroll with the content.
There are the following components in the ionic toolbar, which are as follows:
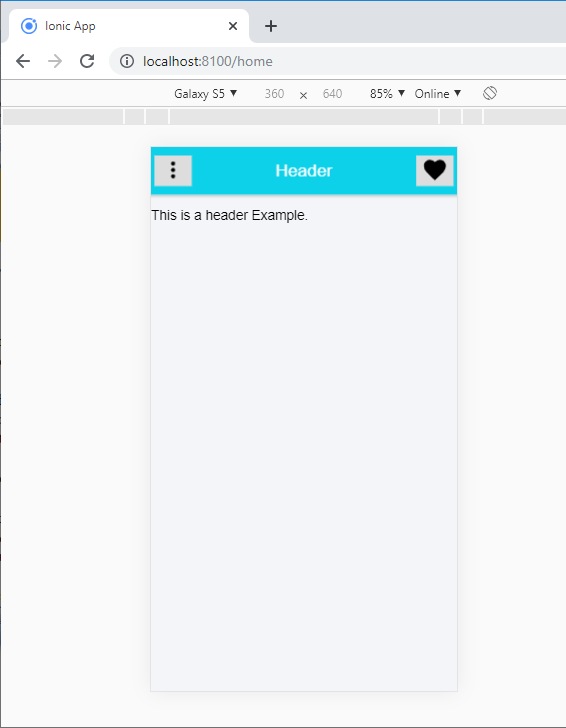
Ionic Header: The header is a significant component that contains a toolbar component. It's important to keep in mind that the ion header should be one of the three basic elements of a page.
Example: This example explains how you can add a header to the ionic application.
 Header


 This is a header Example.
Output: After executing this code, you will get the output, as shown below.
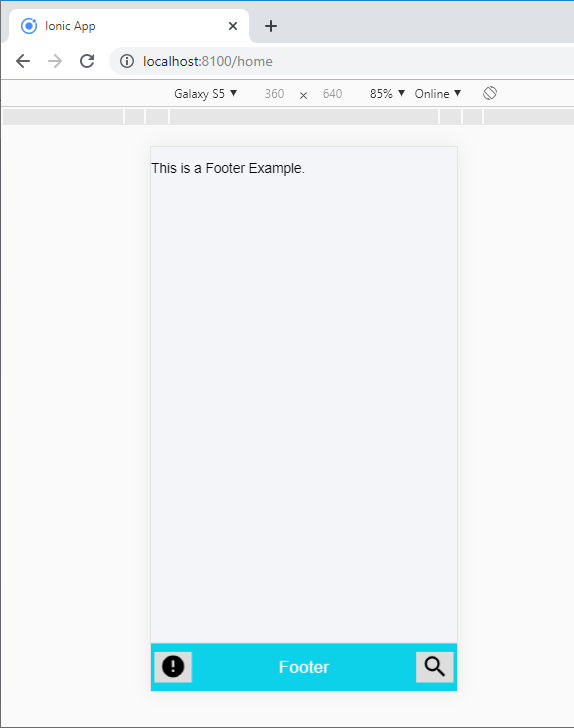
Ionic Footer: Ion-footer is the basic component of a page placed at the bottom of the page. It can be an ion toolbar container to make sure that the content area is in the correct size.
Example: This example explains how you can add footer in the ionic application.
 Footer


 This is a Footer Example.
Output: After executing this code, you will get the output, as shown below.
Buttons in Toolbars: Buttons can be included in both header and footer toolbars. When you add a button in a toolbar, then you require first to add an <ion-button> element. The <ion-button> component can be placed inside of the toolbar using a specific slot.
Example: The below example explains how you can add the buttons in toolbars.
Send To.. Mohit,Prashant,Sachin
Output: After executing this code, you will get the output, as shown below.

Ionic Title: <Ion-title> is the component that sets the title name of the toolbar. The following syntax shows how you can add the title name in the ionic application.
Example
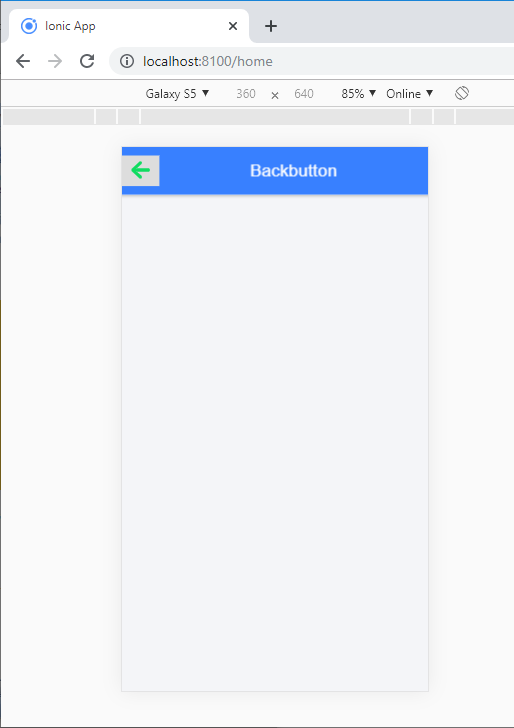
Ionic Back Button: The <ion-back-button> is used to create a back button, which ismoves back into the Application log when you click on it. It is smart enough to know what to offer, depending on the mode and when to display according to the navigation stack.
Example: The below example explains how you can add the back button in the ionic application.
Backbutton
Output: After executing this code, you will get the output, as shown below.
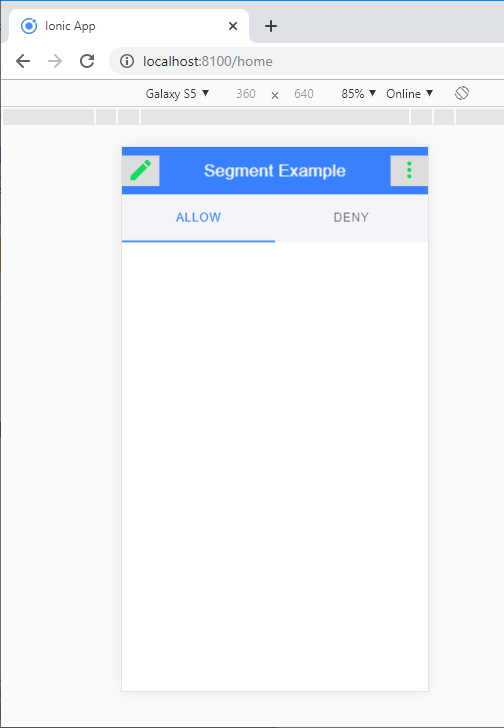
Segments in Toolbars: Segments are the best way to permit the user to switch between different sets of data. The example explains how you can create the segments in the ionic application.
Example:
 Segment Example


 Allow


 Deny
Output: After executing this code, you will get the output, as shown below.
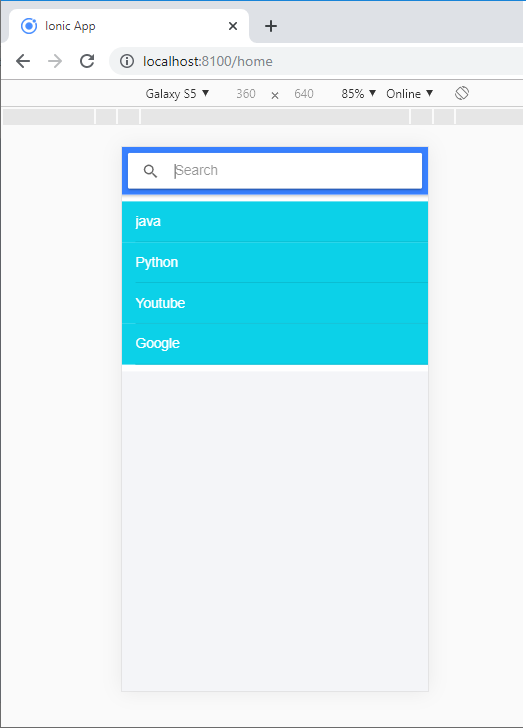
Searchbar in Toolbars: It can also be used to create a paradigm to include a search bar inside the toolbar. The following example shows how you can create a search bar inside the toolbar.
Example:
java Python Youtube
Output: After executing this code, you will get the output, as shown below.