React Portals
React Portals
React portals were introduced by React 16.0 in September 2017. It gives you a way to render the element outside of the component hierarchy, i.e., within a separate component.
Before React 16.0, it was hard to render the child component outside of their parent component hierarchy.
Syntax:
ReactDOM.createPortal(child, container)
The react portals syntax has included two arguments, in which the first argument is the child component, which could be a string or a fragment, and the second argument is a container, which is a DOM element.
Example before React v16
When you need to return the element by the render method of the component, then it is mounted as the new div in the DOM and also renders the child of the closest parent component.
render() {
// React mounted a new div in the DOM and renders the child in it
return (

{this.props.children}

);
}
Example using portal
Sometimes, we require to insert the child component to a different location in the DOM. It means that react does not need to create the new div. It can be done by creating the react portal.
render() {
return ReactDOM.createPortal(
this.props.children,
myNode,
);
}
Features of React Portals
There are several features of the React portals that are as follows:
- It uses React 16.0 and the official API to create the portals.
- It transports the child component into the new React portal, which appends by the default to document body.
- It also can target the user-specified DOM element.
- It usually supports server-side rendering.
- It supports the returning arrays (as no wrapper div required).
- React portals do not have any dependencies.
- It uses <Portal /> and <PortalWithState />; that's why there is not a compromise between convenience and flexibility.
When React Portal required?
React portals are commonly used in:
- Tooltips
- Modals
- Widgets
- Floating menus
Get Started with React Portal
Installation
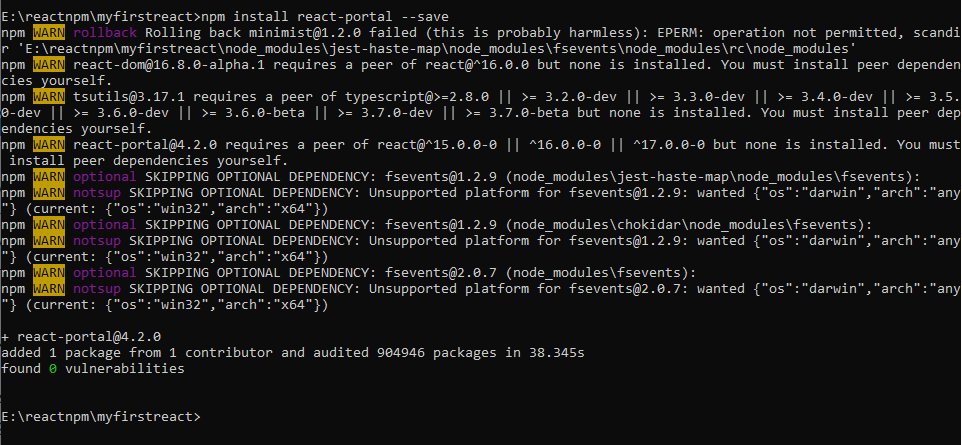
You can install the React Portal by using the following command:
npm install react-portal --save
Explanation
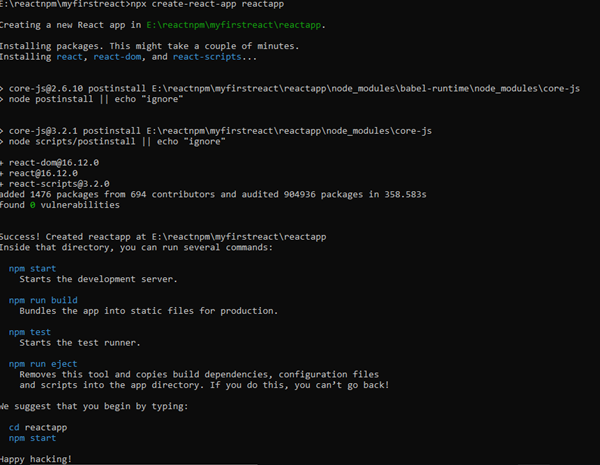
Now, create your new react project by using the following command:
npx create-react-app reactapp
Now, open your App.js file.
App.js
import React, {Component} from 'react';
import './App.css'
import PortalExample from './PortalExample.js';
class App extends Component {
render () {
return (
Now, create a portal component and import it into your App.js file.
PortalExample.js
import React from 'react';
import ReactDOM from 'react-dom';
function PortalExample(){
return ReactDOM.createPortal(

Example of Using the Portals
,
document.getElementById('portal-root')
)
}
export default PortalExample;
Open your Index.html file and add <div id="portal-root"></div> element into it in order to access the child component outside the root node.
Index.html
React App
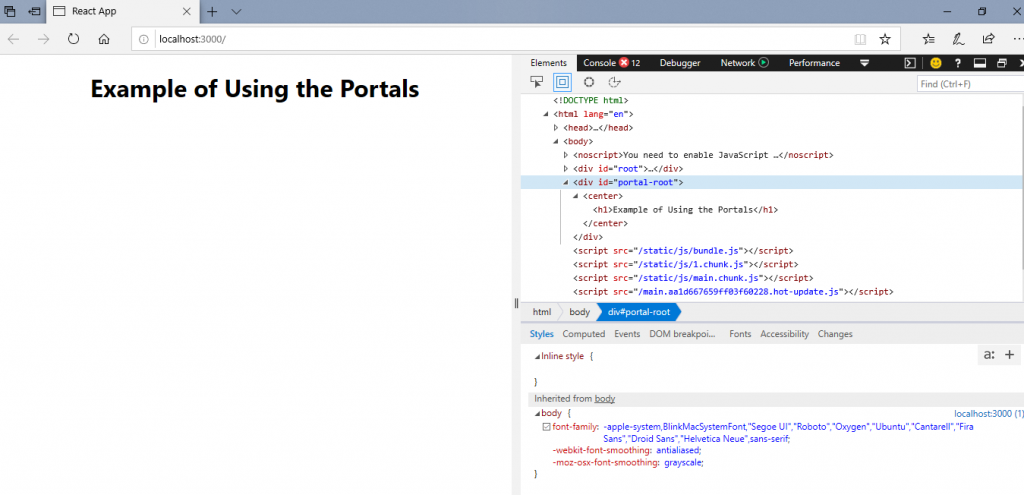
Output:

Now, open your Inspect (ctrl + shift + I). In your inspect window, select the Elements section and click on the <div id="portal-root"></div> component. Here, you can see that each tag is under the ‘portal-root’ DOM node, instead of ‘root’ DOM node.
So, you can see how the react portals give the ability to break out of the root DOM tree.