Different Styles of Displaying Text in Latex
Different Styles of Displaying Text
There are a lot of instances in our daily life where we want to visually separate a part of text from other texts in the surrounding. The distinguished text can be given extra indentation to do the visual separation. This is known as displaying. LaTex provides environments to accomplish different styles.
Quotation
We all have seen some quotations. Quotations add extra weight to a text. Generally, we put texts in double quotes (“…”) to accentuate. However, when the distinguished text contains many lines, then double quotes style will not work. In this scenario, some extra indentation will work. The following example explains the same.
To achieve the above result, compile and run the following code.
\documentclass{article}
\begin{document}
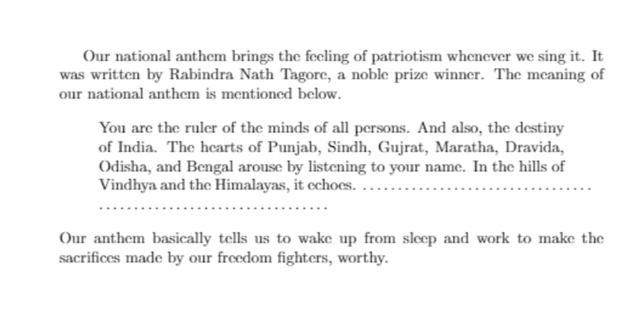
Our national anthem brings the feeling of patriotism whenever we sing it. It was written by Rabindra Nath Tagore, a noble prize winner. The meaning of our national anthem is mentioned below.
\begin{quote}
You are the ruler of the minds of all persons. And also, the destiny of India. The hearts of Punjab, Sindh, Gujrat, Maratha, Dravida, Odisha, and Bengal arose by listening to your name. In the hills of Vindhya and the Himalayas, it echoes.
……………………………
……………………………
\end{quote}
Our anthem basically tells us to wake up from sleep and work to make the sacrifices made by our freedom fighters worthy.
\end{document}
We use \begin{quote} .. \end{quote} to achieve the extra indentation.
Poetry
In LaTex, we can also typeset poetry. Consider the following passage.
We can easily achieve the above passage by writing the following code.
\documentclass{article}
\begin{document}
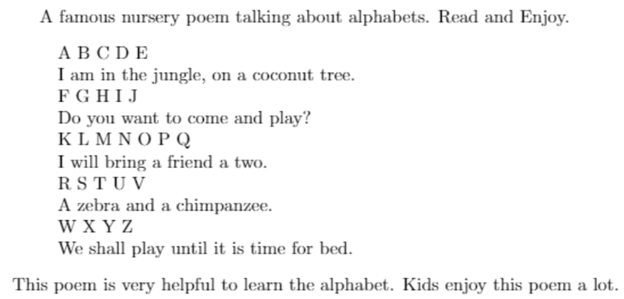
A famous nursery poem talks about the alphabet. Read and Enjoy.
\begin{verse}
A B C D E\\
I am in the jungle, on a coconut tree.\\
F G H I J\\
Do you want to come and play?\\
K L M N O P Q\\
I will bring a friend a two.\\
R S T U V\\
A zebra and a chimpanzee.\\
W X Y Z\\
We shall play until it is time for bed.
\end{verse}
This poem is very helpful in learning the alphabet. Kids enjoy this poem a lot.
\end{document}
To force a line break, \\ is used. To put some spaces between the lines, we can use \\[6pt]. This will put a vertical space of 6 points between lines. \\* might be used to avoid rhyming couplets to go on another page. Different stanzas can be separated by introducing blank lines.
Lists
We all know how to make bulleted-lists or numbered lists in a word processor (e.g., MS – Word). These lists can also be made in LaTex. Consider the following code.
\documentclass{article}
\begin{document}
The following points should be kept in mind when we are working on \LaTeX
\begin{itemize}
\item \LaTeX and word processor are two different things. \LaTeX\ is a programming language.
\item  \LaTeX\ can never be an application. It is a program. Therefore, we need to compile it to see the output.
\item The purpose of developing \LaTeX\ is very different from a word processor. Therefore, one should not compare a word processor with \LaTeX, as the purpose is different.
\end{itemize}
Since \LaTeX\ is a program, it provides a greater level of flexibility.
\end{document}
Output:
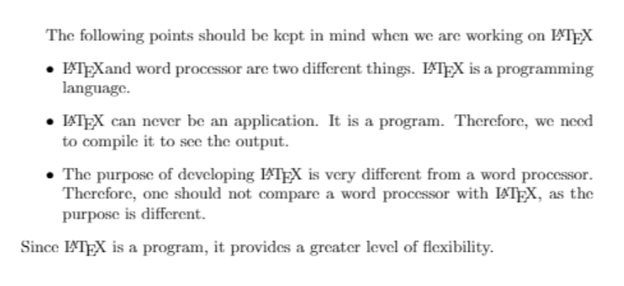
The pair \being{itemize} and \end{itemize} are gives the environment for the generation of bulleted-list. Each entry in the environment is done by \item command.
LaTex also facilitates to generate a list within the list (nested lists). Look at the following code.
\documentclass{article}
\begin{document}
The following points should be kept in mind when we are working on \LaTeX
\begin{itemize}
\item \LaTeX and word processor are two different things. \LaTeX\ is a programming language.
\item  \LaTeX\ can never be an application. It is a program. Therefore, we need to compile it to see the output.
\item The purpose of developing \LaTeX\ is very different from a word processor. Therefore, one should not compare a word processor with \LaTeX, as the purpose is different.
\item In the following situation, \LaTeX is preferred over a word processor.
\begin{itemize}
    \item When one wants to write mathematical equations, especially the difficult ones.
    \item When one wants to typeset a research paper.
    \item When one wants a document to look stylish.
\end{itemize}
\end{itemize}
Since \LaTeX\ is a program, it provides a greater level of flexibility.
\end{document}
Output:

Notice, the second list comes with dashes, not bullets, which are achieved by the second \begin{itemize} ... \end{itemize} pair. The above nesting of lists is also known as two levels of nesting. Different level of nesting is supported by LaTex.
Four levels of nesting
So far, we have only seen two levels of nesting. However, LaTex supports up to four levels of nesting. Observe the code and the output mentioned below.
\documentclass{article}
\begin{document}
\begin{itemize}
\item In the list, we are at the first level, and we are writing the first entry at this level.
\item In the list, we are at the first level, and we are writing the second entry at this level.
\begin{itemize}
\item In the list, we are at the second level, and we are writing the first entry at this level.
\item In the list, we are at the second level, and we are writing the second entry at this level.
\begin{itemize}
\item In the list, we are at the third level, and we are writing the first entry at this level.
\item In the list, we are at the third level, and we are writing the second entry at this level.
\begin{itemize}
\item In the list, we are at the fourth level, and we are writing the first entry at this level.
\item In the list, we are at the fourth level, and we are writing the second entry at this level.
\end{itemize}
\end{itemize}
\end{itemize}
\end{itemize}
Certainly, not easy to deal with these kinds of lists using a word processor.
\end{document}
Output:
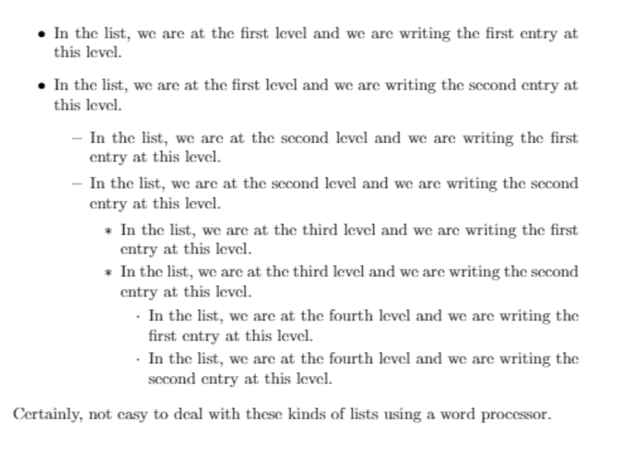
We can see how easily we typeset the list in a proper way. Internally, LaTex puts \renewcommand{\labelitemi}{\textbullet} before the first \begin{itemize}. For the second label, \renewcommand{\labelitemii}{--} is put. The \labelitemi command is responsible for putting labels. For the first level, \labelitemi command is set to \textbullet, and for the second level, it is set to --.
Please not that all the labels used in the list are the default ones. LaTex facilitates us to even change that. Have a look.
\documentclass{article}
\begin{document}
{\renewcommand{\labelitemi}{$\triangleright$}
\begin{itemize}
\item We are using new label. This is the first entry.
\item We are using new label. This is the second entry.
\end{itemize}}
\end{document}
Output:
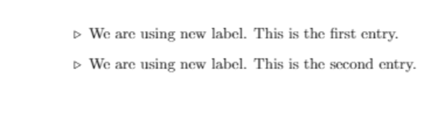
Here, we have used \renewcommand command locally, i.e., whenever we create another list, labels will be set back to the default’s ones. Notice, before the \renewcommand, there is a { and after {itemize} we have the closing one (}). This limits the scope of the label \triangleright. Let us try to create four nested lists by using not using the default labels.
\documentclass{article}
\usepackage{pifont}
\begin{document}
\renewcommand{\labelitemi}{\ding{42}}
\renewcommand{\labelitemii}{\ding{43}}
\renewcommand{\labelitemiii}{\ding{44}}
\renewcommand{\labelitemiv}{\ding{45}}
\begin{itemize}
\item In the list, we are at the first level, and we are writing the first entry at this level.
\item In the list, we are at the first level, and we are writing the second entry at this level.
\begin{itemize}
\item In the list, we are at the second level, and we are writing the first entry at this level.
\item In the list, we are at the second level, and we are writing the second entry at this level.
\begin{itemize}
\item In the list, we are at the third level, and we are writing the first entry at this level.
\item In the list, we are at the third level, and we are writing the second entry at this level.
\begin{itemize}
\item In the list, we are at the fourth level, and we are writing the first entry at this level.
\item In the list, we are at the fourth level, and we are writing the second entry at this level.
\end{itemize}
\end{itemize}
\end{itemize}
\end{itemize}
Certainly, not easy to deal with these kinds of lists using a word processor.
\end{document}
Output:
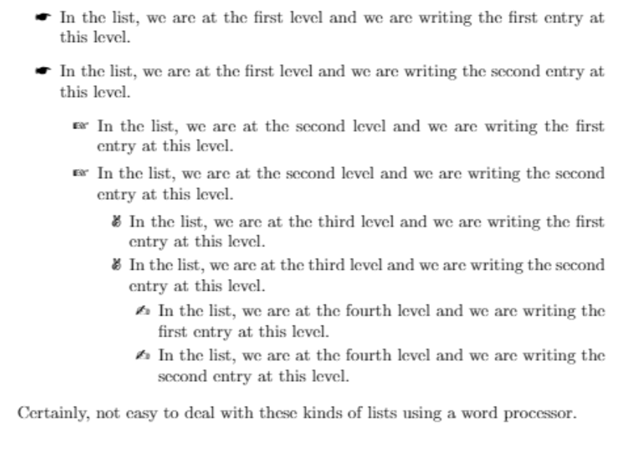
Here, PostScript ZapfDingbats fonts are used for the selection of labels. To use ZapfDingbats fonts, we have to include package pifont by writing \usepackage{pifont} in the preamble.
Note: If we try to do more than four levels of nesting, the compiler will inform us about the same by an alert message “LaTex Error: Too deeply nested”. Though the code will compile and output will be generated but, the extra indentation we are getting for each nested list will not happen for the fifth nested list. The fifth list will come directly beneath the fourth one. The indentation for the fifth and the fourth list will be the same. Try to do five levels of nesting for better understanding.
Numbered-List
Think about a procedure to make a dish or about an algorithm to solve a problem. In these cases, it becomes evident that order matters. We cannot jump directly to the last step of an algorithm and expect a fruitful result. Here, we can see order matters. Therefore, we should use a numbered list to typeset an algorithm. For example, consider the following.

Observe that we cannot jump directly to step 3. First, we need the output in pdf format. To make entries in order, we use the enumerate environment. Run the following code to obtain the above result.
\documentclass{article}
 \begin{document}
There are some basic steps that need to be followed in order to print the document using \LaTeX.
\begin{enumerate}
\item Create a file with .tex extension and write a syntax error-free code on it.
\item Compile it and download the output in pdf format.
\item Take the printout of it.
\end{enumerate}
 Always remember, \LaTeX is not an application. It is a program.
\end{document}
Similar to the itemize environment, the enumerate also supports four levels of nesting. Have a look at the following written code and its output.
\documentclass{article}
\begin{document}
\begin{enumerate}
\item In the list, we are at the first level, and we are writing the first entry at this level.
\item In the list, we are at the first level, and we are writing the second entry at this level.
\begin{enumerate}
\item In the list, we are at the second level, and we are writing the first entry at this level.
\item In the list, we are at the second level, and we are writing the second entry at this level.
\begin{enumerate}
\item In the list, we are at the third level, and we are writing the first entry at this level.
\item In the list, we are at the third level, and we are writing the second entry at this level.
\begin{enumerate}
\item In the list, we are at the fourth level, and we are writing the first entry at this level.
\item In the list, we are at the fourth level, and we are writing the second entry at this level.
\end{enumerate}
\end{enumerate}
\end{enumerate}
\end{enumerate}
Certainly, not easy to deal with these kinds of lists using a word processor.
\end{document}
Output:
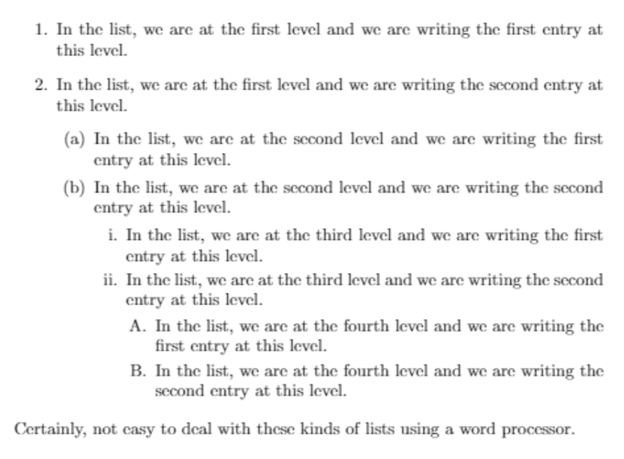
The above-mentioned labels for different levels are the default ones. Therefore, for the first level, we have 1., 2., etc. For the second level, we have (a), (b), etc. For the third level, small roman numbers are present and block the alphabet for the last level, the fourth one. We can do the customization of labels for the different labels.
Customization in numbered-list
In order to achieve the output mentioned in the snapshot,
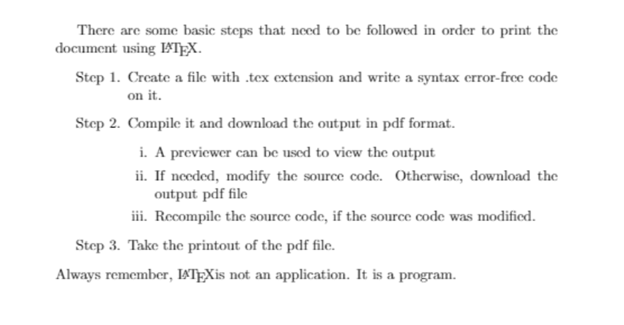
run the following code.
\documentclass{article}
\usepackage{enumerate}
\begin{document}
There are some basic steps that need to be followed in order to print the document using \LaTeX.
\begin{enumerate}[\hspace{0.5cm} Step 1.]
\item Create a file with .tex extension and write a syntax error-free code on it.
\item Compile it and download the output in pdf format.
\begin{enumerate}[i.]
\item A previewer can be used to view the output
\item If needed, modify the source code. Otherwise, download the output pdf file
\item Recompile the source code, if the source code was modified.
\end{enumerate}
\item Take the printout of the pdf file.
\end{enumerate}
Always remember, \LaTeX is not an application. It is a program.
\end{document}
Step 1, 2, and 3 are produced by the optional argument mentioned in the square bracket immediately after \begin{enumerate}. To provide an indentation of 0.5cm \hspace{0.5cm} is used, which is not produced by default in the enumerate environment.
Option [i.] is used for displaying the labels i., ii., iii at the second level of enumeration.
Note I: In order to make Step 1, 2, 3 in bold, we can use the \bfseries command. Replace the line \begin{enumerate}[\hspace{0.5cm} Step 1.] with \begin{enumerate}[\hspace{0.5cm} \bfseries Step 1.].
Note II: We must include package enumerate to get the desired result.
Note III: Extra care should be taken when we give options in the enumerate environment. Consider the following list.
Now, run the following code.
\documentclass{article}
\usepackage{enumerate}
\begin{document}
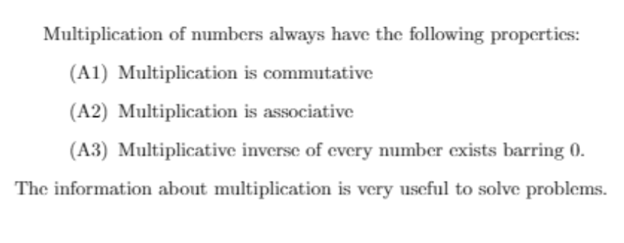
Multiplication of numbers always have the following properties:
\begin{enumerate}[\hspace{1cm}(A1)]
\item Multiplication is commutative
\item Multiplication is associative
\item Multiplicative inverse of every number exists barring 0.
\end{enumerate}
Information about multiplication is very useful in solving problems.
\end{document}
Since we have given the option as [\hspace{1cm}(A1)], the intuition will be that the labels will be named in the pattern A1, A2, A3. However, this is not true. The above-written code will give the following result.
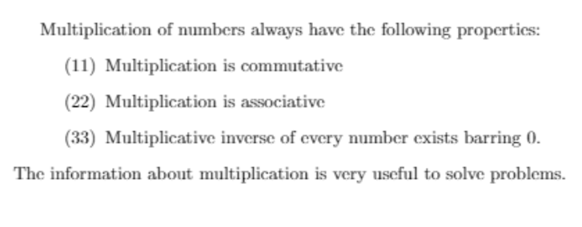
Can you guess why? The option [A] tells that naming of labels should be done as A, B, …, H, J, …, Y, Z. These are the upper-case Roman alphabet. The option [1] ensures the labels should be named as 1, 2, …. These labels names are Arabic numerals. Option [a] will generate the lower-case Roman alphabet, and for the upper-case numeric values in Roman, we should use [I], and for the lower-case numeric values in Roman, we should be using [i].
To achieve the actual result, we should tweak our enumerate option as [\hspace{1cm}({A}1)]. We have to put curly braces around A.
Definitions and Descriptions
Let us discuss another type of list. Whenever we want to display a list like the following,
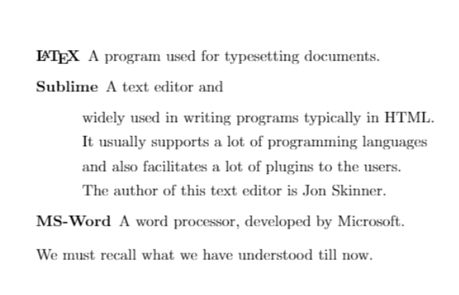
we must write the code written below.
\begin{document}
\begin{description}
\item[\LaTeX] A program used for typesetting documents.
\item[Sublime] A text editor and
\begin{description}
\item widely used in writing programs, typically in HTML.
\item It usually supports a lot of programming languages
\item and also facilitates a lot of plugins to the users.
\item The author of this text editor is Jon Skinner.
\end{description}
\item[MS-Word] A word processor, developed by Microsoft.
\end{description}
We must recall what we have understood till now.
\end{document}
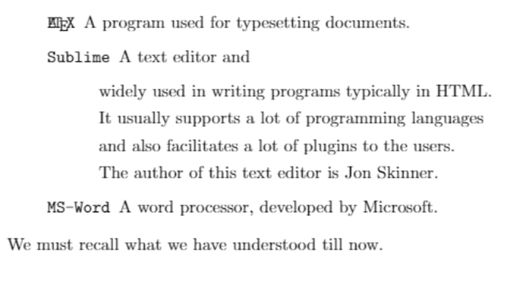
In this environment, labels are not generated automatically. To do so, we set the label names within square brackets with the command \item. The typeset of the labels is set to boldface Roman, by default. We can observe that at the first level, we did not get any indentation. However, LaTex facilitates us to change these settings as per our needs. To change the typeset to typewriter Roman with some indentation at first level, re-write the above code as follows.
\begin{document}
\renewcommand{\descriptionlabel}[1]{\hspace{1cm}\texttt{#1}}
\begin{description}
\item[\LaTeX] A program used for typesetting documents.
\item[Sublime] A text editor and
\begin{description}
\item widely used in writing programs, typically in HTML.
\item It usually supports a lot of programming languages
\item and also facilitates a lot of plugins to the users.
\item The author of this text editor is Jon Skinner.
\end{description}
\item[MS-Word] A word processor, developed by Microsoft.
\end{description}
We must recall what we have understood till now.
\end{document}
This code will generate the following output.
Note: We have discussed different types of lists, its environment and its default settings. We can change the default values of typeset for any of these lists. For example, what we have done just above can be done with an enumerate also. Let us have a look at it.
To get the output as above, run the following code.
\documentclass{article}
\usepackage{enumerate}
\begin{document}
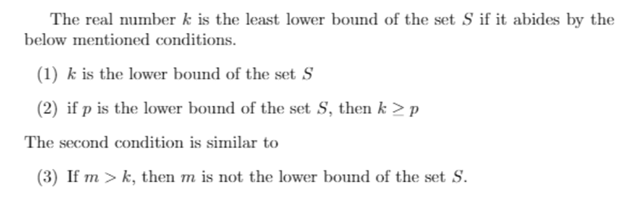
The real number $k$ is the least lower bound of the
set $S$ if it abides by the below-mentioned conditions.
\begin{enumerate}
\item[(1)] $k$ is the lower bound of the set $S$
\item[(2)] if $p$ is the lower bound of the set $S$, then $k\ge p$
\end{enumerate}
The second condition is similar to
\begin{enumerate}
\item[(3)] If $m>k$, then $m$ is not the lower bound of the set $S$.
\end{enumerate}
\end{document}
Notice, immediately after the \item command, we have used the square brackets to create our labels for the entries. You must be wondering what dollar sign ($) is doing in the code. It is changing the mode in TeX. We have three basic modes in TeX: two types of modes for math and one for ordinary text typesetting. To typeset the mathematical stuff inline, we must surround those stuff around the dollar sign ($). For example, $a^2 + b^2 = c^2$ gives the output as follows.

The first dollar sign starts the entry point of inline (ordinary) math mode and the second one serves as the exit point of the math mode. All the codes written above are in the text mode. This is also called normal or default mode. We will learn in detail about the math modes in the next coming sections. For now, let us see one more example of the dollar sign. If we write
\documentclass{article}
\usepackage{enumerate}
\begin{document}
Let us write some general notions of Mathematics.
\begin{itemize}
\item (0,4) is an example of an \emph{open} interval.
\item [1,2] is an example of a \emph{closed} interval.
\end{itemize}
\end{document}
We get the following output.
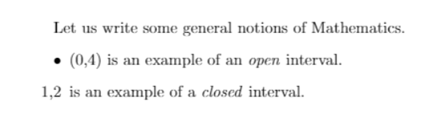
Did you get the same output by dry-running the code? The likely answer will be no. The question here is why we did not get a bullet label entry for the \item command. We have seen a lot of times that square brackets are used to provide options. Here also, LaTex interprets it as an option. The correct way to typeset the above will be
\documentclass{article}
\usepackage{enumerate}
\begin{document}
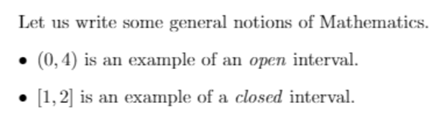
Let us write some general notions of Mathematics.
\begin{itemize}
\item $(0,4)$ is an example of an \emph{open} interval.
\item $[1,2]$ is an example of a \emph{closed} interval.
\end{itemize}
\end{document}
We will get the output as follows.
We see the subtle changes make a big impact on the result. Therefore, utmost precision should be taken to deal with the options to change the labels of the entries. Please note that LaTex also provides options to create custom lists.