Express.js Installation
Express.js Installation
Follow the process mentioned below in order to install Express.js on your device.
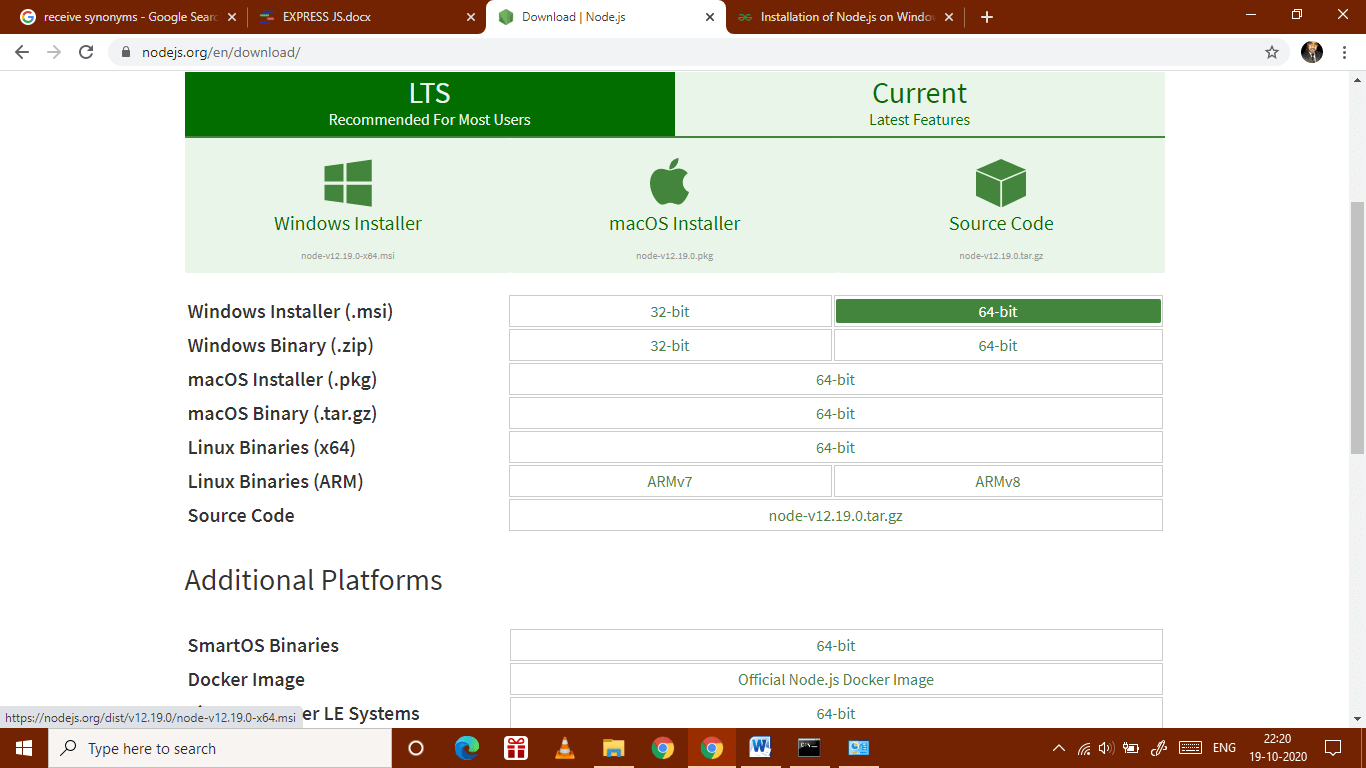
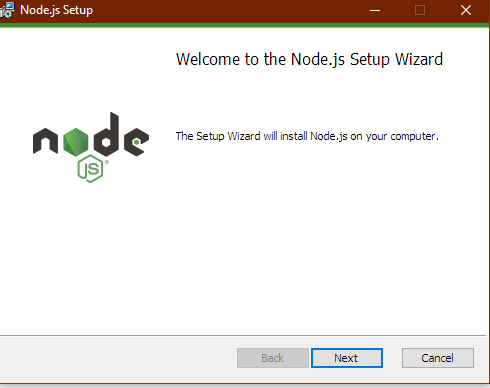
Step 1: Download .msi file of Node.js from nodejs.org according to your system requirements.
After then click on Next.
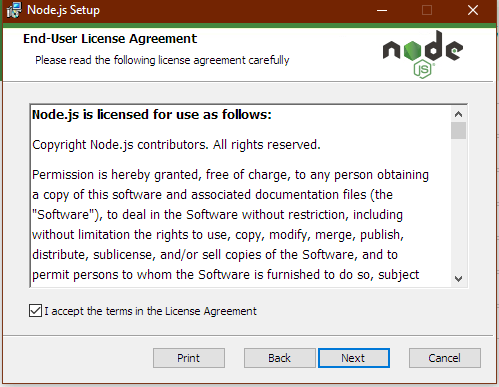
Click on I accept the terms in the License agreement box and then proceed further by clicking on Next.
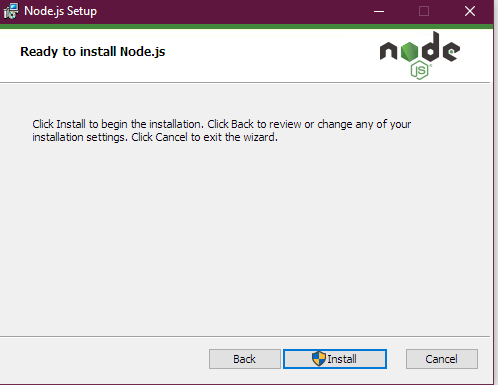
Now, click on Install to Install Node.js.
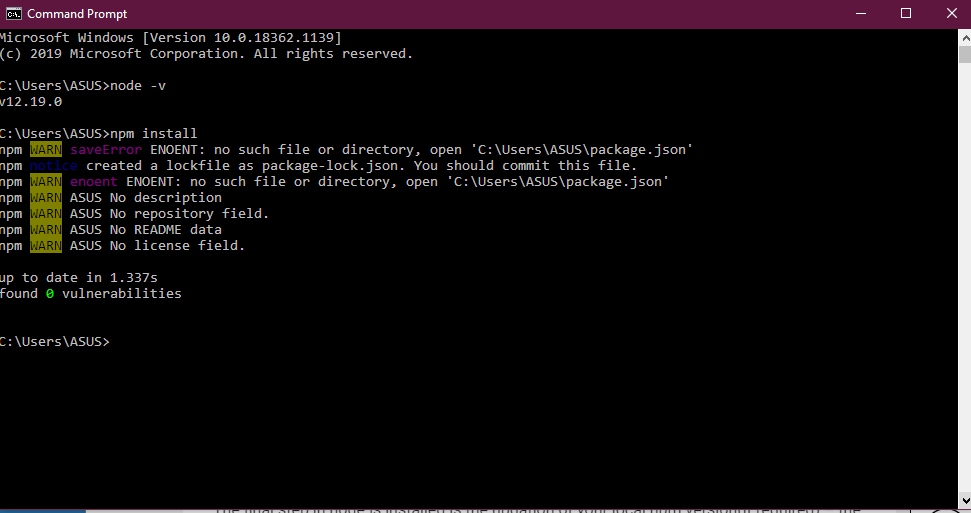
Step 2: Run command prompt (cmd.exe).
Step 3: Type node –v to check if the node is deployed successfully. It should respond with v#.#.#. Restart your system if it responds incorrectly.

Step 4: Install and update all dependencies automatically by typing the "npm install” command.
Step 5: Execute the "node app" to run the server with the server root folder.
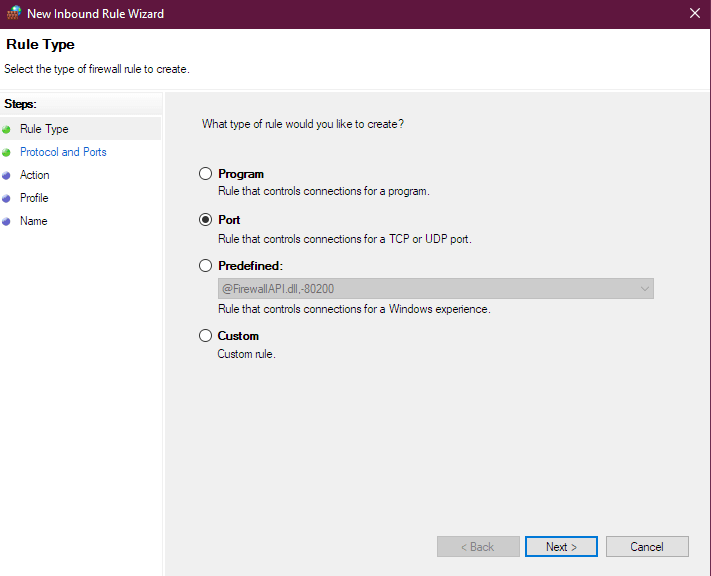
Step 6: Allow access to the application through the Windows Firewall.
- Go to "Control Panel > System Security > Windows Firewall > Advanced Settings".
- Now create a new rule.
- Select “Port” and then click “Next."
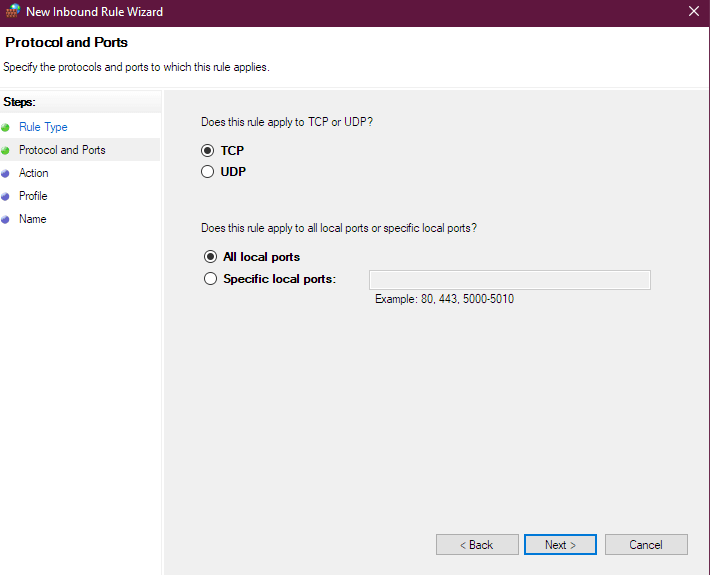
- Now allow TCP and All local ports and click on “Next”.
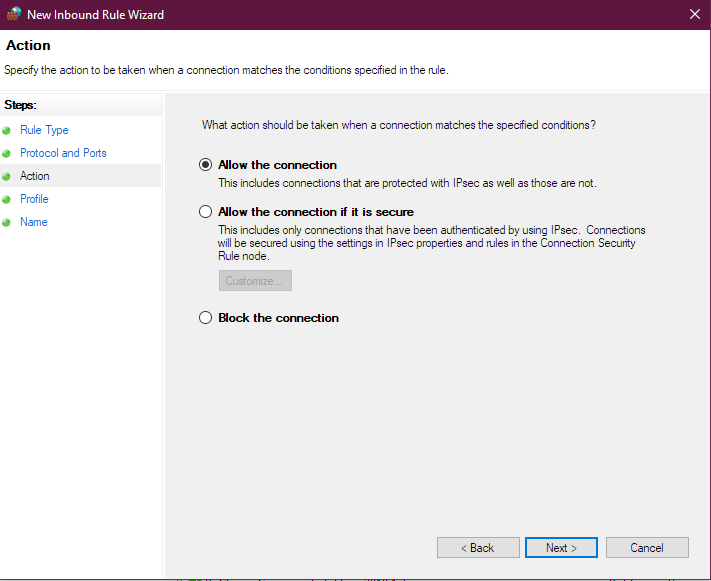
- Select "Allow the connection" and press "Next".
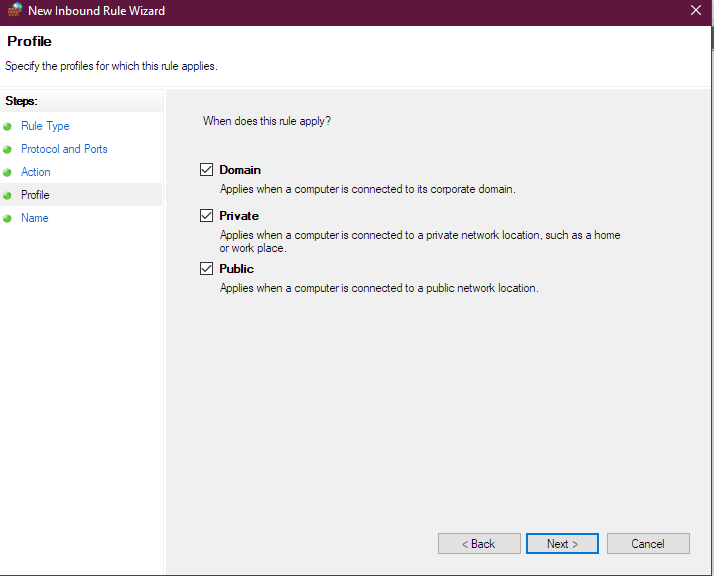
- Check all Domain, Private, and Public followed by clicking “Next”.
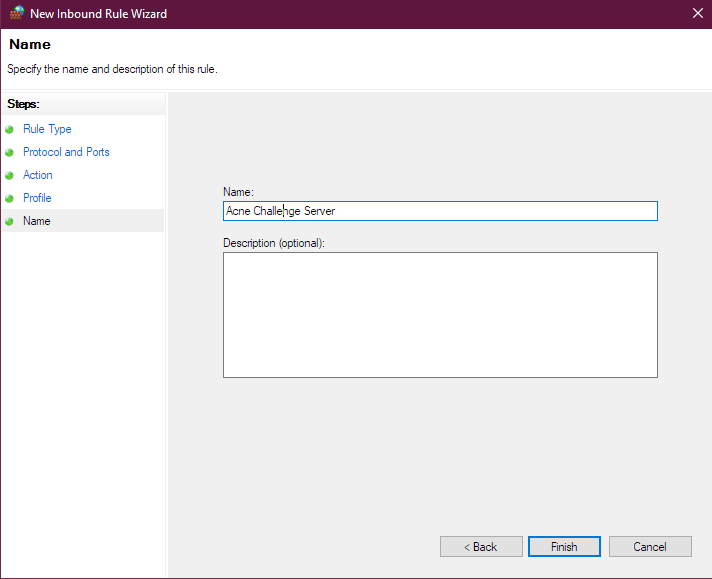
- Now type "Acne Challenge Server" in the name section, and press "Finish".
Step 7: Restart Operating System.
Step 8: Open cmd and type “cmd” and then hit “Enter”.
Step 9: Run "node app" from within the high scores directory.
Step 10: The server is ready.
After the successful installation of node.js on your computer, now install Visual Studio Code editor on your device and do project setup in Visual Studio Code. Following is the detailed procedure to download and install the Visual Studio Code.
Installing and Project Setup in Visual Studio Code
Visual Studio Code is a free source code editor. It is developed by Microsoft. It has various features like syntax highlighting, support for debugging. We will use this code editor for Express.js.
Following is the process to install the Visual Code Studio.
Step 1: In your browser, open the official website of Visual Studio Code www.code.visualstudio.com.
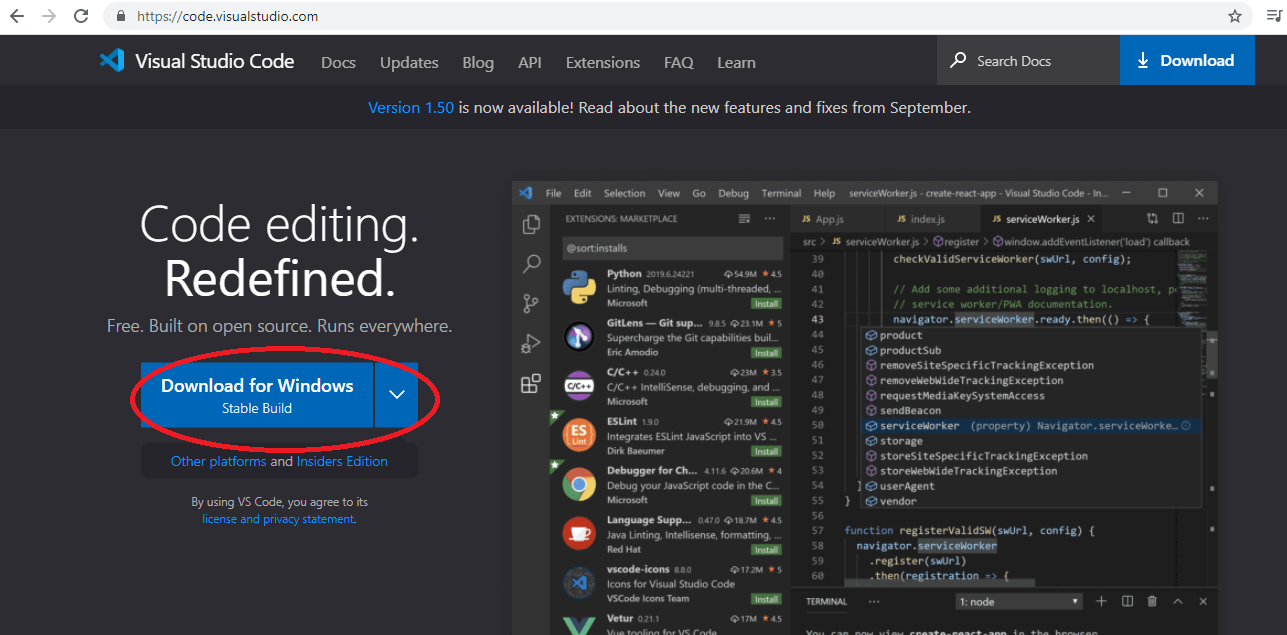
Step 2: Click on the download button (in red circle) according to the requirement of your system. As I am using the Windows operating system, so I am choosing the Download for Windows option. If you are using Linux or Mac, then you can choose according to your OS.
Step 3: Click on the downloaded file. It will open the folder where the download is saved.

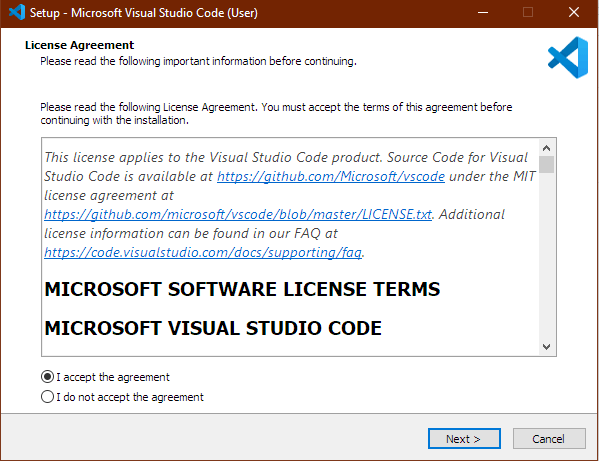
Step 4: Double click on the file and click on the license agreement box to accept the agreement, and after that, click on Next.
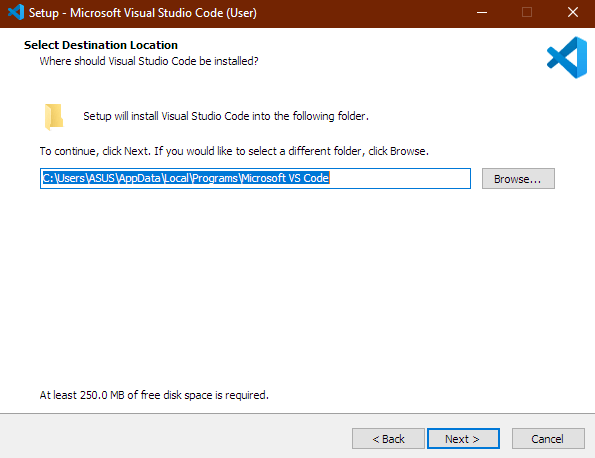
Step 5: Select the location where you want your file to be installed and then click on the Next.
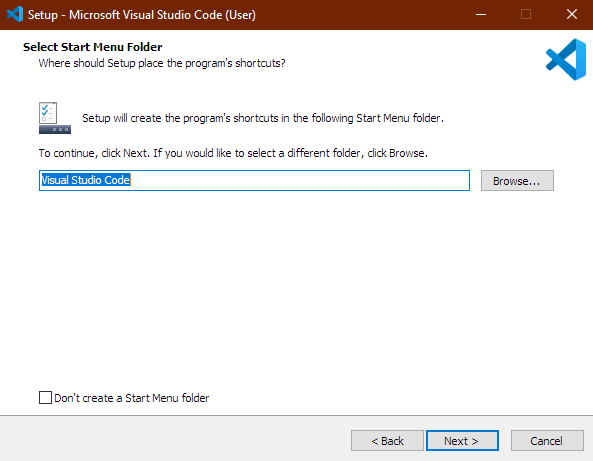
Step 6: Select the folder where the setup shortcut will create and click on Next.
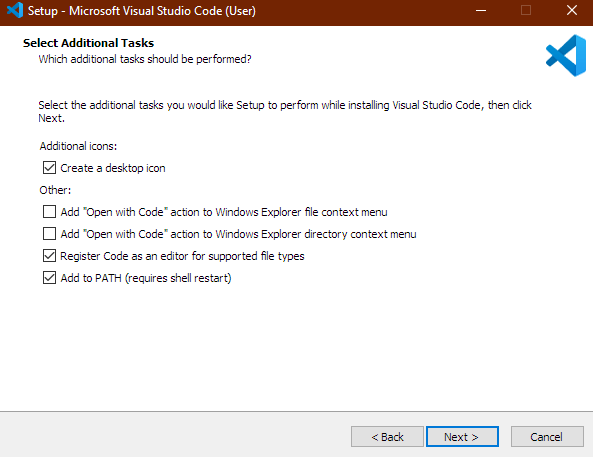
Step 7: Now select the options you want to be in setup and click on Next.
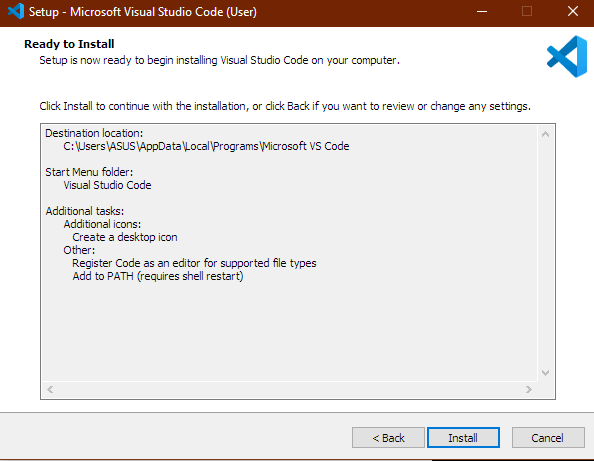
Step 8: Click on Install.
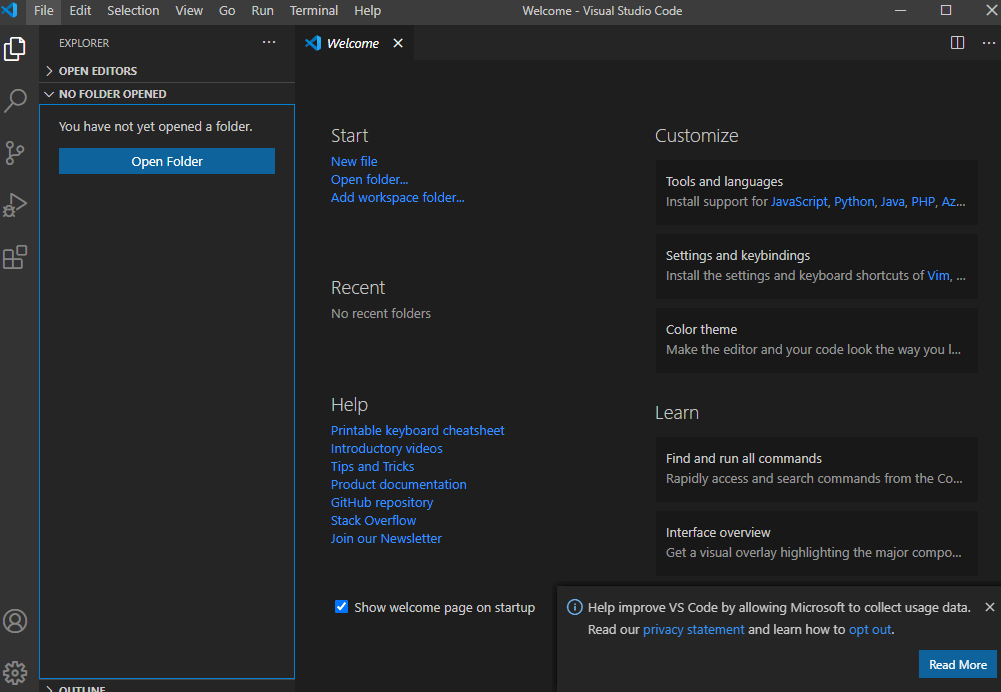
Step 9: Click on Finish.

Visual Studio code will be deployed on our computer.
How to open the Express.js project in Visual Studio code?
You can easily deploy the Express.js project in Visual Studio Code by the following process.
Step 1: Now Open Visual Studio code.
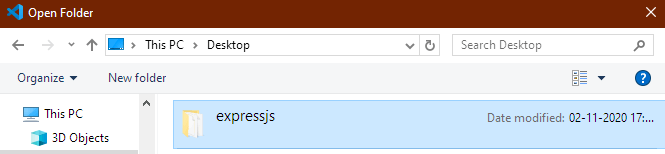
Step 2: Click on the Open folder as shown above, then select the folder after and click on the Select folder.
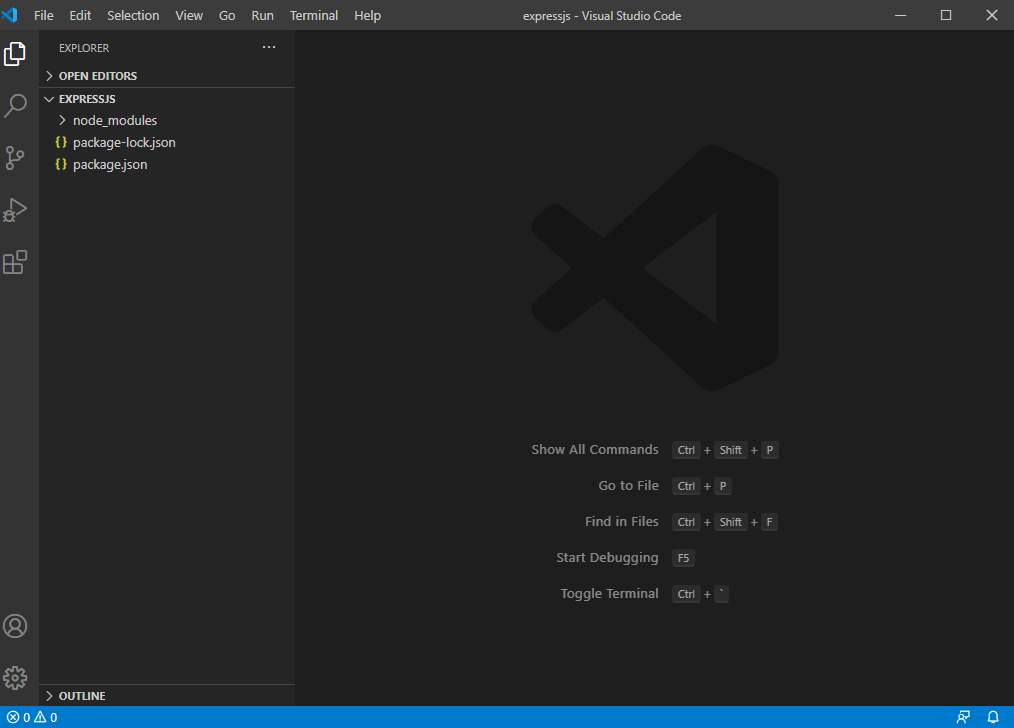
Step 3: As you can see below, your project id is now open in the Visual Studio Code.
Now, your Visual Studio Code editor is ready to work. You can deploy your project here and code very efficiently.