Flutter installation on MacOS
Flutter installation
Now, we are going to see how we can install flutter in macOS.
Pre-Requisites For Installing Flutter
Knowledge of OOPs (object oriented programming) and familiarity with programming languages like Java,C,C++ etc. is a must before starting with flutter. It is advisable to learn and at least have basic knowledge of classes and objects before going any further with flutter.
SYSTEM REQUIREMENT FOR INSTALLING FLUTTER IN MACOS:
| OPERATING SYSTEM | MAC OS (64 BIT) |
| DISK SPACE | 2.8 GB (EXCLUDING XCODE, IDE AND TOOLS) |
| TOOLS | bash, curl, git 2.x, mkdir, rm, unzip, which |
It is advisable to have at least 10-12 GB storage space free in your MacBook, because for flutter applications to work on both iOS and Android, you will need to install Xcode and Android studio both of which are very heavy applications
Installation In Mac Os
- Head over to https://flutter.dev/docs/get-started/install and choose MacOS as your operating system.
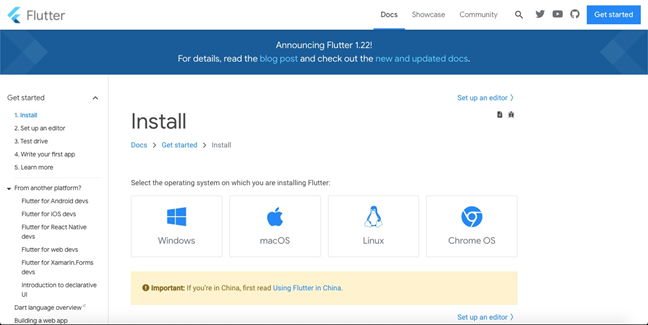
- Download the flutter installation bundle.
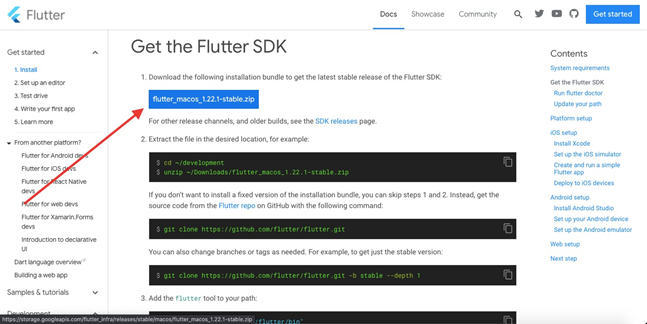
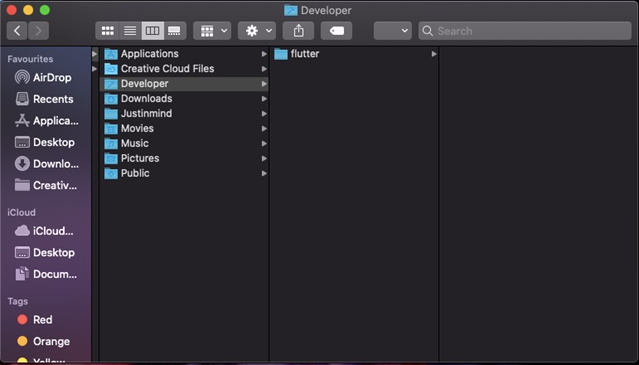
- Once the flutter bundle is installed in a zip file, unzip it. The folder that will be created in your MacBook is shown below.
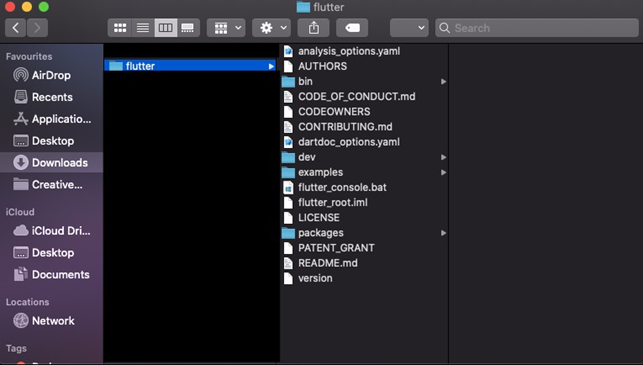
- This step is very important. Place your flutter folder to some place permanent. Go to Macintosh HD >> Users >> Your username and there create a new folder by the name of “Developer”. Now so the full path is- Macintosh HD >> Users >> your username >> Developer >> Flutter.
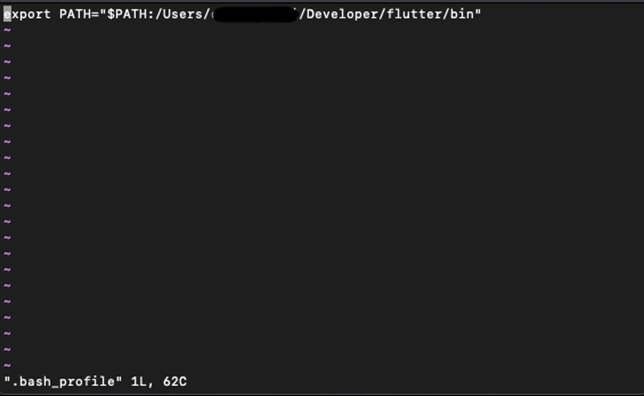
- This next step now is from terminal from your MacOS. Go to spotlight search for terminal. In your terminal you will find your username preceded by a dollar sign ($). Most of the MacBooks now uses Z shell, so type .zshrc after the dollar sign and you will see something like this on your screen.

- Now you have created or opened a rc file for your shell. We will move on to the next step in the process. That is to update the path using terminal.
Write “export PATH=“$PATH:[PATH_TO_FLUTTER_GIT_DIRECTORY]/flutter/bin”" in your terminal. To save this path- write :wq!. This process will update the path for flutter applications.
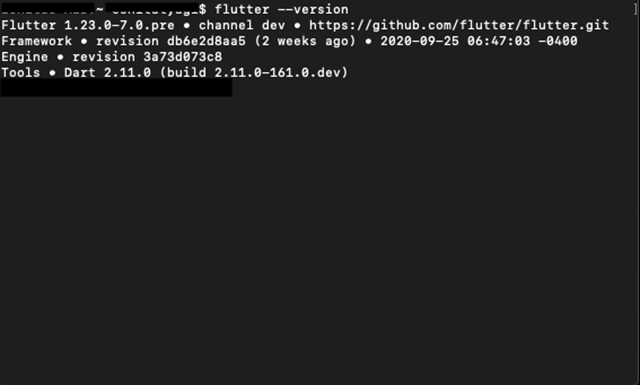
- The last step involved in the installation of flutter is to see whether your version is fine or not. To check that we need to again open the terminal and run flutter — version. The output should be something like this.
Setting Up Android For Flutter
Let’s see how android is installed for flutter in detail.
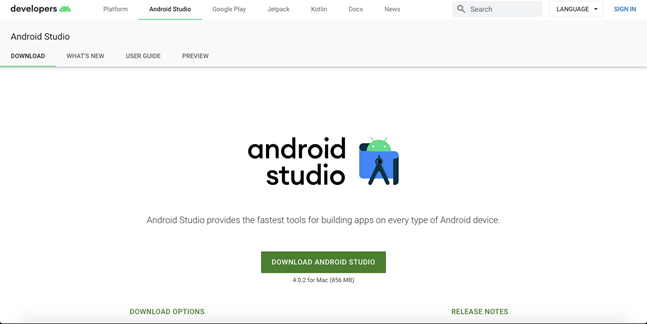
- Install android studio from https://developer.android.com/studio
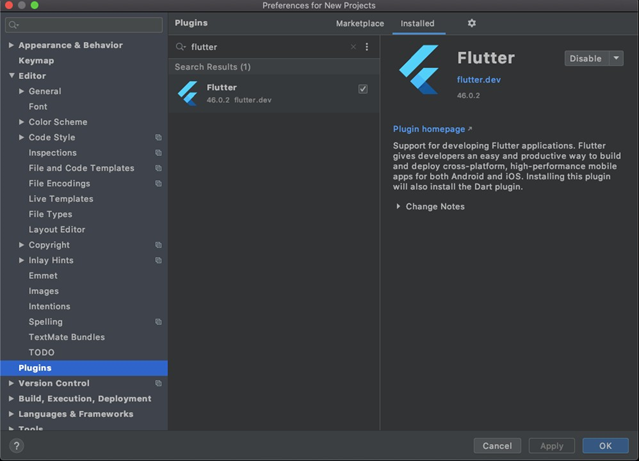
- Add flutter plugin to your android studio. In order to do that we need to open the newly installed android studio. Click on preferences which you can find in configure menu. When the page opens, you will need to go to the plugins which are available in left side menu. Search for the plugin named “Flutter”. Install it and enable it for use. Once this flutter plugin is installed, it will ask you to give permission to install dart as third party plugin. Give permission and android studio will be re-started with your newly installed plugins.
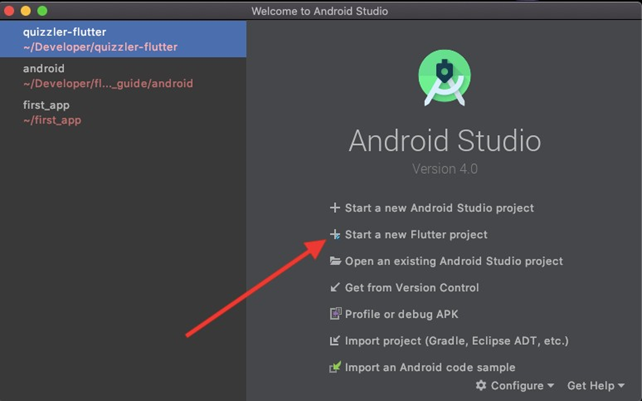
- Once you have installed flutter and dart plugins in android studio, you will be able to see a new option for creating flutter projects.
Setting up android emulator for flutter
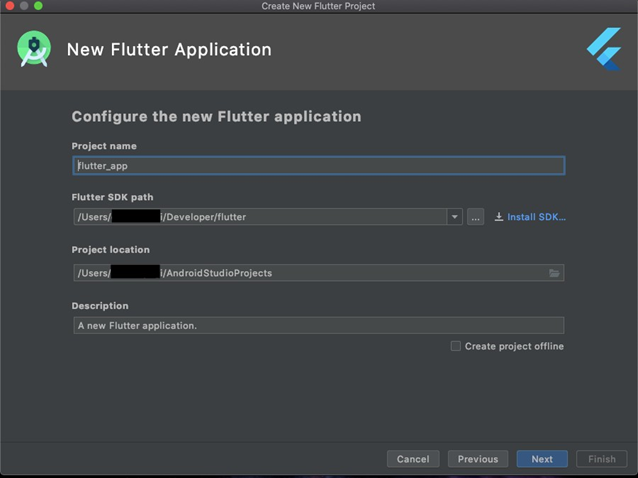
- First we need to create a new flutter project. For take we will have to write the Project name which in this case is flutter_app, the SDK path and location will by default be the one that you set up initially. You can also give a brief description about your application. Finish this process and proceed to the next step.
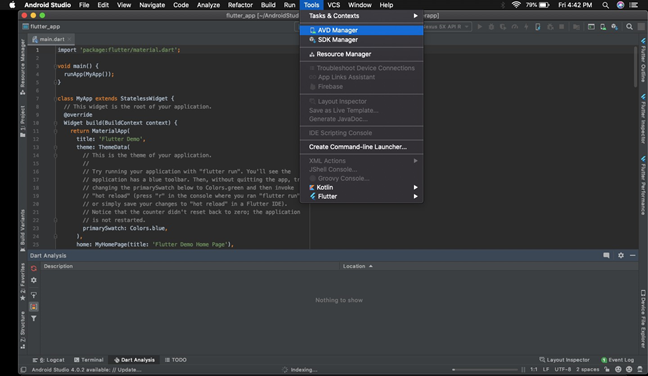
- Now to set up the emulator we need to go to the tools >> AVD manager (where AVD stands for Android Virtual Device).
- Select device that you want to use as your virtual device. In this case, we have used Pixel 3.
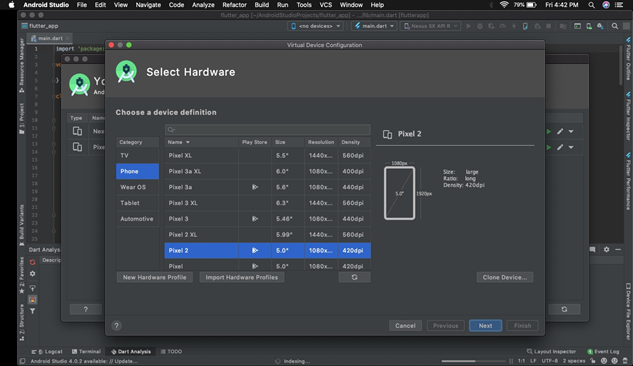
You can change the name of your virtual device (AVD). Choose other options as per your need and click finish.

- Once you have finish creating your emulator. We will now see whether the android studio is now running our application on android virtual studio. First we will select the emulator >> run.
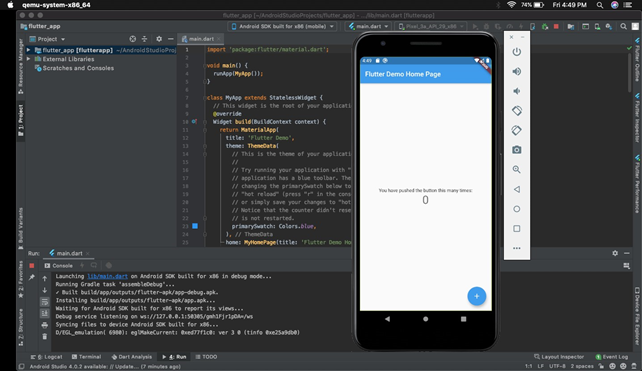
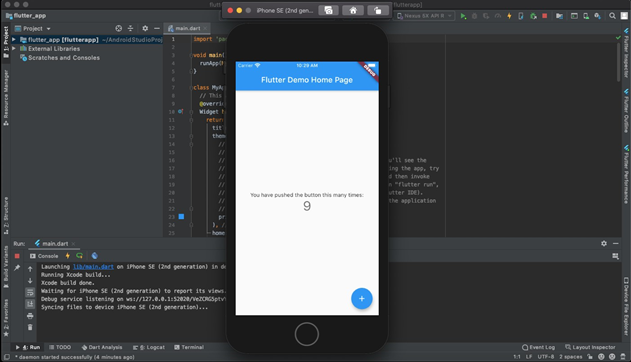
The application will run smoothly in AVD. This application is the default code which flutter provides whenever we create a new project. It only shows the number of times the plus button is clicked on the screen.
Setting Up Ios For Flutter
iOS setup is very simple for flutter. Let’s see how can we do that.
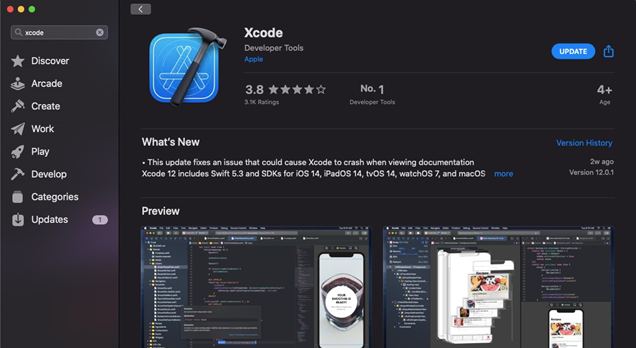
- Head over to the App Store in your MacBook. Search for Xcode and install it. In my laptop, this is already installed. Xcode needs a lot of storage space. Approximately 11.2 GB.
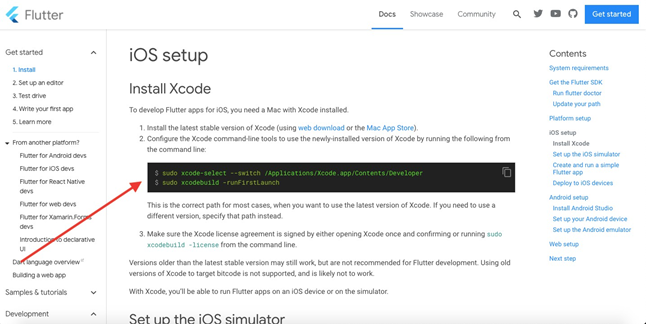
- Now, go to https://flutter.dev/docs/get-started/install/macos#ios-setup and copy the arrowed code into your terminal.
- We will set up simulator for iOS application testing. For that go to spotlight search >> simulator. If you are opening the simulator for the first time, it will take some time to load.
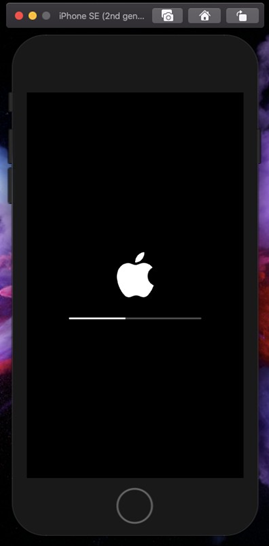
- Once your simulator is set up, it will look something like this. In this MacBook, we have latest version apple OS- iPhone SE (2nd generation).
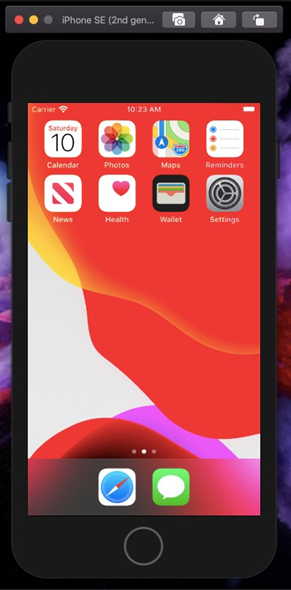
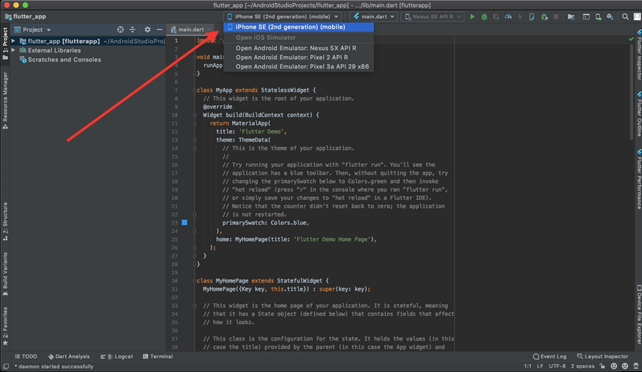
- Next step is trying to run your default flutter application in iOS platform. For that we need to go to android studio >> select iPhone SE as your simulator >> run main.dart.
- If you have followed all the steps correctly and precisely, your default flutter application will run just fine in your simulator.