Installation and Configuration of Gradle on Windows
Following are the steps used to install Gradle on Windows:
Step 1: To Install Gradle, Java should be installed in the operating system. If Java is already installed on the system, then check the version using cmd (java -version) because we need version 8.1 or above. If Java is not installed on the system then follow the steps given below for installation.
How to Install Java: https://www.javatpoint.com/javafx-how-to-install-java
Note: We do not need to install groovy because Gradle has its own groovy library.
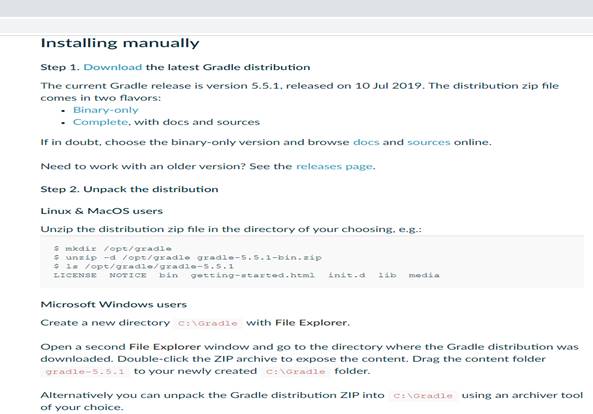
Step 2: Now, go to the official site of Gradle. Below is the link:
Step 3: Click on Binary-only to download Gradle zip folder. When the downloading is completed, unzip the folder.
Now set the environment variables i.e., GRADLE_HOME and PATH to access the Gradle from any location.
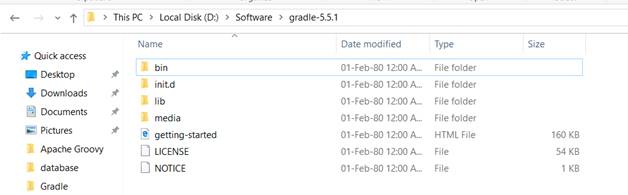
Step 4: Go to the location where Gradle folder is placed. And copy the path of the Gradle folder from the address bar.
D:\Software\gradle-5.5.1
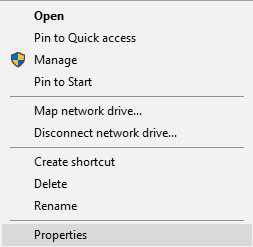
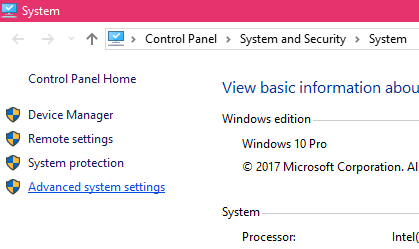
Step 5: Now go to This PC, right-click on it, and then click on properties.
Step 6: Click on Advanced system settings.
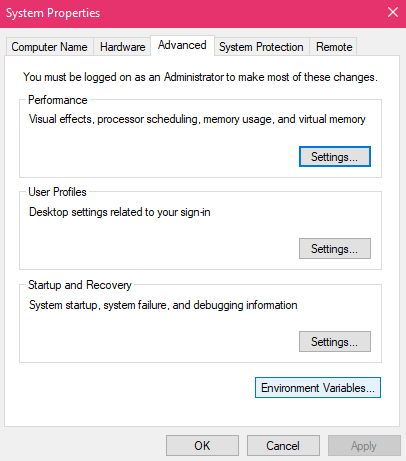
Step 7: Click on Environment variable.
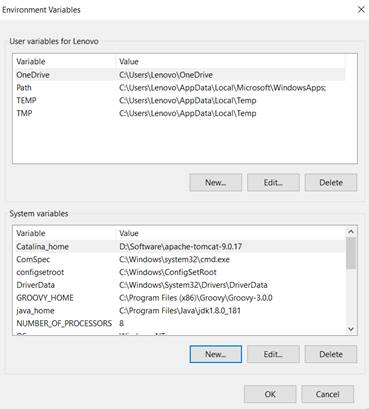
Step 8: Now click on New button
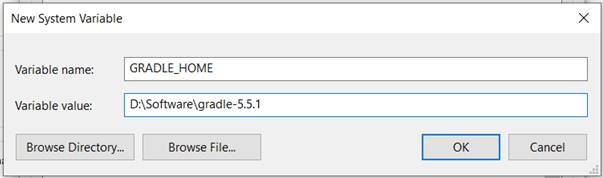
Step 9: Give the variable name as GRADLE _HOME and for variable path paste the Path of the Gradle folder.
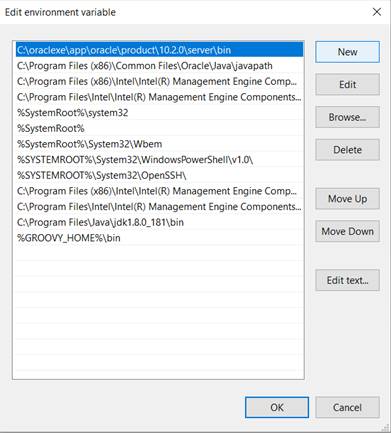
Step 10: Now to set the Path variable, again go to the Gradle folder and copy the path up to bin folder.
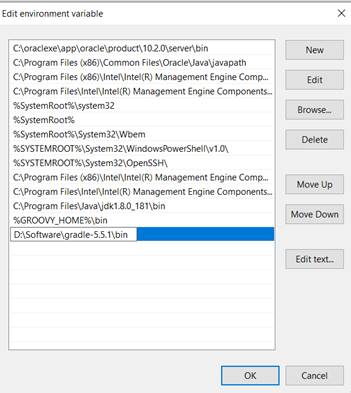
D:\Software\gradle-5.5.1\bin

Step 11: As we can see that Path variable is already defined, so we have to click on the edit button.
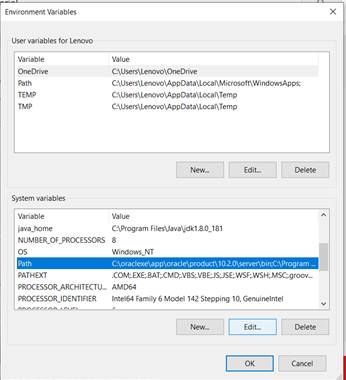
Step 12: Now click on the New button.
Step 13: Now paste the path and click on ok button.
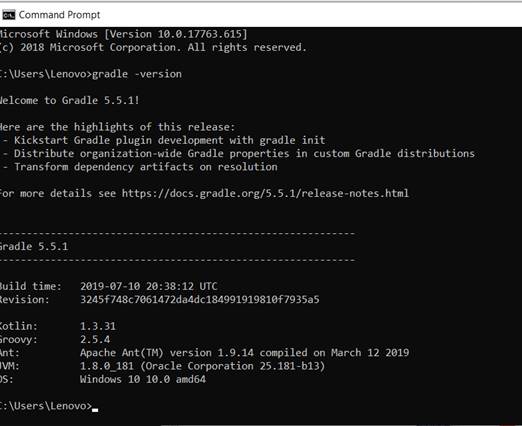
Step 14: Now, we have to verify that Gradle is installed or not. So for that, go to command prompt and type gradle -version.
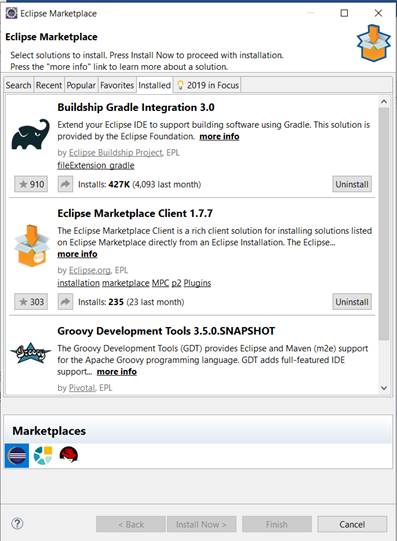
Gradle installation on Eclipse
Following are the steps used to install Gradle on eclipse:
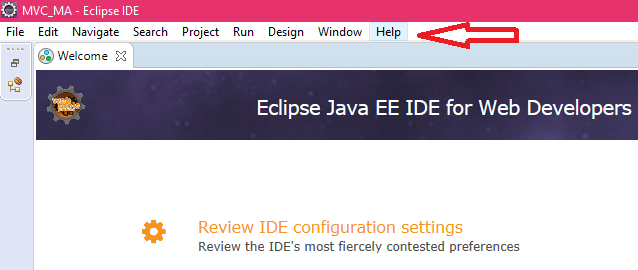
1) Go to eclipse and click on help.
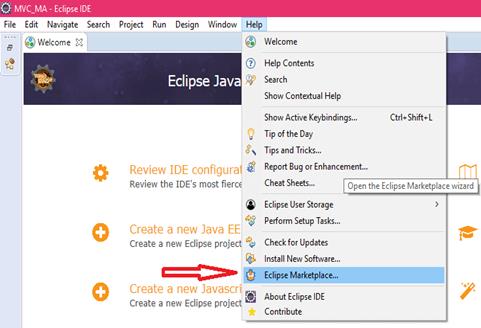
2) Then click on Eclipse Marketplace.
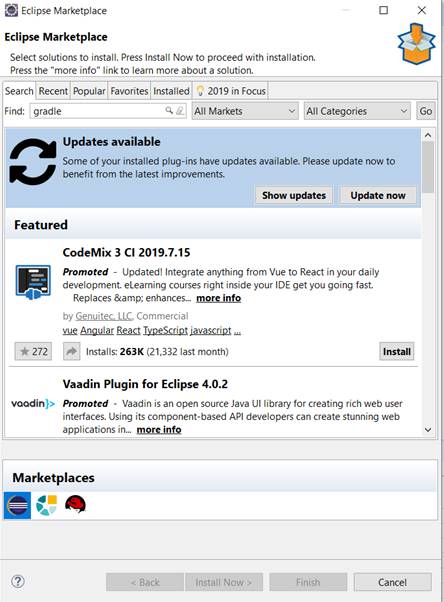
3) Now, type Gradle in Find section and press enter key.
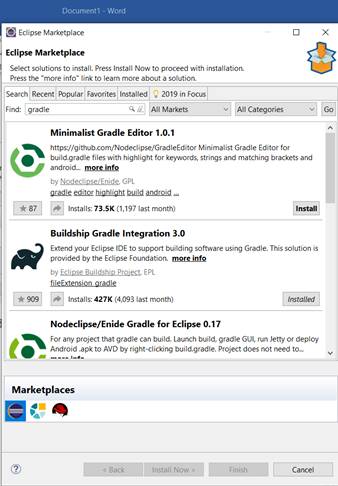
4) Now, you will get the latest version of Gradle and click on the install button.
5) Now, verify in your eclipse you have Gradle installed or not. Go to help in eclipse and click on Eclipse Marketplace again. And click on the install tab, you will get Gradle installed.