Installation of Magento
Installation of Magento
System requirement of Magento
- Database - MYSQL
- Web server-XAMPP
- Operating System-WINDOWS, Mac OS, Linux.
- Browser Support- Internet Explorer, Firefox, Google Chrome.
- SSL (Secure Server Layer)-A valid security certificate is required for HTTPS.
- PHP-PHP 6.1.0
Install the XAMPP program for the full PHP, MySQL, and Apache web server packages. See the Magento XAMPP software guide for the XAMPP installation.
Step 1: First, download the Magento file from this link: https://magento.com/tech-resources/download. We are installing Magento version 2.3.3, which is the latest version available in the link.
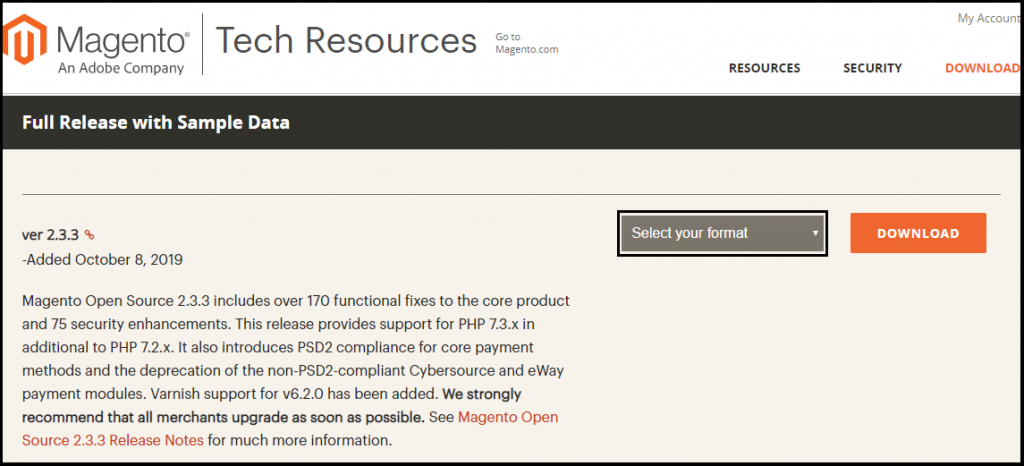
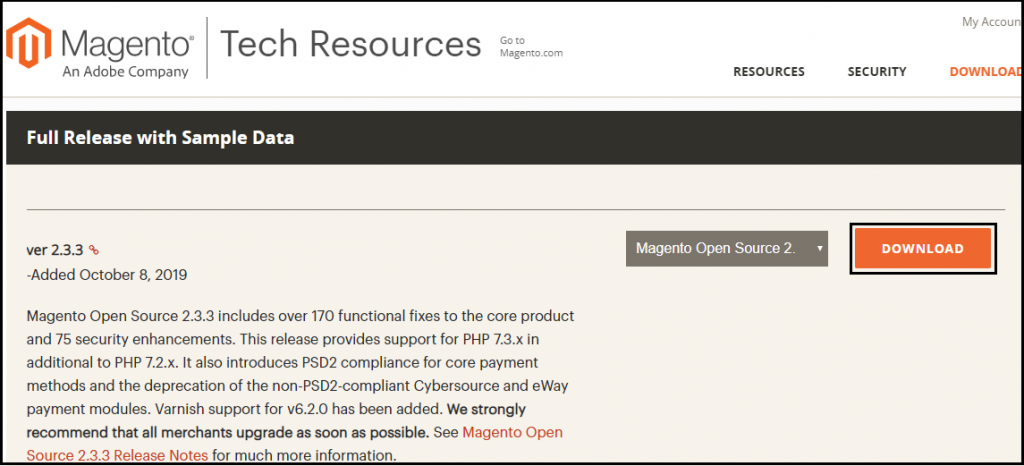
Step 2: Here, we select the .zip file format of Magento setup and click on the download button. The file format is available in different types like zip, tar.gz, or tar.bz2; you can choose as per your requirement.
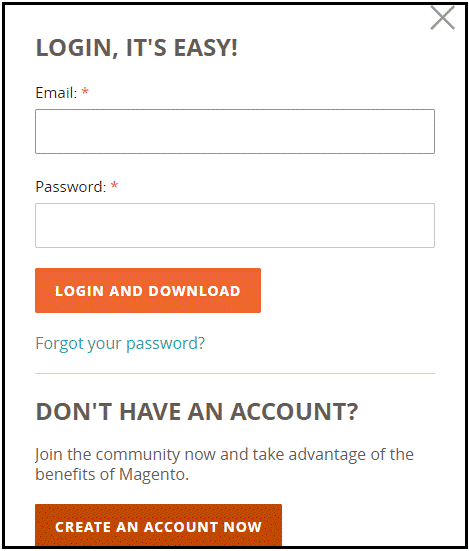
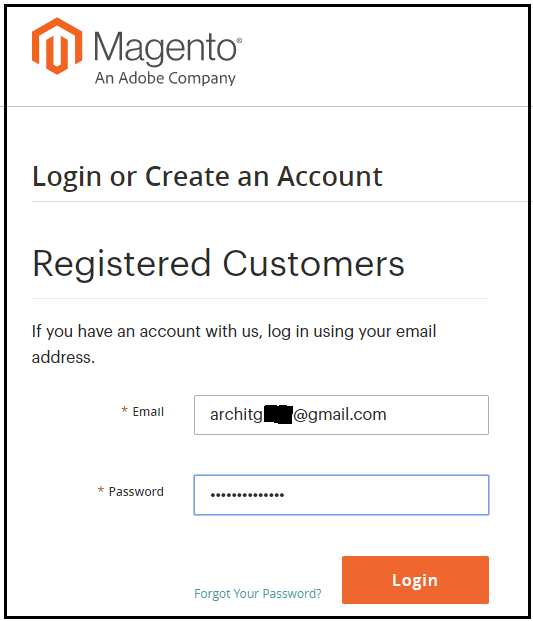
Step 3 After clicking the download button, it will show a login window.
If you already have an account, you can log in, and if you don't have an account, you can create a new account.
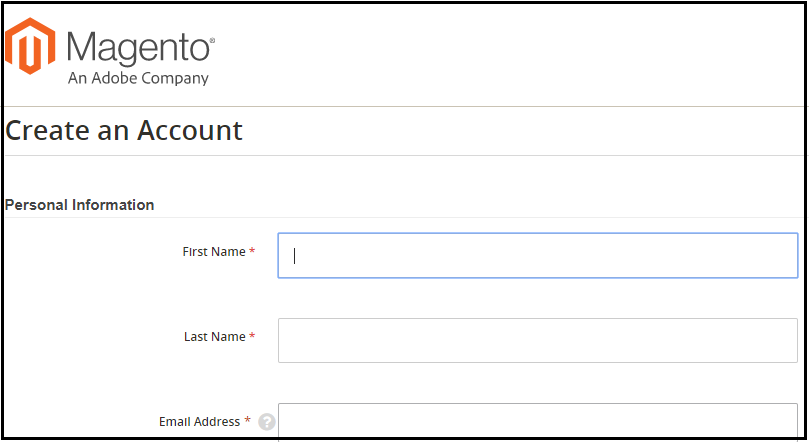
Step 4: Now, fill all the personal information correctly and click the submit button.
Step 5: After creating a new login id, you can log in to the Magento community. Downloading will automatically start after login.
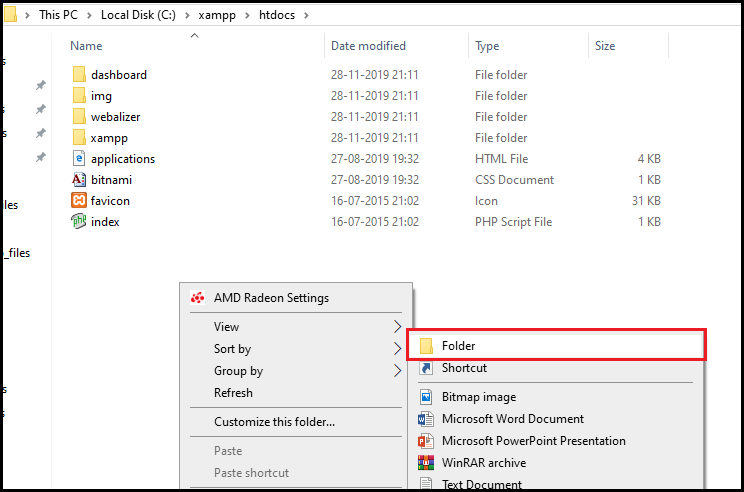
Step 6: After downloading the Magento setup file. Now, create a new folder by name DemoWebsite inside the C:\xampp\htdocs.
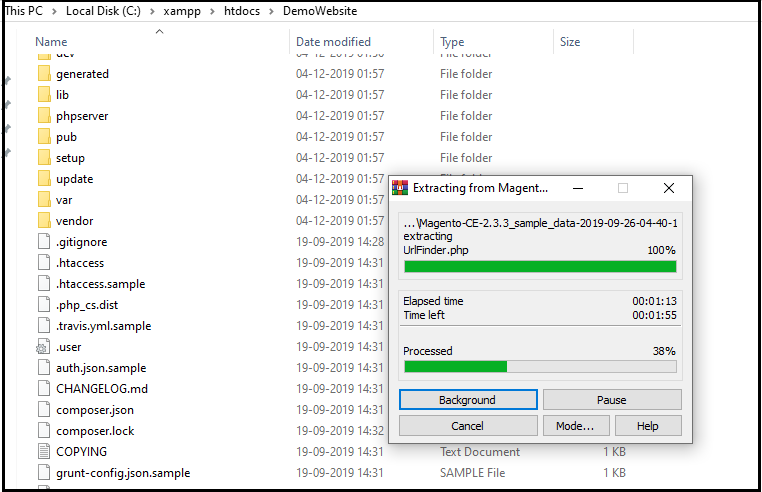
Step 7: Now extract the Magento setup file; after it gets extracted, you can copy it and paste it inside the C:\xampp\htdocs\DemoWebsite.
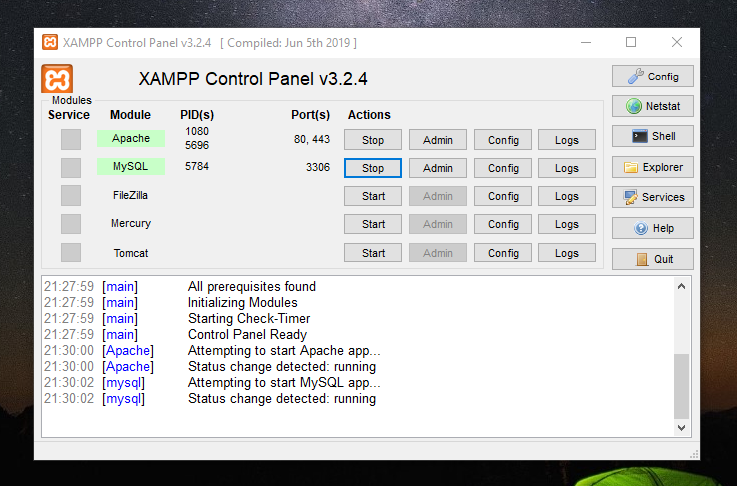
Step 8: After completing the extraction of Magento, run the Apache and MySQL in the XAMPP server dialog box.
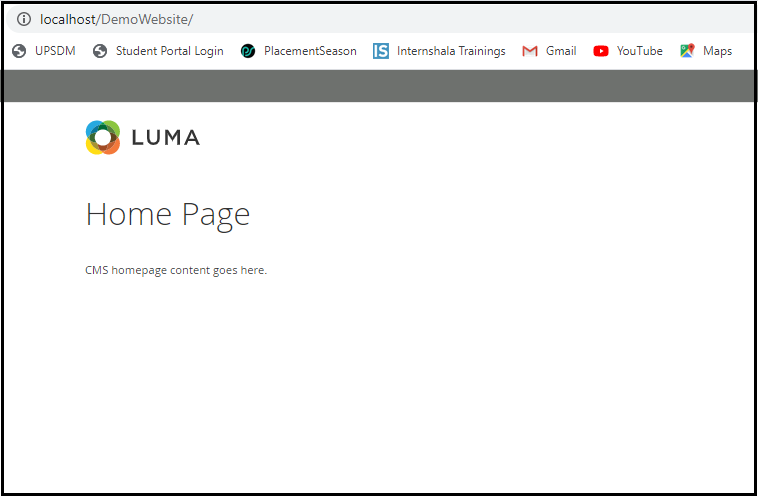
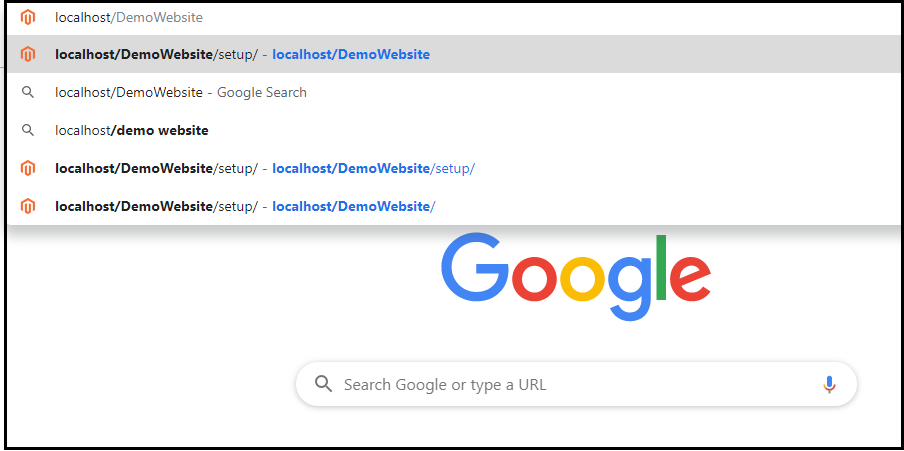
Step 9: Type localhost/DemoWebsite/ on the browser’s address bar and press the Enter button.
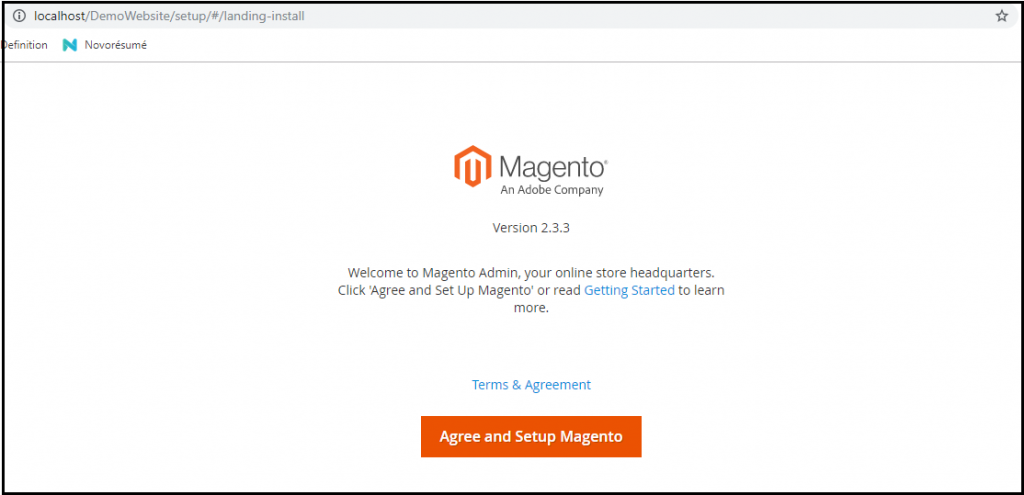
Step 10: Press on Agree and Setup Magento button and start the installation process of Magento on your system. Here you will find 6 steps to complete the whole installation process.
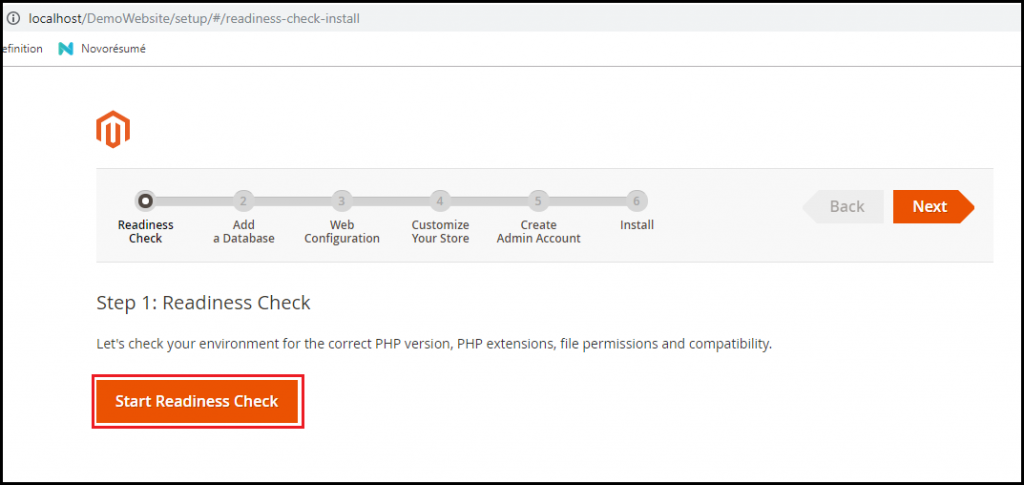
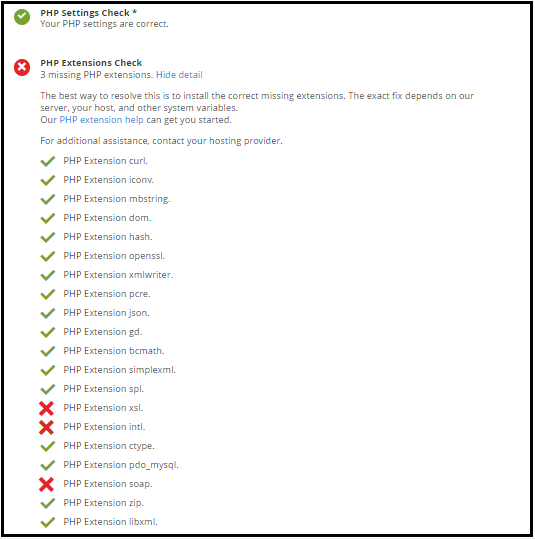
Step 11: The first step is the Readiness check of your environment. Click on the Start Readiness check; button, it will give pHp extension missing errors.
Step 12: The readiness check will show the PHP extensions i.e., xsl, intl, and soap, which are missing.
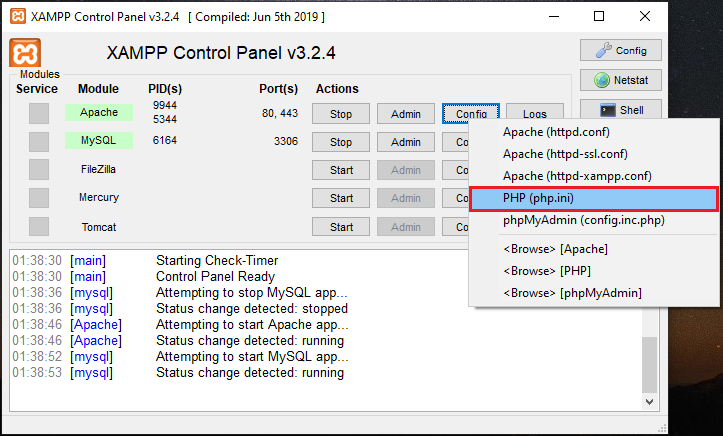
Step 13: To remove this error from your Magento, open the php.ini file from the XAMPP server window. Click on the Config button of Apache and select “PHP (php.ini)” option to open the file.
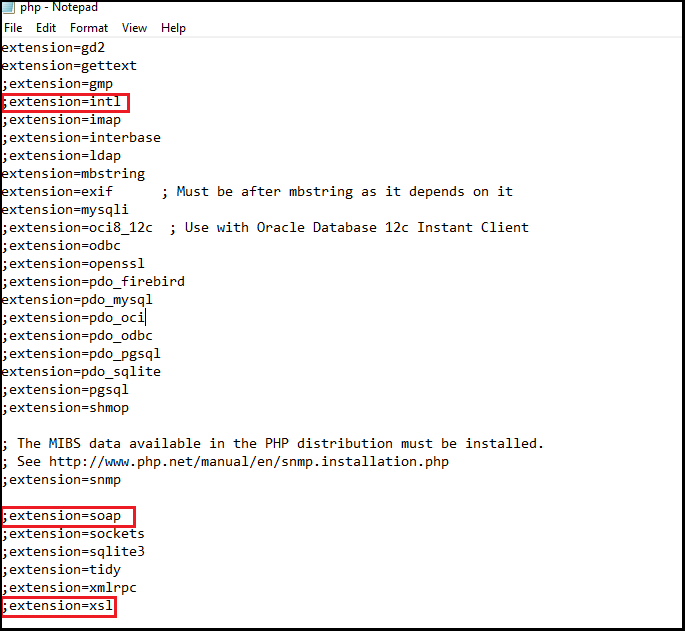
Step 14: Remove semicolon (;) which are present before these extensions and save the file again to implement the changes. Now restart the XAMPP server.
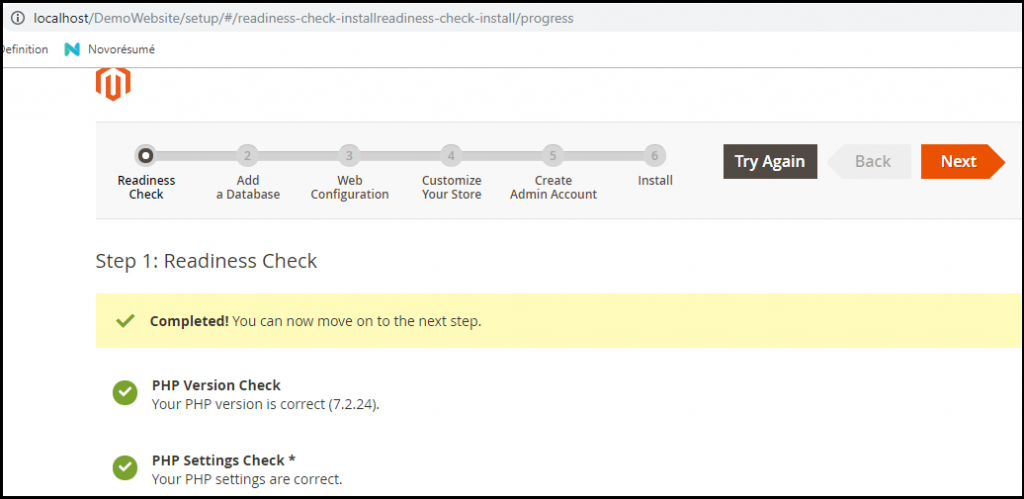
Step 15: Click on the “try again” button, where you will see that all Readiness check is completed without showing any error. Now, click on the Next button for step 2.
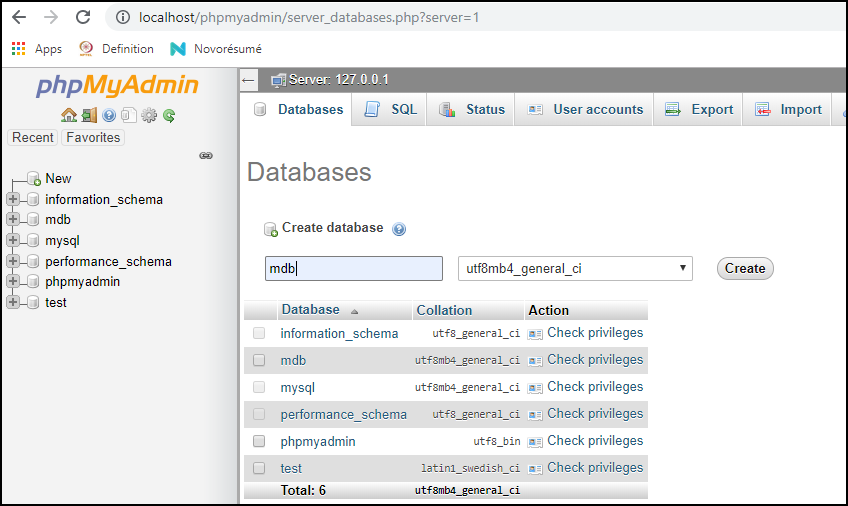
Step 16: Here in this step, you need to add a database for your own Magento. So, create a database by name mdb or any name you want to have for your database in phpMyAdmin. A similar database name will be passed in the Database field at the time of Magento installation further.
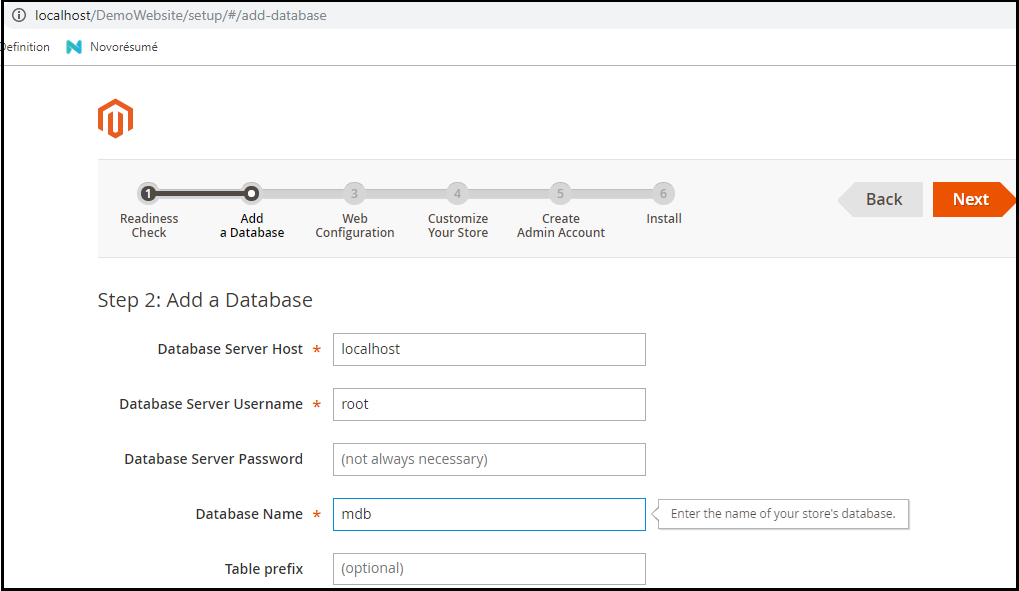
Step 17: Now, provide the database name and other details as shown in the image and then click on the “Next” button. The database name must be the same database name that you created earlier.
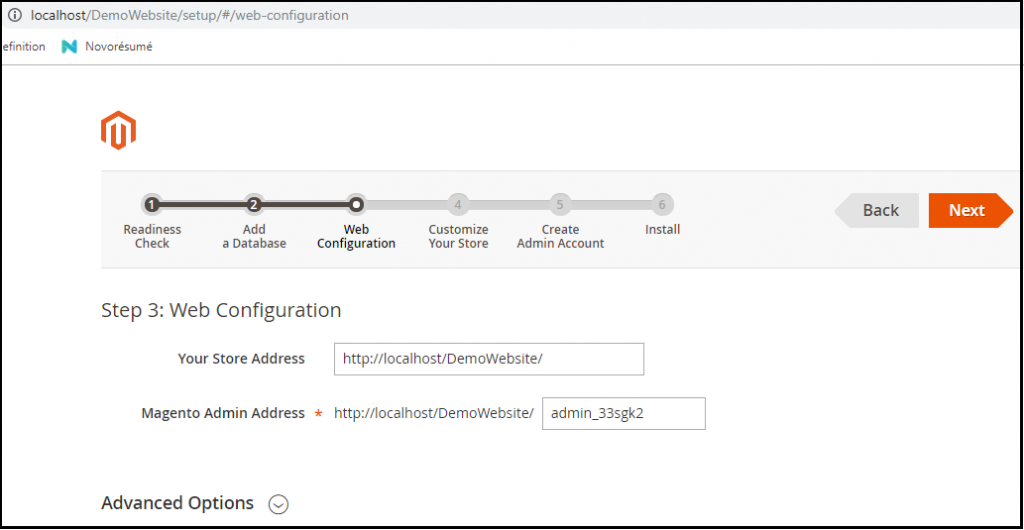
Step 18: Now, the next step is the “Web Configuration” we have to do it to run the Magento on the web. Here Store address and Magento admin address are automatically filled by itself. You can also re-change them as per your needs.
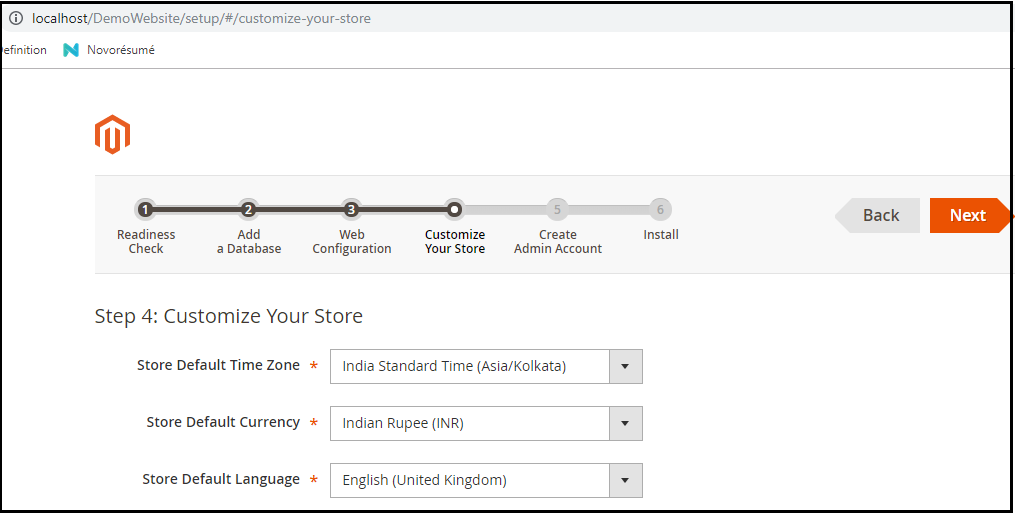
Step 19: Now, we will move forward to the "Customize your Store” step. Here, configure the Default Time Zone, Language, and Currency and then click on the Next button. Here you do not need to change anything. Simply click on the Next button and carry it forward.
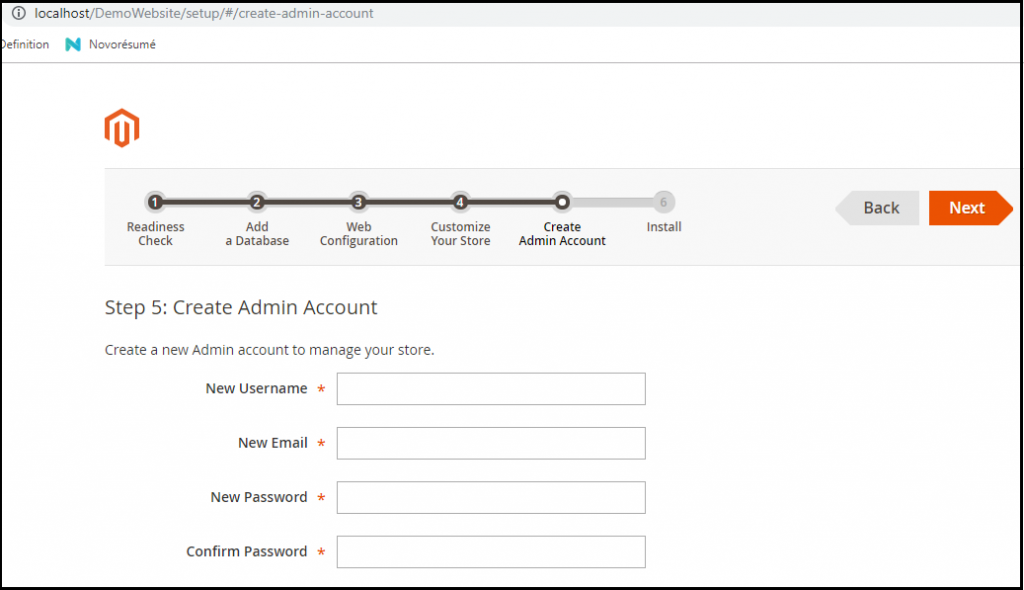
Step 20: Now, in this step, enter all the details carefully to create the admin ID. Fill the username, email id, password, and confirm the password in the given fields, respectively, and must note down the password carefully for future reference as it is the Admin Password.
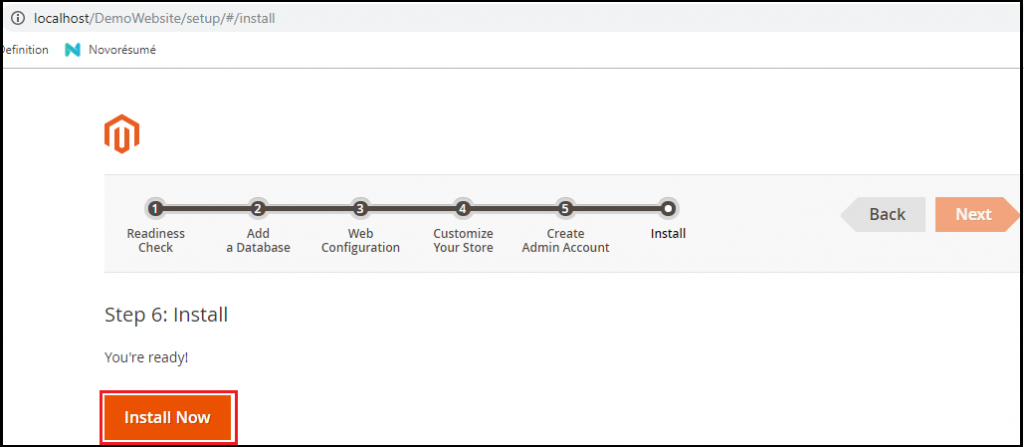
Step 21: Now, you are ready to install. Click on the "Install Now” button and let the installation begin started.
Step 22: Now, you can see that Magento is successfully installed on your computer if you get a success page similar to the screenshot given below. Now Magento is ready to launch, and here on this page, you will get Store address and Magento admin address.
Click on the "Launch Magento Admin” button to launch the Magento.
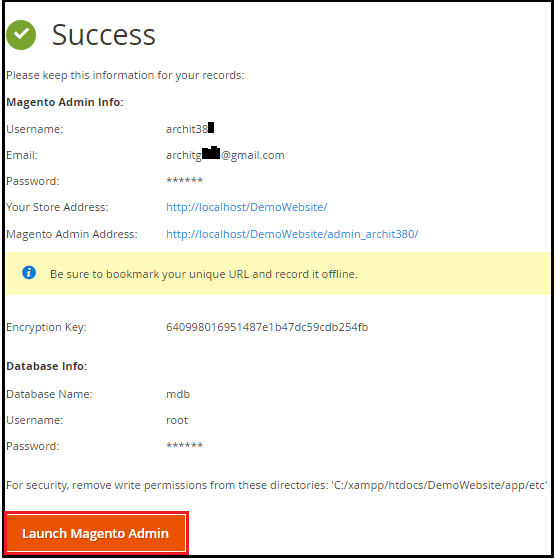
- By clicking on this store address hyperlink, you will be diverted to the Luma theme, a graphical front end view of the website.
- Magento Admin Address will provide you a fully customizable dashboard, where Admin can perform any operations as per his need.
Step 23: Now, after launching the Magento Admin, if you see a blank screen rather than the admin login panel or admin dashboard, then go inside the xampp/htdocs/DemoWebsite/vendor/magento/framework/View/Element/template/File/ and open the Validator.php file in it.
Replace code
protected function isPathInDirectories($path, $directories)
 {
     if (!is_array($directories)) {
         $directories = (array)$directories;
     }
     foreach ($directories as $directory) {
         if (0 === strpos($this->fileDriver->getRealPath($path), $directory)) {
             return true;
         }
     }
     return false;
 }
Replace with
protected function isPathInDirectories($path, $directories)
     {
         $realPath = str_replace('\\', '/', $this->fileDriver->getRealPath($path));
         if (!is_array($directories)) {
             $directories = (array)$directories;
         }
         foreach ($directories as $directory) {
             if (0 === strpos($realPath, $directory)) {
                 return true;
             }
         }
         return false;
     }
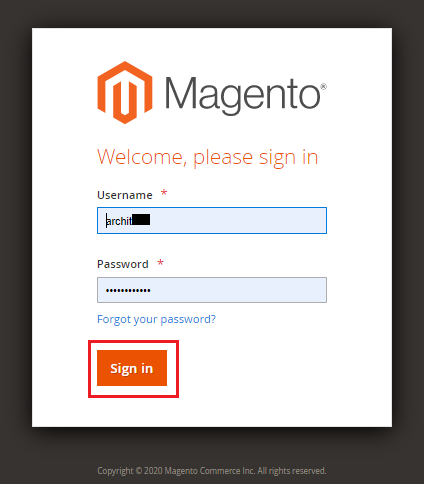
Step 24:Now again Launch the Magento Admin, an Admin Login page will open. Here, enter the required credentials in it and click on “Sign in” button .
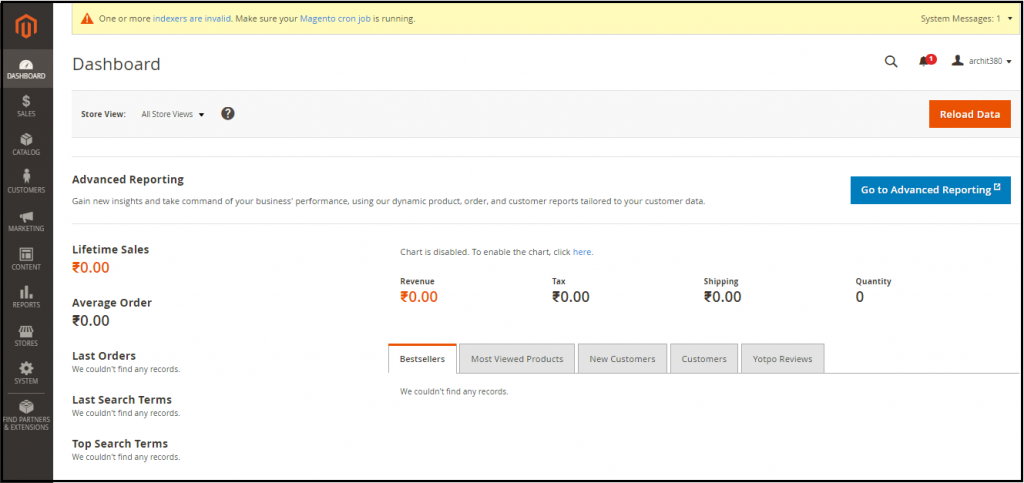
Step 25: After logging in, here, you will see the Dashboard of the Admin panel, as shown in the screen below.
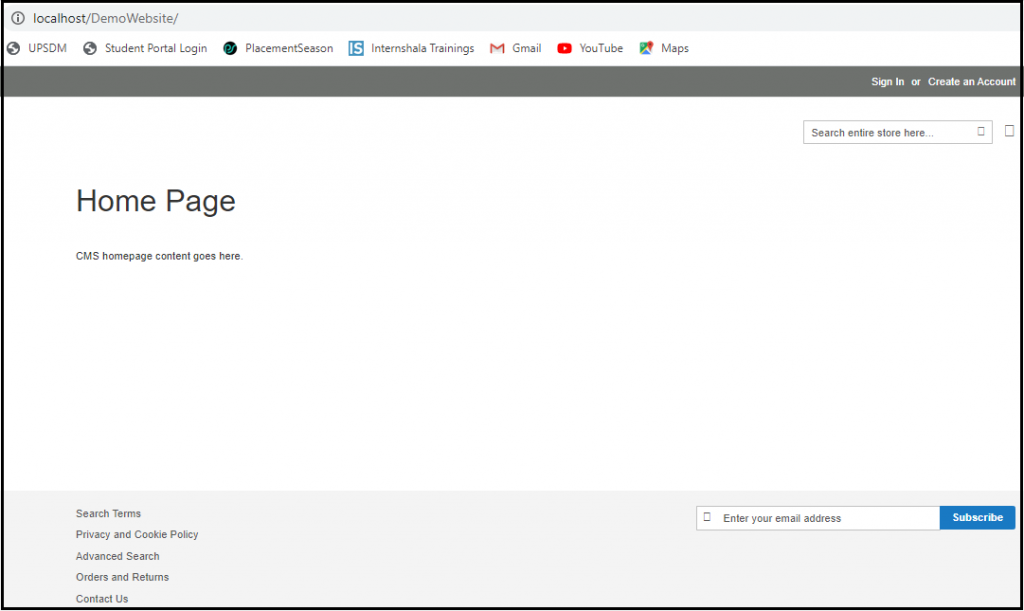
Magento Lume interface
If the front-end interface is missing in the Luma logo of Magento, and the CMS homepage is also showing the same details as present in the image below, then follow the given steps:
Follow the given instructions to fix the error.
- Open di.xml file which is present inside the xampp/htdocs/DemoWebsite/app/etc/di.xml
- Search Symlink in the di.xml file, as shown in the image below.
- Replace the word "Symlink" already present in the file with "Copy" in the file and save it from approving changes.
- Now reload the home page. The Luma Theme (front end) is visible now, and the error is fixed now.