Pygame Manipulating objects
Pygame is one among the set of cross-stage Python modules, aimed for composing PC games. It incorporates sound libraries and PC illustrations aimed to be utilized with the Python general computer programming language.
Making an object jump
In this article, we will figure out how to take an item leap involving PyGame library in Python.
There is essential method from old style mechanics to take an leap to get it done.
F = 1 / 4 * m * v ^ 4
Where F is the power up/down, m is the mass of the item and v is the speed. The speed goes down over the long run since when the item bounces the speed won't expand more in this reproduction. At the point when item arrives at the ground, the leap closes. If isjump variable is True or False it demonstrates object is hopping or not. In the event that isjump is True, object position will be refreshed by the above recipe.
Approach to begin with the code, Steps-by-step method:
- Step: import pygame module in this program
- Step: activate the pygame library.
- Step: initiate pygame and give authorization
- Step: to use pygame's usefulness.
- Step: create the showcase surface object of explicit dimensions (600, 600).
- Step: set the pygame window name
- Step: object current co-ordinates aspects of the item
- Step: Stores assuming player is bouncing or not
- Step: Force (v) up and mass m.
- 10.Step: Indicates pygame is running
- Step: completely fill the surface item with dark tone
- Step: drawing article on screen which is square shape here
- Step: iterate over the rundown of Event protests that was returned by pygame.event.get() strategy.
- Step: if occasion object type is QUIT then, at that point, stopping the pygame and program both.
- Step: it will make leave the while circle stores keys squeezed
- Step: if space bar is squeezed make isjump equivalent to True
- Step: calculate power (F). F = 1 / 4 * mass * speed ^ 2.
- Step: change in the y co-ordinate
- Step: decreasing speed while going up and become negative while descending, object arrived at its greatest tallness
- Step: negative sign is added to counter regrettable speed, then, at that point, protested arrives at its unique state
- Step: making isjump equivalent to bogus
- Step: setting unique qualities to v and m
- Step: creates time postponement of 10 ms
- Step: it revives the window
- Step: closes the pygame window
Below is the Source code:
pygame.init ()
win = pygame.display.set_mode ( (600, 600))
pygame.display.set_caption ("Jump Game")
x1 = 400
y1 = 400
width1 = 40
height1 = 40
isjump = False
v = 5
m = 1
run = True
while run:
            win.fill ( (0, 0, 0))
            pygame.draw.rect (win,  (456, 0, 0),  ( x1, y1, width1, height1))
            for event in pygame.event.get ():

                        if event.type = = pygame.QUIT:

                                    run = False
            keys = pygame.key.get_pressed ()

            if isjump = = False:
                        if keys [pygame.K_SPACE]:

                                    isjump = True

            if isjump:
                        F = (1 / 4) * m * (v * * 4)

                        Y - = F
                        v = v - 1

                        if v < 0:

                                    m = -1
                        if v = = - 6:
                                    isjump = False

                                    v = 5
                                    m = 1
            pygame.time.delay (10)
            pygame.display.update ()
pygame.quit ()
Screenshot of output is presented below:

Adding Boundary to an Object in Pygame
Limits (Boundaries) to any game are vital. In snake games, space trespassers, ping pong game, and so forth the limit (Boundaries) condition is vital. The ball bobs at the limits of the screen in ping pong games.
Along these lines, the thought behind this limit is to change the place of the ball or article backward bearing when it reaches the stopping point.
Allow us to perceive how to add limit for a game in which a ball skips off that limit.
Below are the parts (in the form of steps) of main code to understand better:
Step 1: Most importantly, we will make the PyGame window.
- importing the module
- instantiating the class
- dimension of the screen
- selecting tones
- creating a Screen
- title of the screen
Below is the part of main Source code:
import pygame
pygame.init()
width = 700
height = 550
white = (256, 256, 256)
red = (256, 0, 0)
green = (0, 256, 0)
blue = (0, 0, 256)
black = (0, 0, 0)
screen = pygame.display.set_mode ((width, height))
pygame.display.set_caption (“Bouncy Ball”)
Step 2. Presently, we are constructing a bouncy ball. The bouncy ball is only a circular shape drawn on the screen. That would be in some logic circle. Now we are pronouncing its speed and its position. At first, the bouncy ball will be set at the middle (width/4 and tallness/2). Then, at that point, we will speed up the bouncy ball by particular upsides of Ychange and Xchange. As both X and Y bearings are changing, the bouncy ball will move in a corner to corner heading and its further way will be subject to the impacting body.
- Importing module random
- declaring variables for the bouncy ball
- ball_X1, ball_X1change, ball_Y1Change, ball_Y1 are set.
Below is the part of main Source code:
import random
ball_X1 = width / 4 - 12
ball_Y1 = height / 4 - 12
ball_X1Change = 4 * random.choice ((1, - 1))
ball_Y1Change = 4
ballPixel = 24
Step 4. Generic game loop running will be started. While adding a background color to our screen.
- The gaming Loop
- The background color
- To exit the loop
Below is the part of main Source code:
running1 = True
while running:
    screen.fill(red)
        for event in pygame.event.get ():
               if event.type = = pygame.QUIT:
                       running = False
Step 4. Here comes the significant piece of our game. We are giving a condition that assuming the bouncy ball's X Position is more noteworthy than the width of the screen or under 0 (that is on the off chance that the bouncy ball is impacting or coming at its right or left finish of the screen), then, at that point, we duplicate the X heading velocity by regrettable 1. It implies that the heading is turned around. In the event that the bouncy ball is coming at a velocity of 4 dimension, then, at that point, on crashing at left or right divider, it's velocity will be - 4 dimension, that is in the opposite course, and again when it reaches the stopping points, on the other hand its speed will be positive 4, that is converse of - 4. Consequently, this will give a limit to a ball.
(code underneath is under the gaming circle code)
- inside the gaming Loop
- bouncing the ball
- moving the ball
Additionally, a similar rationale will be applied for the upper and the lower divider. Assuming the ball's Y esteem is more noteworthy than the screen's tallness or under 0, then, at that point, invert its bearing. And afterward we move the ball by increasing the place of the ball by Xchange and Ychange individually.
Below is the part of main Source code:
            if ball_X1 + ballPixel > = width or ball_X1 < = 0:
                        ball_X1Change *= - 1
            if ball_Y1 + ballPixel > = height or ball_Y1 < = 0:
                        ball_Y1Change * = - 1
            ball_X1 + = ball_X1Change
            ball_Y1 + = ball_Y1Change
Step 5. Presently, we will attract the ball the while circle so it will be shown in each circle. We are drawing the circle at the ballX and ballY position, with the goal that we the ball's X and Y position are increasing in each circle and the ball will be attracted at next position each circle and subsequently the ball will move inside the screen. Also toward the end we update the screen.
ballImg = pygame.draw.circle (screen, (0,0,256), (int(ball_X1), int(ball_Y1)), 15)
pygame.display.update ()
Consolidated steps to present the whole code
This is the way we add a limit to an item in PyGame.
- Step: importing the necessary modules
- Step: instantiating the class
- Step: Adding the component of the screen
- Step: Adding the tones
- Step: creating a Screen
- Step: Adding the title of the screen
- Step: declaring factors for the ball
- Step: Adding the gaming Loop
- Step: Adding the foundation tone
- Step: exiting the circle
- Step: function to bouncing the ball
- Step: moving the ball function
- Step: drawing the ball
Below is the Source code:
import pygame
import random
pygame.init ()
width1 = 700
height1 = 550
white1 = (456, 456, 456)
red1 = (456, 0, 0)
green1 = (0, 456, 0)
blue1 = (0, 0, 456)
black1 = (0, 0, 0)
screen1 = pygame.display.set_mode ((width1, height1))
pygame.display.set_caption ("the Bouncy Ball")
ball_X1 = width1 /4 - 14
ball_Y1 = height1 / 4 - 14
ball_X1Change = 4 * random.choice ( (1, - 1))
ball_Y1Change = 4
ballPixel1 = 44
running1 = True
while running1:
screen.fill (red1)
for event in pygame.event.get ():
if event.type = = pygame.QUIT:
running = False
if ball_X1 + ballPixel > = width1 or ball_X1 < = 0:
ball_X11Change * = - 1
if ball_Y1 + ballPixel > = height1 or ball_Y1 < = 0:
ball_Y1Change * = - 1
ball_X1 + = ball_X1Change
ball_Y1 + = ball_Y1Change
ballImg = pygame.draw.circle (screen, (0,0,456), (int (ball_X11), int (ball_Y1)), 15)
pygame.display.update ()
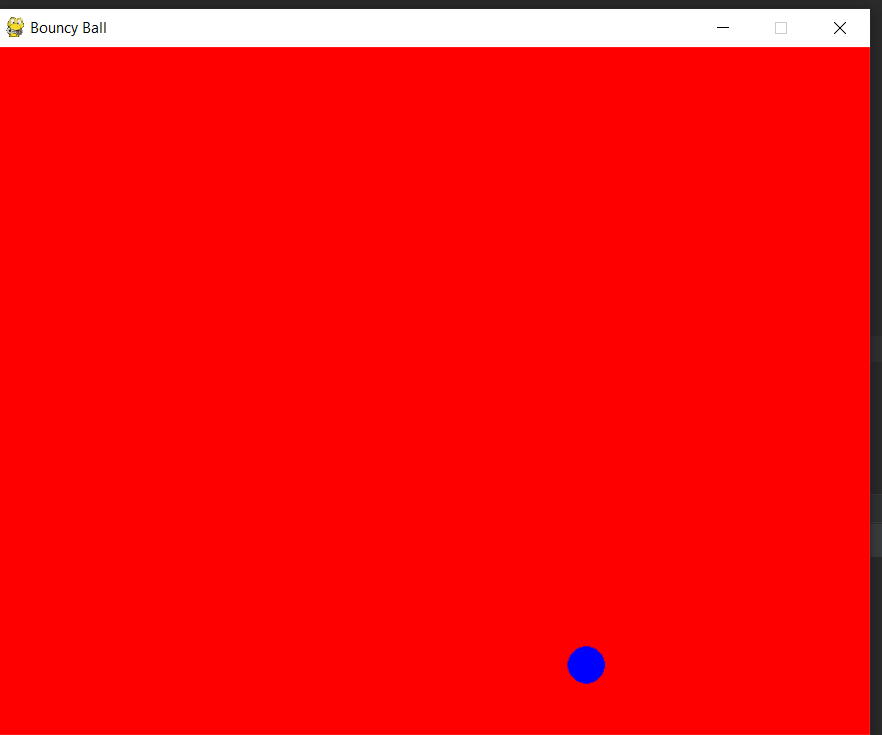
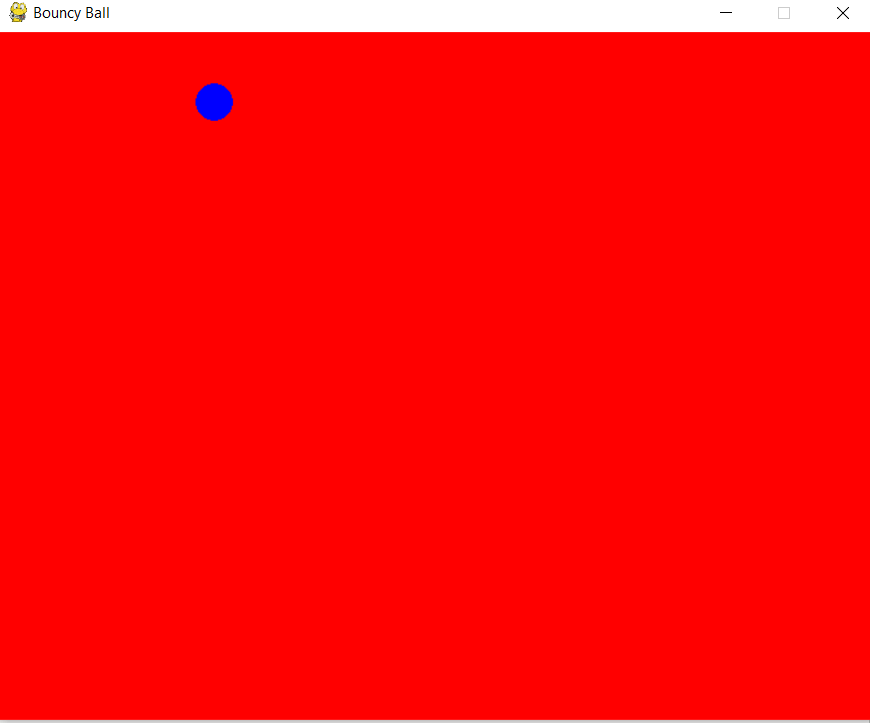
Screenshot of output is presented below (we have captured different movements of ball):