Spring Boot Download
Downloading and Installation
Spring Tool Suite Integrated Development Environment
Spring Tool Suite is defined as an Integrated Development Environment that is used to build Spring applications. In simple words, you can understand this as a development environment that is based on Eclipse. Spring Tool Suite will be providing a ready-to-use environment to implement, run, deploy, and debug the application. It is the tool that also enables us to validate our application and based upon that it will be providing quick fixes for the applications.
Installing STS
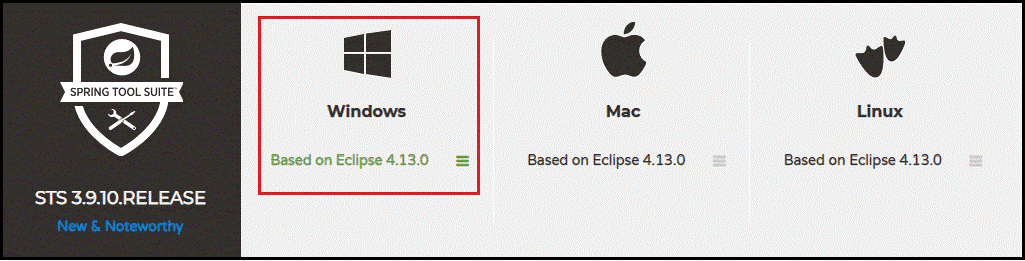
Step 1: You need to download Spring Tool Suite from https://spring.io/tools3/sts/all. After downloading the tool you just need to click on the platform which you are using, which can be Windows, Mac, and Linux. We have done the setup in the Windows platform, let us understand with the following steps:
Step 2: In the following step we will be extracting the zip file to begin the installation process of STS.
Follow the below instructions for that.
Go to sts-bundle -> under that, sts-3.9.9.RELEASE -> Then, double-click on STS.exe.

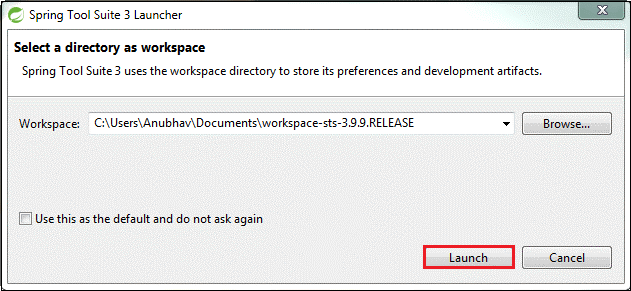
Step 3: When we are done with the above step which is extraction, we can proceed further. Now, STS 3 Launcher dialog box pops up on the screen. After that, you have to press the Launch button. Here you can switch the Workspace based on your choice. The following image can be considered as the reference for the above function performed.
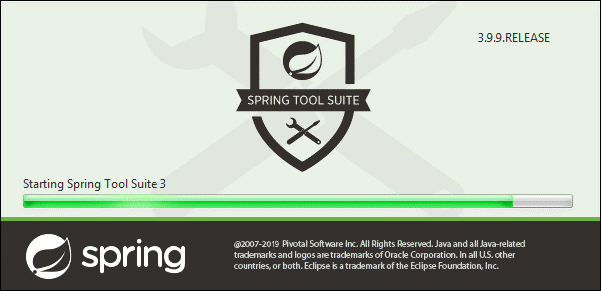
Step 4: As you are done with the above steps it will start launching the STS and the following screen would come up.
The below image depicts the STS user interface:
Creating a Spring Boot Project
These will be the following steps that we will consider to create a simple Spring Boot Project.
Step 1: First, Open the Spring initializer https://start.spring.io.
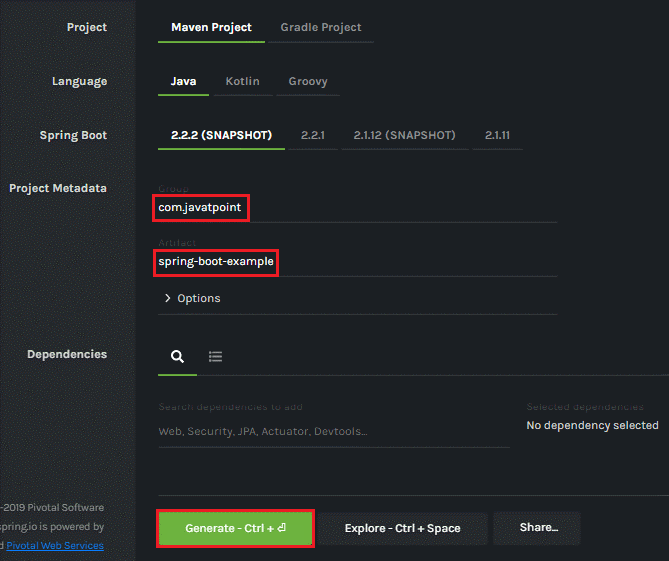
Step 2: Now you will have to come up with the Artifact and Group name. In this example, we have provided the Group name as com.javatpoint and Artifact as spring-boot-example.
Step 3: After completing the above steps now click on the Generate button.
Once we are done with all other steps then press the Generate button, it begins with wrapping the project in a .rar file and the project will be downloaded in parallel.
Step 4: In this step, the extraction of the RAR file is to be done. This step would take some time.
Step 5: Now you are all done building an application. Begin to Import the folder. You can follow up on the following steps, this would help you to understand.
Go to File -> Click on Import -> Select Existing Maven Project -> then Click on Next -> move to Browse -> After that, select the project -> Finish
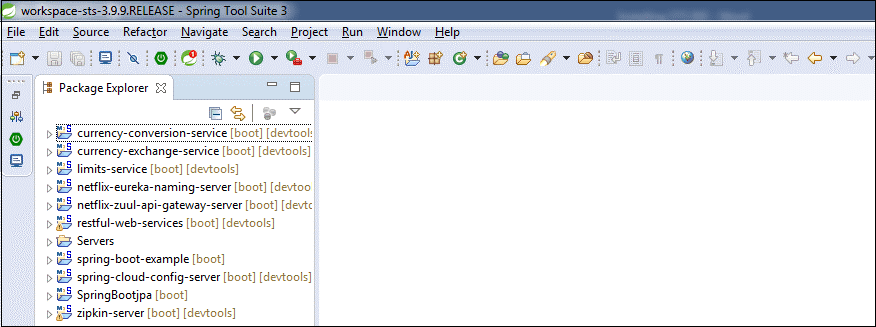
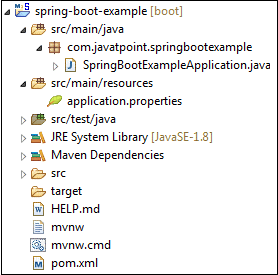
This will also grab a few minutes to import the project. Once the project is imported completely, the project directory can be seen in Package Explorer. With the following image we have been shown the project directory:
Step 6: Run the Example.java (Here you need to provide your file name) file.
Under file (on right clicking) -> Run As -> Java Applications

Spring Boot CLI
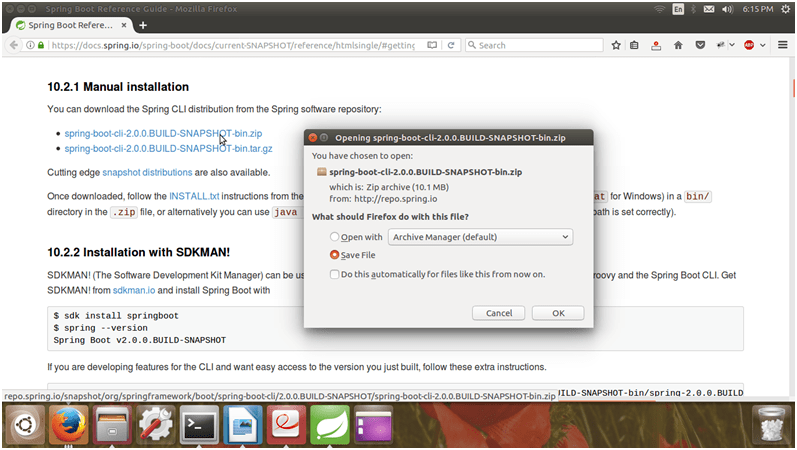
Now we are going to learn about another tool i.e., Spring Boot CLI that can be downloaded from the official site of Spring Framework. Here, you can follow up on the below steps which will be explained steps.
You just need to download the CLI tool from the official website as shown below, you will be getting the below interface from the official website.
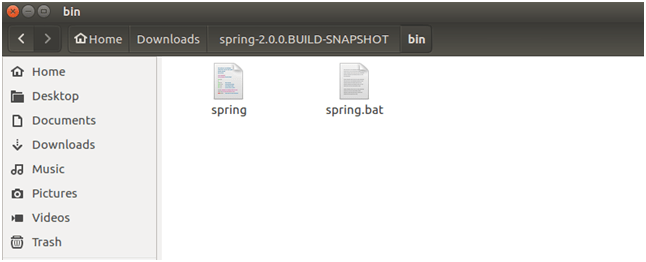
Once the downloading is completed, extract the zip file. Check that it is having bin folder where the setup for the spring is stored. We will be using it to execute the Spring Boot application, this is something you don’t need to remind, it would be much easier once you start working on the tool by yourself.
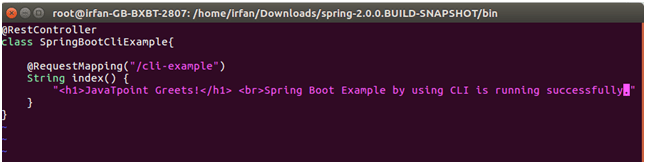
Groovy files are usually executed by CLI. Therefore, the initial step is to make a Groovy file for your SB application.
Then you have to open a terminal and duplicate it to the bin location of the CLI folder.
A groovy file can be created as shown below.

Then you have to make a controller in the groovy file.
Execute
What happens with the following command? Let’s see,
./spring run SpringBootCliExample.groovy

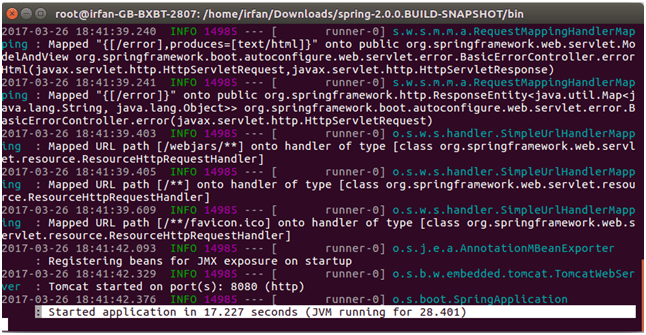
On the execution of the above command, this will begin the execution and it will be going to produce the following output:
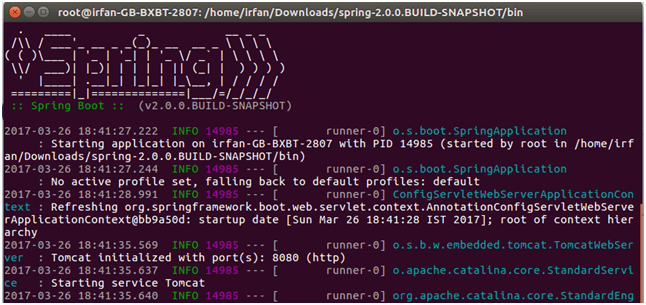
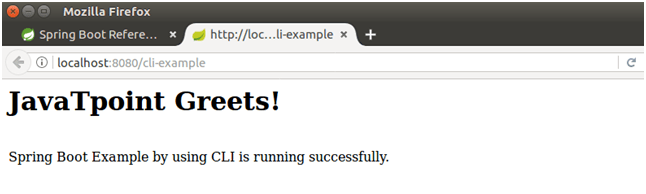
And after lots of lines. The present status of the application is shown below:
We can observe that this project is running on the 8080 port. So, we can invoke it on any browser by using the following URL: localhost:8080:/cli-example
It will produce the following output.