
React Native Side Drawer
In this part of the react-native tutorial, we will be learning about the react-native side drawer. We have already studied the status bar and various parts of react-native navigation, including params. Side drawers provide neatness of activity or menu in the sliding panel. When the user is not using it, it can be hidden, which is one of the major benefits of using react native side drawers. It makes navigation easier and clean.
Installing packages for react-native side drawers-
- npm install --save react-native-sidebar
- import { createDrawerNavigator } from '@react-navigation/drawer';
Let's create one side drawer for we react native app :
Firstly create three separate files inside the app named first.js,second.js and third.js.
App.js
import 'react-native-gesture-handler';
 import { createStackNavigator } from '@react-navigation/stack';
import * as React from 'react';
import {
  Button,
  View,
  Text,
  TouchableOpacity,
  Image
} from 'react-native';
import { createDrawerNavigator } from '@react-navigation/drawer';
import { NavigationContainer } from '@react-navigation/native';

import FirstPage from './First';
import SecondPage from './Second';
import ThirdPage from './Third';

const Stack = createStackNavigator();
const Drawer = createDrawerNavigator();

const NavigationDrawerStructure = (props)=> {

  const toggleDrawer = () => {


    props.navigationProps.toggleDrawer();
  };

  return (
    <View style={{ flexDirection: 'coloumn' }}>
      <TouchableOpacity onPress={()=> toggleDrawer()}>
      </TouchableOpacity>
    </View>
  );
}

function firstScreenStack({ navigation }) {
  return (
      <Stack.Navigator initialRouteName="FirstPage">
        <Stack.Screen
          name="First"
          component={FirstPage}
          options={{
            title: 'welcome', //Set Header Title
            headerLeft: ()=>
              <NavigationDrawerStructure
                navigationProps={navigation}
              />,
            headerStyle: {
              backgroundColor: '#f4511e', //Set Header color
            },
            headerTintColor: '#fff', //Set Header text color
            headerTitleStyle: {
              fontWeight: 'bold', //Set Header text style
            },
          }}
        />
      </Stack.Navigator>
  );
}


function secondScreenStack({ navigation }) {
  return (
    <Stack.Navigator
      initialRouteName="SecondPage"
      screenOptions={{
        headerLeft: ()=>
          <NavigationDrawerStructure
            navigationProps={navigation}
          />,
        headerStyle: {
          backgroundColor: '#cc00cc', //Set Header color
        },
        headerTintColor: 'black',
        headerTitleStyle: {

        }
      }}>
      <Stack.Screen
        name="i am the second"
        component={SecondPage}
        options={{
          title: 'hello', //Set Header Title

        }}/>
      <Stack.Screen
        name="ThirdPage"
        component={ThirdPage}
        options={{
          title: 'hola', //Set Header Title
        }}/>
    </Stack.Navigator>
  );
}
function thirdScreenStack({ navigation }) {
  return (
      <Stack.Navigator initialRouteName="thirdPage">
        <Stack.Screen
          name="i am the third"
          component={ThirdPage}
          options={{
            title: 'welcome',
            headerLeft: ()=>
              <NavigationDrawerStructure
                navigationProps={navigation}
              />,
            headerStyle: {
              backgroundColor: '#ff00ff',
            },
            headerTintColor: 'white',
            headerTitleStyle: {
              fontWeight: 'italic',
            },
          }}
        />
      </Stack.Navigator>
  );
}


function App() {
  return (
    <NavigationContainer>
      <Drawer.Navigator
        drawerContentOptions={{
          activeTintColor: '#cc33ff',
          itemStyle: { marginVertical: 10 },
        }}>
        <Drawer.Screen
          name="I am the first"
          options={{ drawerLabel: 'go to first page' }}
          component={firstScreenStack} />
        <Drawer.Screen
          name="I am the second"
          options={{ drawerLabel: 'go to second page' }}
          component={secondScreenStack} />
          <Drawer.Screen
          name="I am the third"
          options={{ drawerLabel: 'go to third page' }}
          component={thirdScreenStack} />
      </Drawer.Navigator>
    </NavigationContainer>
  );
}

export default App;
First.js code:
import * as React from 'react';
import {
  Button,
  View,
  SafeAreaView,
  Text,
} from 'react-native';

const FirstPage = ({ navigation }) => {
  return (
    <SafeAreaView style={{ flex: 1 }}>
      <View style={{ flex: 1 , padding: 26,backgroundColor:'#ffe6ff'}}>
        <View
          style={{
            flex: 1,
            alignItems: 'center',
            justifyContent: 'center',
          }}>
          <Text
            style={{
              fontSize: 25,
              textAlign: 'center',
              marginBottom: 20
            }}>
            india is great :) we love our country.
          </Text>


        </View>
        <Text
          style={{
            fontSize: 20,
            textAlign: 'center',
            justifyContent:'center',
            color: 'black',
            paddingBottom: 20,
            fontWeight:'bold'
          }}>
 tutorial and example
        </Text>
        <Text
          style={{
            fontSize: 16,
            textAlign: 'center',
            color: 'black',
            fontWeight:'italic'
          }}>
         Happy learning ! all the best
        </Text>
        <Text
          style={{
            fontSize: 16,
            textAlign: 'center',
            color: 'black',
            fontWeight:'italic'
          }}>
         Happy learning ! all the best
        </Text>
        <Text
          style={{
            fontSize: 16,
            textAlign: 'center',
            color: 'black',
            fontWeight:'italic'
          }}>
         Happy learning ! all the best
        </Text>
      </View>
    </SafeAreaView>
  );
}

export default FirstPage;
Second.js code :
import * as React from 'react';
import {
  Button,
  Text,
  SafeAreaView,
  View,
} from 'react-native';

const SecondPage = ({ navigation }) => {
  return (
    <SafeAreaView style={{ flex: 1 }}>
      <View style={{ flex: 1, padding: 16 }}>
        <View
          style={{
            flex: 1,
            alignItems: 'center',
            justifyContent: 'center',
          }}>
          <Text
            style={{
              fontSize: 25,
              textAlign: 'center',
              marginBottom: 30
            }}>
              india is great :) we love our country.
          </Text>

        </View>
         <Text
          style={{
            fontSize: 20,
            textAlign: 'center',
            justifyContent:'center',
            color: 'black',
            paddingBottom: 20,
            fontWeight:'bold'
          }}>
 tutorial and example
        </Text>
        <Text
          style={{
            fontSize: 16,
            textAlign: 'center',
            color: 'black',
            fontWeight:'italic'
          }}>
         Happy learning ! all the best
        </Text>
        <Text
          style={{
            fontSize: 16,
            textAlign: 'center',
            color: 'black',
            fontWeight:'italic'
          }}>
         Happy learning ! all the best
        </Text>

      </View>
    </SafeAreaView>
  );
}

export default SecondPage;
Third.js code:
import * as React from 'react';
import {
  Button,
  View,
  Text,
  SafeAreaView
} from 'react-native';

const ThirdPage = ({ route, navigation }) => {
  return (
    <SafeAreaView style={{ flex: 1 }}>
      <View style={{ flex: 1, padding: 26 ,backgroundColor:'#e6f2ff'}}>
        <View
          style={{
            flex: 1,
            alignItems: 'center',
            justifyContent: 'center',
          }}>
          <Text
            style={{
              fontSize: 15,
              textAlign: 'center',
              marginBottom: 26,
              fontWeight:'bold'
            }}>
          we love india :))
          </Text>

        </View>
         <Text
          style={{
            fontSize: 20,
            textAlign: 'center',
            justifyContent:'center',
            color: 'black',
            paddingBottom: 20,
            fontWeight:'bold'
          }}>
 tutorial and example
        </Text>
        <Text
          style={{
            fontSize: 16,
            textAlign: 'center',
            color: 'black',
            fontWeight:'italic'
          }}>
         Happy learning ! all the best
        </Text>
        <Text
          style={{
            fontSize: 16,
            textAlign: 'center',
            color: 'black',
            fontWeight:'italic'
          }}>
         Happy learning ! all the best
        </Text>

      </View>
    </SafeAreaView>
  );
}

export default ThirdPage;
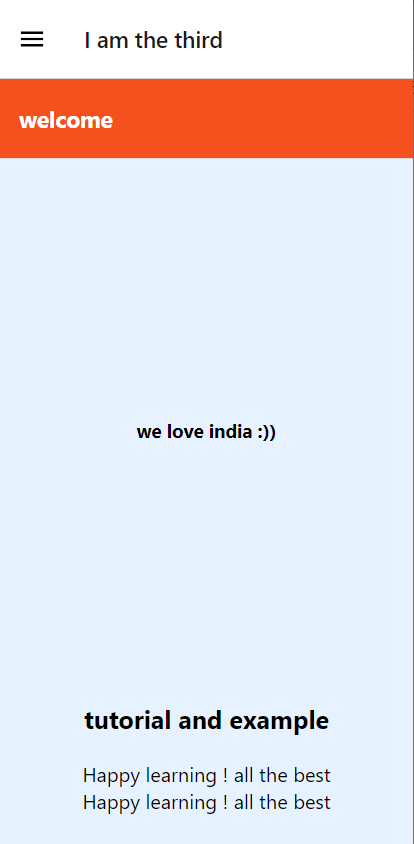
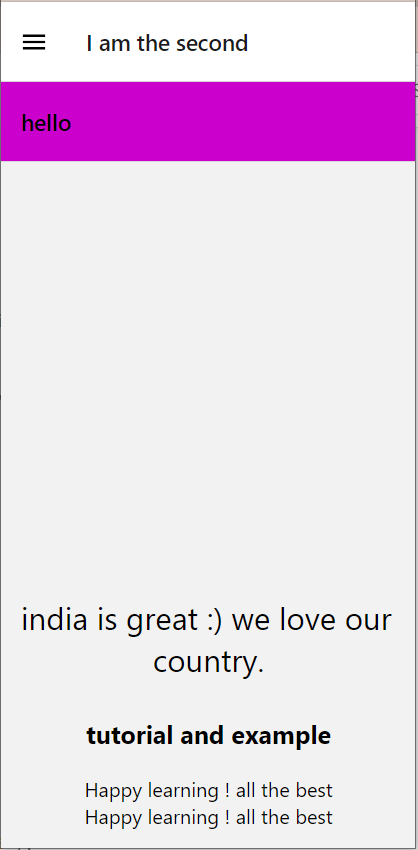
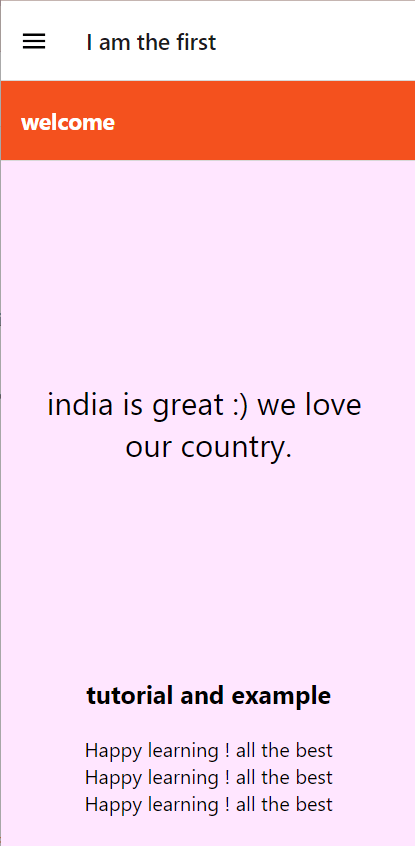
Output :
Explanation of code :
In App.js code we have created three functions as we have three connected screen through stack navigator. They are first.js , second.js and third js. Here stack navigator plays an important role.
import { createDrawerNavigator } from '@react-navigation/drawer';This library plays an important role in the creation of side drawers.Lets look at the construction code of side drawers-
<Drawer.Navigator
        drawerContentOptions={{
          activeTintColor: '#cc33ff',
          itemStyle: { marginVertical: 10 },
        }}>
        <Drawer.Screen
          name="I am the first"
          options={{ drawerLabel: 'go to first page' }}
          component={firstScreenStack} />
        <Drawer.Screen
          name="I am the second"
          options={{ drawerLabel: 'go to second page' }}
          component={secondScreenStack} />
          <Drawer.Screen
          name="I am the third"
          options={{ drawerLabel: 'go to third page' }}
          component={thirdScreenStack} />
      </Drawer.Navigator>
We wrapped the whole code in the navigation container and then used the drawer. Navigator will be creating a drawer tab. Each drawer screen will be responsible for options of the drawer, and inside that, we have called that screen's component, so whenever we click there, we will be directed to our respective screens.
The rest screens' codes are identical and simple as we have studied the stack navigator properly. We have only designed one only basic page in first,js,second.js, and thord.js, which is easy to understand as it contains only text components and styling.
Explanation of first.js code :
It is a simple page, and the code is easy to understand. We have wrapped the text component inside the safe area view, we have defined background screen color through hex code, and in the bottom part, we have again used text and styled it as per our desire. One header is given.
Rest two pages contain the same property, and they are identical.