
React Native Status Bar
What is the status bar?
The simplest and easiest answer to this question can be answered by looking at your mobile phone's top section. What can you see? Most probably, it's wifi/data connection or speed, battery percentage, and network. This part is known as a status bar. i think now it is crystal clear.
In this part of the tutorial, you will be learning about the react-native status bar. The motive for learning about the status bar is to know how to control its appearance of the status bar. Learning and using the status bar is easy. Its working totally depends upon its property, so if you know properties well, then using it will be simple. It consists of very useful features. one interesting fact is that react-native does not know the status bar by default. Mounting more than one react native status bar is possible. Let's learn about the attributes of react-native then we will implement the react-native status bar.
Attributes/props of the react-native status bar :
Animated: It is mainly for the transition of the status bar property, and it should be animated. It supports the props such as backgroundColor, bar style, and hidden. It accepts boolean values, which can either be true or false.
backgroundColor: This is one of the props that we are repeatedly using, and you must have understood what it would be doing here. It is responsible for the background color of the status bar.
barStyle : It is used for font designing. If you want to change a font like fontSize , fontColor, fontWeight, etc., in that case, you can use barstyle to design or alter the style of the Font.
Hidden: If we want to add a hide or show feature to our react native status bar, we can use Hidden. If you do not declare or use it, it will take "false" by default. It accepts a boolean value. If it's true, then the status bar will not be visible. Else it will be visible.
networkActivityIndicatorVisible : It accepts boolean values, and this is mainly for IOS. It indicates network activity.
showHideTransition: If you want to make the show's transition and hide attractive or impressive, this can be used.
Translucent: If you want your status bar to get semi-transparent color, this prop will be useful.
Let's try to understand it by implementing it practically
App.js code :
import * as React from 'react';
import { createNativeStackNavigator } from '@react-navigation/native-stack';
import { Text, Button, StatusBar,StyleSheet } from 'react-native';
import { SafeAreaProvider } from 'react-native-safe-area-context';
import { NavigationContainer } from '@react-navigation/native';
import SafeAreaView from 'react-native-safe-area-view';


function dark_Screen({ navigation }) {
  return (
    <SafeAreaView style={[styles.container, { backgroundColor: 'black' }]}>
      <StatusBar barStyle="light-content" backgroundColor="#6a51ae" />
      <Button
        title="Next screen"
        onPress={() => navigation.navigate('Screen2')}
        color="red"
      />
       <Text style={{ color: '#fff',fontSize:25,fontWeight:'bold' }}>This is dark Screen :)</Text>
    </SafeAreaView>
  );
}


function light_Screen({ navigation }) {
  return (
    <SafeAreaView style={[styles.container, { backgroundColor: '#ecf0f1' }]}>
      <StatusBar barStyle="dark-content" backgroundColor="#ecf0f1" />
      <Text style={{fontWeight:"bold",fontSize:25}}>This is light Screen :)</Text>
      <Button
        title="Next screen"
        onPress={() => navigation.navigate('Screen1')}
      />
    </SafeAreaView>
  );
}


const Stack = createNativeStackNavigator();


export default function App() {
  return (
    <SafeAreaProvider>
      <NavigationContainer>
        <Stack.Navigator screenOptions={{ headerShown: false }}>
          <Stack.Screen name="Screen1" component={dark_Screen} />
          <Stack.Screen name="Screen2" component={light_Screen} />
        </Stack.Navigator>
      </NavigationContainer>
    </SafeAreaProvider>
  );
}


const styles = StyleSheet.create({
  container: { flex: 1, justifyContent: 'center', alignItems: 'center' },
});
Output:
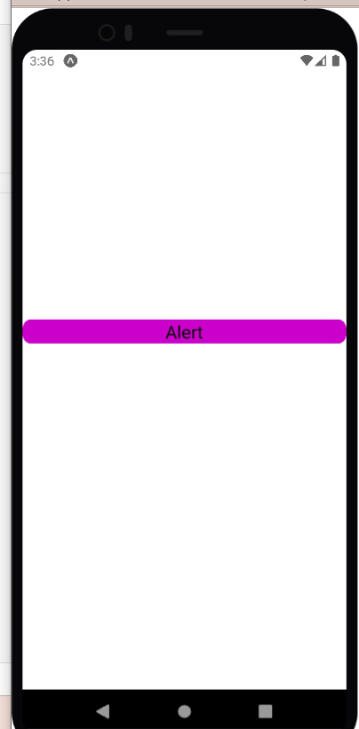
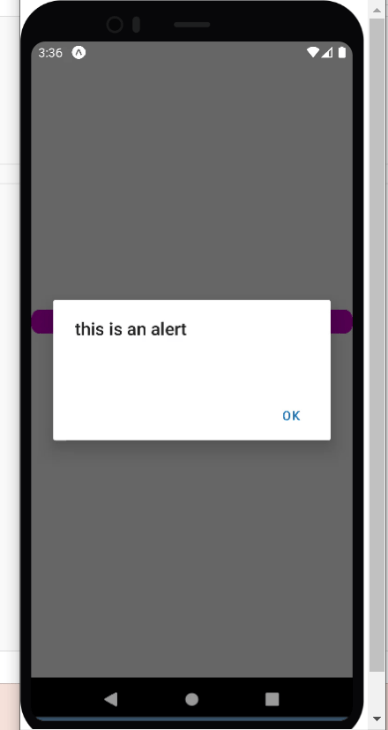
Click on the next screen you can find that you are switching between a light screen and a dark screen. Let's learn how it's actually happening.
Explanation :
Firstly we have imported all the necessary components and then made functions for respective pages. Lets understand the code below-
Dark screen:
function dark_Screen({ navigation }) {
  return (
    <SafeAreaView style={[styles.container, { backgroundColor: 'black' }]}>
      <StatusBar barStyle="light-content" backgroundColor="#6a51ae" />
      <Button
        title="Next screen"
        onPress={() => navigation.navigate('')}
        color="red"
      />
       <Text style={{ color: '#fff',fontSize:25,fontWeight:'bold' }}>This is dark Screen :)</Text>
    </SafeAreaView>
  );
Firstly, we have declared a function and given its name dark_screen. Then, we have wrapped our whole content in safeAreaView to ensure that things are properly aligned. We have used the status bar and styled it .button is used to switch between two pages. If we tap the button, we will be directed to the light page.
Same things are done to light_page content.The only difference is in the background color.
The interesting thing is how we have connected two pages ?
Here stack navigator plays major role , we will be learning about it in brief after some parts.Here is the code-
<Stack.Screen name="Screen1" component={dark_Screen} />
<Stack.Screen name="Screen2" component={light_Screen} />
So this is how the whole code is functioning.
Methods of the react-native status bar :
popStackEntry: If you want to remove the last statusbar from the stack, you can use this method.
pushStackEntry: It can be used to put a status bar entry on the available stack. After completion value must be returned to popStackEntry.
replaceStackEntry: This can be used if you want to replace your stacks prop. It updates the stack entry with the new property.
setBackgroundColor: This is used to set the status bar's background color.
setBarStyle : It is used for styling the react-native status bar.
set hidden: This method is used for hiding and showing features of the status bar.
setNetworkActivityIndicatorVisible : The visibility of the network activity indicator can be controlled by it.
setTranslucent : This method is used to control translucent prop.