Django Admin
To manage the content of the website, e.g., adding and deleting posts, web developers need an admin portal on the website. The admin portal allows trusted users, also knows as administrators, to edit, create and manage the content on the website. Django comes with a built-in user interface for the administration portal. The UI of the portal is automatically generated by Django based on the project. The portal communicates with models to provide an interface where the admin can manage content. The built-in feature provides developers with some functionalities like user authentication, display forms, or validation of input. We can also add many features to customize the portal.
Setting up Admin Portal
For the admin portal to work, we need some modules in the INSTALLED_APPS and MIDDLEWARES_CLASSES of the firstproject/settings.py file.
These modules should be in INSTALLED_APPS:
INSTALLED_APPS = (
   'django.contrib.admin',
   'django.contrib.auth',
   'django.contrib.contenttypes',
   'django.contrib.sessions',
   'django.contrib.messages',
   'django.contrib.staticfiles',
   'myapp',
)
And for MIDDLEWARE_CLASSES:
MIDDLEWARE_CLASSES = (
   'django.contrib.sessions.middleware.SessionMiddleware',
   'django.middleware.common.CommonMiddleware',
   'django.middleware.csrf.CsrfViewMiddleware',
   'django.contrib.auth.middleware.AuthenticationMiddleware',
   'django.contrib.messages.middleware.MessageMiddleware',
   'django.middleware.clickjacking.XFrameOptionsMiddleware',
)
Django automatically creates the admin site for us. All we need to do is to create a superuser that has access to the admin portal. To access the admin site, run this command in the console to initiate the database.
Python manage.py migrateThis will create all the tables related to the data type in the database.
Now to create the superuser, use the following code-
python manage.py createsuperuser
Now enter the details of the superuser to access the portal.
Username: admin
Email address: [email protected]
Password: *****
Re-enter password: *****
Now just run the development server by using the following command:
python manage.py run server.After making sure the development server is running, go to the URL http://127.0.0.1:8000/admin/ where you will see the admin portal.
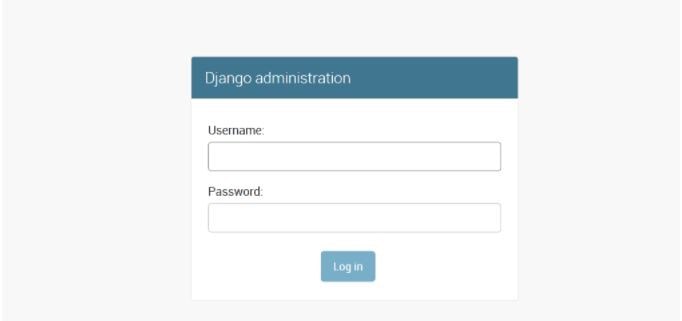
We can log in to the portal by entering the credentials created above.
After logging into the portal, you will be redirected to the admin dashboard page.
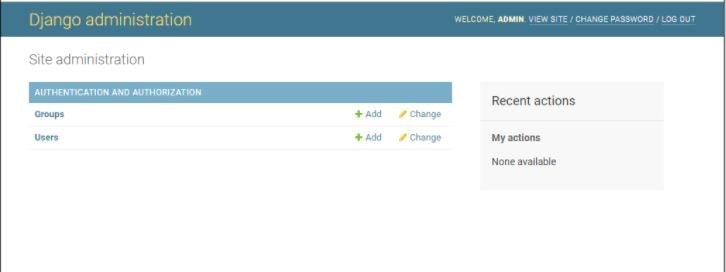
The Django framework has divided the Authentication and Authorization into two content named Groups and Users.
Register Models
Now the next step is to register the models in our app with the admin. Model registration is done in the admin.py file, and to register the model, first import the admin module and use admin.site.register(model_name)to register a model.
From Django. contrib import admin.


from .models import Author, Genre, Book, BookInstance


admin.site.register(Venue)
admin.site.register(Event)
This is one of the most basic ways of registering models. Django admin provides some customization features as well to improve the functionality and interface of the portal.
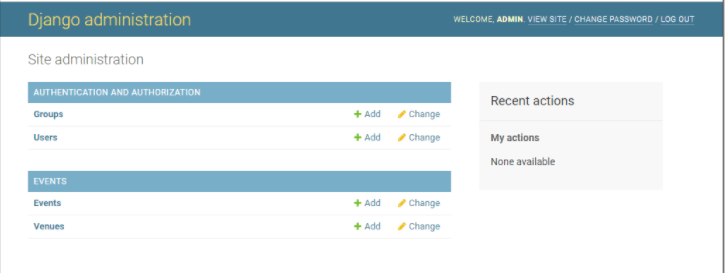
Since we have registered the models with admin, now we can edit, delete or add the Venues or events from the admin interface. These operations will also reflect in the mapped database table. If we click on one of the models here, it will open the list where we can do CRUD operation on the model's record.
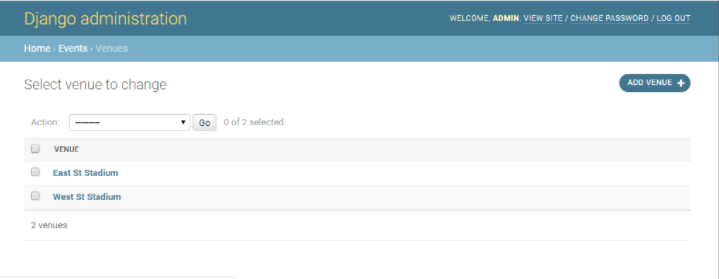
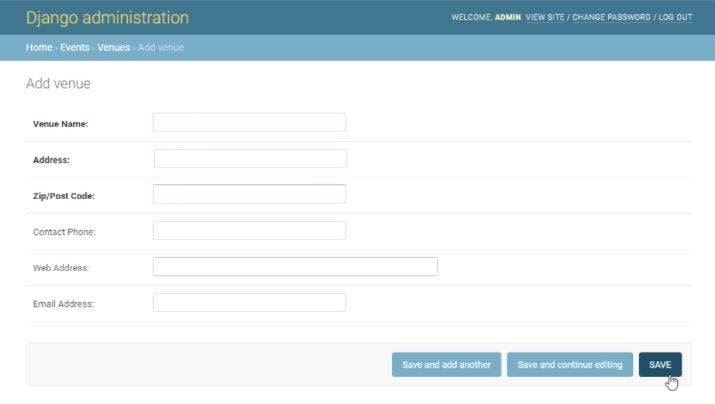
To edit an already existing record, click on the record. If you want to create a new record, click on the add button.
Now if we want to leave some field blank in any model it will cause some error. Sometimes we would like to create some optional field which may remain blank if user wants. To make some fields optional, use this code in defining the model.
class Venue(models.Model):
name = models.CharField('Venue Name', max_length=120)
address = models.CharField(max_length=300)
zip_code = models.CharField('Zip/Post Code', max_length=12)
phone = models.CharField('Contact Phone', max_length=20, blank=True)
web = models.URLField('Web Address', blank=True)
email_address = models.EmailField('Email Address', blank=True)

 def __str__(self):
 return self.name
As you can see, in the phone, web, and email_address blank option is set to True, which will make these fields optional. Now since we have changed the model, and we need to update the database as well by running commands:
python manage.py makemigrations
python manage.py migrate
Now restart the development server and log in to the development server using the above-created credentials. Now add one record to the Venue model, and we can see the optional fields are not bold, which means we can keep them blank if we want.