Django Image Upload
Django is a python based web framework that uses Model View Template as its architecture. Django provides really quick web development with its functionalities. While we are building a website, many times, we will require to add some images or add an upload file widget to our website. Uploading an Image is one of the most common requirements of a website, and after uploading, we also need to store it on the server or the database.
Django provides two model fields to file upload, which is FileFieldand ImageField. ImageField is a specific case of FileField in which a file can only be in jpg/jpeg/png format. ImageField uses Pillow to validate if the file uploaded is an Image or not.
Let us create a model to upload the image.
Models.py
fromDjango.db import models


class Image(models.Model):
title = models.CharField(max_length=200)
image = models.ImageField(upload_to='images')


def __str__(self):
returnself.title
In this, we have created an image variable which is of type ImageField. ImageField will provide a way to read and write images. The argument upload_to decides where the uploaded image will be stored. Here we have specified the path MEDIA_ROOT/images.
The next step is to specify MEDIA_ROOT in settings.py file. Add the following code in settings.py file:
MEDIA_ROOT =  os.path.join(BASE_DIR, 'media')
MEDIA_URL ='/media/'
MEDIA_URL is the reference URL for the browser.
Now we also have to add some code in the urls.py file:
fromDjango.conf import settings
fromDjango.conf.urls.static import static


urlpatterns = [
path('admin/', admin.site.urls),
    ...]
ifsettings.DEBUG:
urlpatterns += static(settings.MEDIA_URL,
document_root=settings.MEDIA_ROOT)
This will enable the server to serve the media files.
Now we need to create a forms.py file.
fromDjango import forms
fromDjango import forms
from .models import Image


classImageForm(forms.ModelForm):
class Meta:
model = Image
fields = ('title', 'image')
We have ModelForms to create the forms. The advantage of using the model forms is that we don't need to code the validation for the form input explicitly. Django will take care of it. This form will create title and image fields. Now we need to create a view.py file to render the form.
Index.html
<form method="post" enctype="multipart/form-data">
  {% csrf_token %}
   {{ form.as_p }}
<button type="submit">Submit</button>
</form>


{% if img_obj %}
<h3>Succesfullyuploaded : {{img_obj.title}}</h3>
<imgsrc="{{ img_obj.image.url}}" alt="connect" style="max-height:300px">
{% endif %}
In the above file, we are making a POST request to send the data. To send the image we also, have to specify the encoding type to multipart/formdata, which will ensure the entire file gets sent as data.
Views.py filehandle the form. It takes the request from the user and renders an html page.
Views.py
from Django.shortcuts import render, redirect
from .forms import *

defimage_view(request):

    if request.method == 'POST':
        form = ImageForm(request.POST, request.FILES)

        if form.is_valid():
            form.save()
            return redirect('success')
    else:
        form = ImageForm()
    return render(request, 'index.html', {'form' : form})
In this view, we are just validating the file uploaded and then rendering some html pages according to it. Whenever this view is called and the request is POST, it will create the ImageForm to get the image and then shows the success message. After creating the view, all we need to do is map the URL to it.
Add the following code to your URL patterns list:
Urls.py:
urlpatterns = [
    ......
path('image/', views.image_view)
    ......
]
We are done with the coding part. Now just save the files and run the server by the following command:
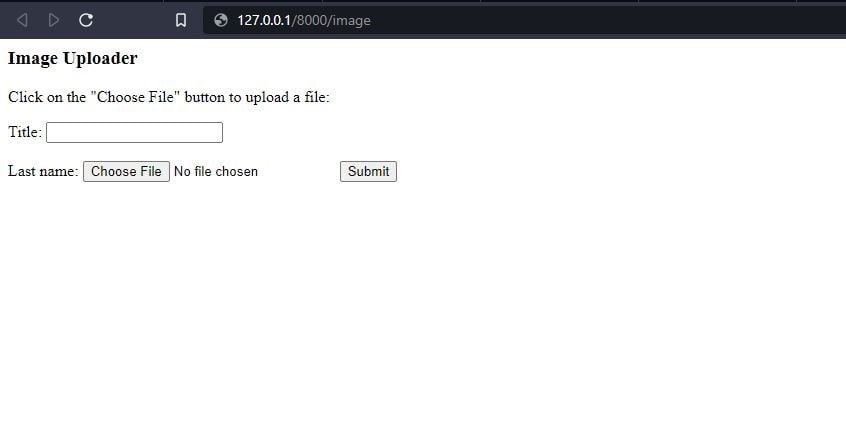
Python manage.py runserverGo to the browser and navigate to the specified URL. You should see an image form.