Django Authentication
Django is an open-source free to use web framework which is based on Python. Django uses Model-View-Template as its architecture. The final version of Django was released in 2008. Django is very popular for its rapid development, scalability, clean design, and security. Django provides the solution for basic problems which every web developer faces, and it takes care of most of the hassle of web development so that a programmer does not have to write code from scratch. Django is used by many giants companies such as Instagram, Pinterest, and Spotify, etc. Django is currently at the 6th position among the frameworks based on GitHub projects and StackOverflow questions.
Installation
In this post, we will be making our first project in Django from complete scratch. The first step is to download Python. This is a programming language that is used by Django. To download Python go to the link https://www.python.org/downloads/and click on the download option. If you already have Python, you can check the version by using this command:
Python --versionAfter installing, to verify the installation, use this command:

If this commands runs without an error, it means we have successfully installed Python. The next step is to install Django.
Before actually installing Django, we would like to create a virtual environment where we can store all our project files. Virtual Environments are very useful. They help to keep separate versions of a module for different projects without messing them up. To install the virtual environment, execute this command in your terminal or command prompt.
pip install virtualenv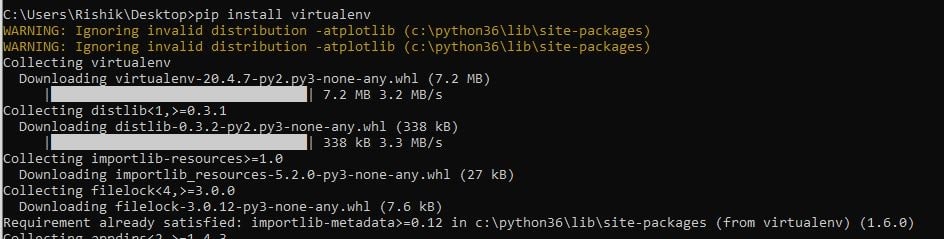
After creating the virtual environment, we want to create and activate this environment to use it. To create the virtual environment, go to the directory in which you want to create the environment and then type this command:
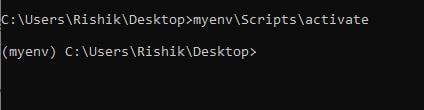
VirtualenvmyenvThis will create a new directory named myenv in your current directory. To activate this virtual environment we just created, use the command below:
Myenv\Scripts\activateIf the environment is activated, we can see the environment name on the left side of the console.
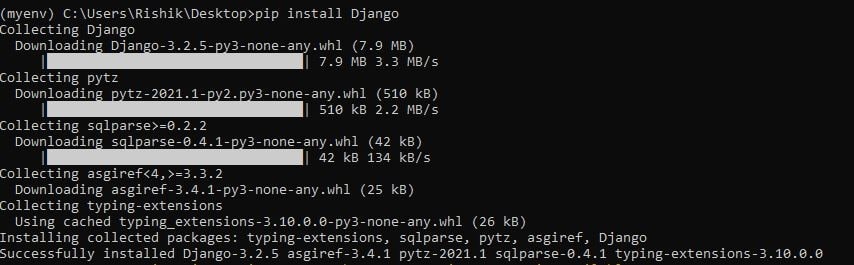
After successfully creating and activating the environment, the next step is to install Django. The easiest way to install Django is by using the python package pip. To install Django run this command in your command-line interface python – m pip install Django.
To verify if Django is correctly installed in your local machine or not, execute the following command in the Python console:
Import Django
If this command does not show any error and Django is installed on your computer, we can check the version of the Django installed by running the below code in the python console.
Print(Django.get_version())The above command will print the version number of Django.
Creating Project
In Django, there is a difference between a project and an app. Every web application we create is a project, and a project is a sum of applications. An application is a code for a part of the web application, and an application can be reused to make new applications by just making some changes to it.
To start our new project, we have to auto-generate some Django code which will be the building block of our project. This code contains various settings and configurations for the Django project and app. To start creating the project, go to the directory where you want to create your project and run the following command in your command prompt.
django-adminstartprojectmyprojectIt will create a project folder in which you can create the files for your apps. The structure of this directory is:
- manage.py: It is one of the most important files. This helps us interact with the project through the command line.
- My project folder: This folder is the actual Python package for our project. This folder contains all the files we will use.
- __init__.py: This is a Python package.
- Settings.py: This file contains all the settings of the website. This file stores the configurations of database connections, any apps we create, etc.
- Urls.py: We declare all the URLs in this file.
- Wsgi.py: This file serves as an entry point to the WSGI servers and is used to deploy the project.
- Asgi.py: Similar to WSGI, asgi.py is used to deploy the project in ASGI.
Setting up Database
We can connect our project to a lot of databases. Here we will use sqlite. All the settings for our project is set up in myproject\settings.py file. Database is set up in DATABASE dictionary. To create a connection with SQLite engine, the settings is:
DATABASES = {
   'default': {
      'ENGINE': 'django.db.backends.sqlite3',
      'NAME': 'database.sql',
      'USER': '',
      'PASSWORD': '',
      'HOST': '',
      'PORT': '',
   }
}
Now our project is ready to start the development server navigate to the project directory by cd myproject.
python manage.py runserverThe output of this command will be something like this in the terminal:
Performing system checks...
0 errors found
January 08, 2020 - 15:50:53
Django version 1.8, using settings 'myproject.settings'
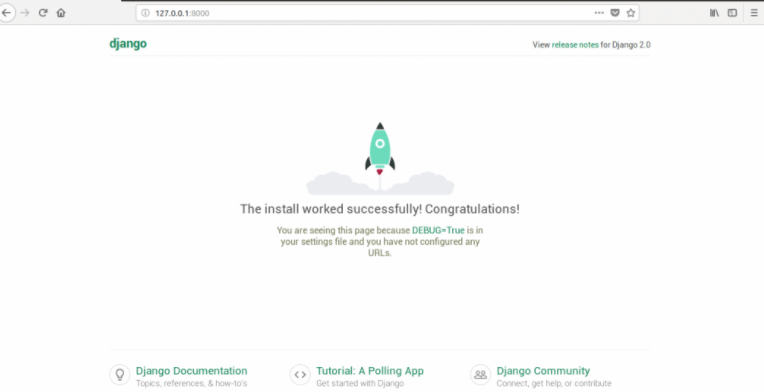
Starting development server at http://127.0.0.1:8000/
Quit the server with CONTROL-CThis output confirms that we have done our first project successfully and have started the development server. Go to the above URL to see the default homepage.