MySQL Environmental Setup
The MySQL Environmental Setup
MySQL is free, open-source, and cross-platform software, which can be downloaded from its official website. MySQL management system installs on Linux, macOS, and windows.
MySQL requires a framework for an interface like an eclipse, visual studio, and others. It is necessary to have a minimum of 4 GB RAM in the computer or application devices.
The following information describes the installation procedure on the Windows operating system.
Installation for Windows operating system
Step1: Download the MySQL installer on theWindows operating system.
The Windows users can download the MySQL installer using the following link. You can choose either offline or online software installer.
MySQL link: https://dev.mysql.com/downloads/installer/
The offline MySQL database installation can be done using the following file.
mysql-installer-community-<version>.exe
The online MySQL database installation can be done using the link given below:
mysql-installer-web-community-<version>.exe
Step2: Install the MySQL data management system software on your device.
Double-click on MySQL Installer and start the installation process. If Windows operating system asks for installation permission, then select "YES." The MySQL software starts the installation process.
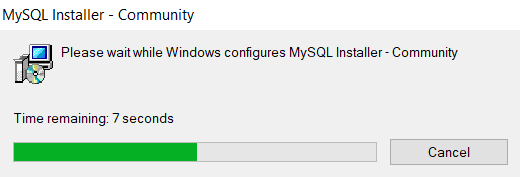
The MySQL installer waits for configuration with the windows operating system. Once the configuration is complete, you set up the software as per your requirement.
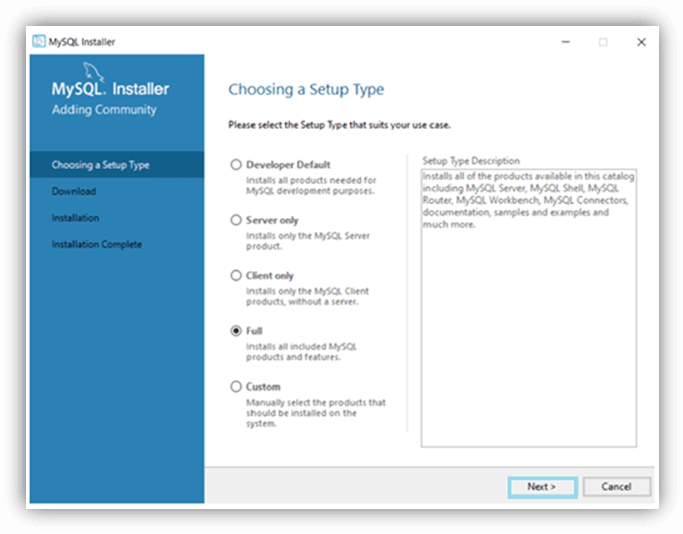
Step3: Choose the setup type.
Here, you choose the setup type for MySQL installation. There are four setup types for installation. Each setup type has its function.
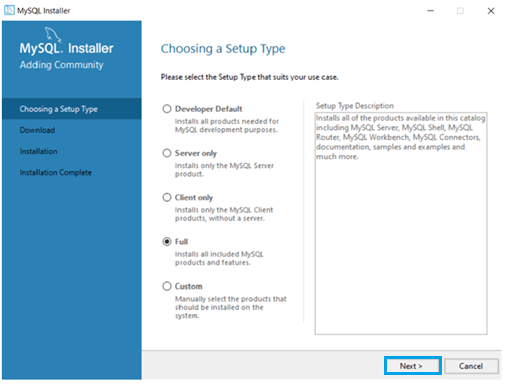
Mostly, the developer prefers to select the "Full" or "Developer Default” setup type. However, a student can pick the “Full” or “Custom” setup type.
After you choose the"Full" setup type, proceed by clicking on "Next" for further installation.
Step4: Choose the path for data and software.
The MySQL installer provides a default path in the "C:" drive. The installer and data directory does not need to be similar but prefers to be the same directory path. If the old version of MySQL is available in the default path, the installer automatically updates the new version.
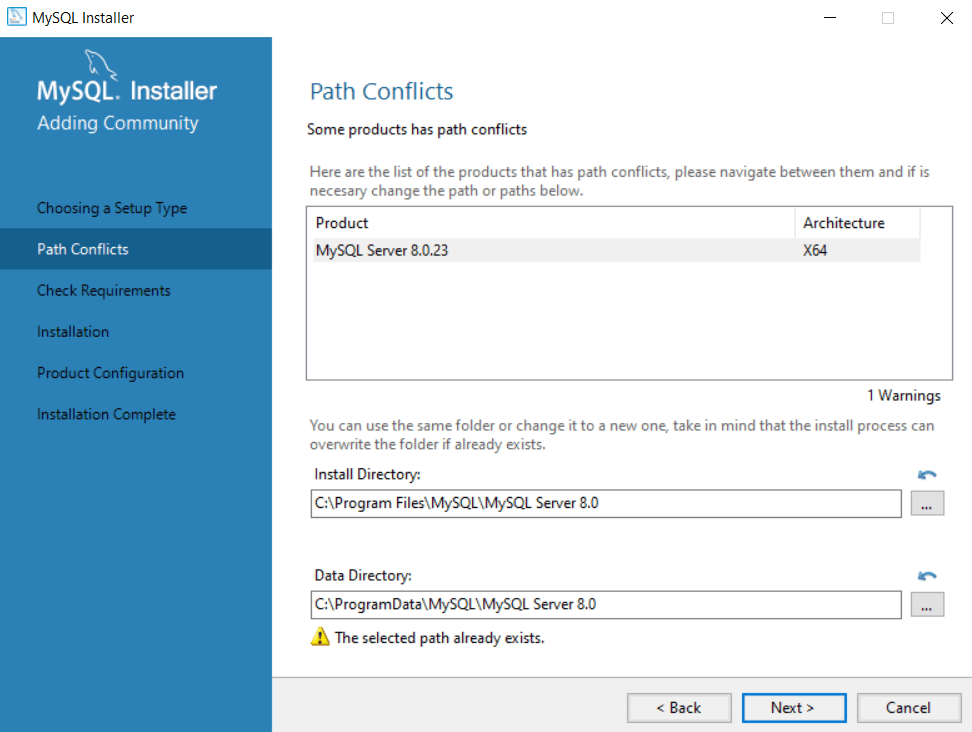
MySQL changes the directory path of software and data. The path is set by default based on available memory. After this, click on "Next" for further installation.
Step5: Installation for the MySQL server.
You must check the availability of the MySQL installer and manually execute it one by one. Click on "Next" for further installation.
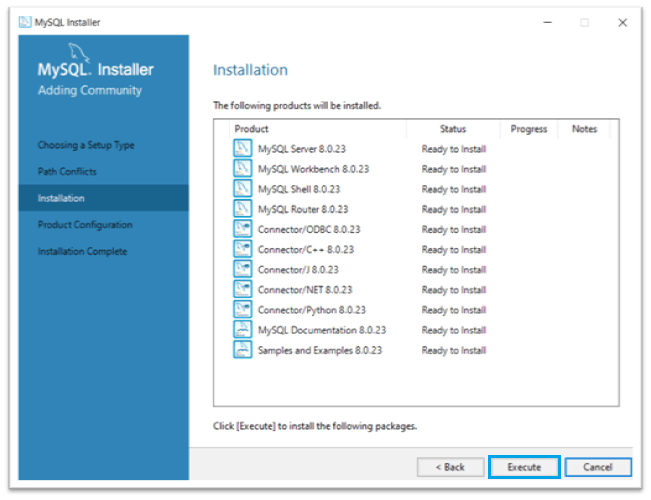
Click on the "Execute" button to install MySQL interfaces or connectors. Now you can proceed further with product configuration.
Step6:Start the product configuration.
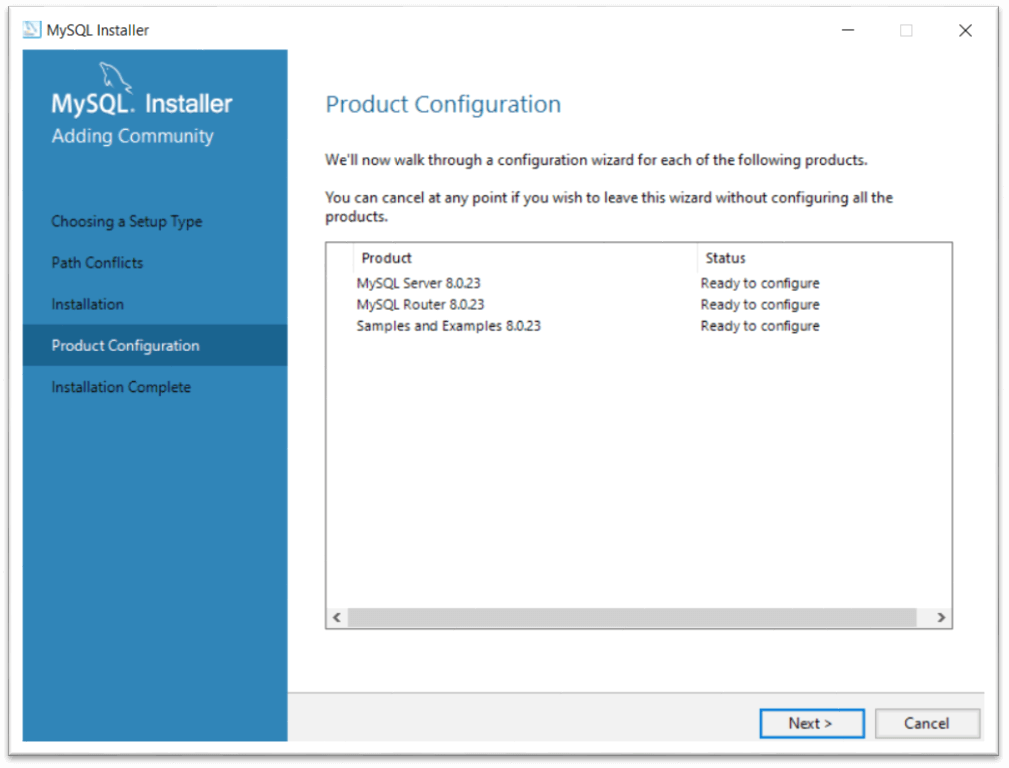
Click on the "Next" button to complete the installation. Now select the server configuration.
Step6: MySQL completes the installation.
Installation needs "server configuration," MySQL password, port as per the availability.
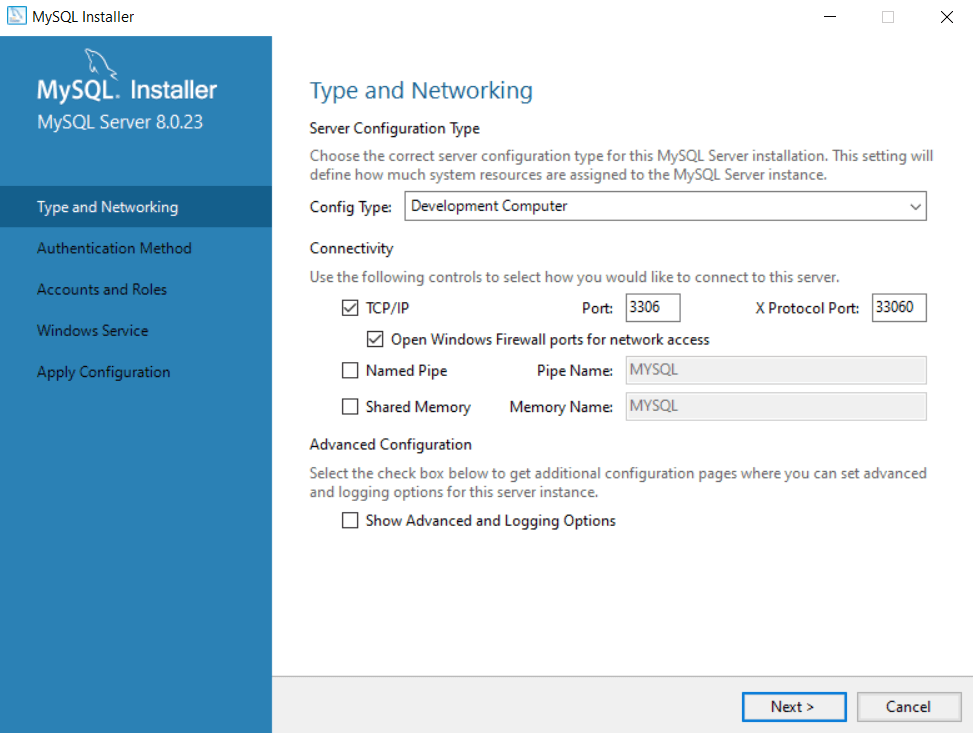
You select the server configuration type to connect the server. The popular configuration type is a "Development Machine." Select the "TCP/IP" network for MySQL.
Write an available port number of your virtual device. Commonly, the MySQL server chooses the 3306port number of your computer. After, click on the "Next" button for MySQL installation.
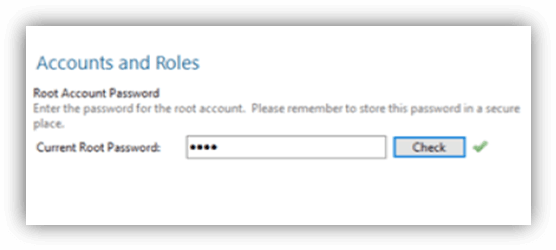
Create MySQL Root password for privacy and safety. It would be best if you can create a strong password. This password is necessary for every use of MySQL software.

MySQL installer chooses the required windows service and clicks on the "Next" button. MySQL is ready for the windows operating system.
Write the user name and password and check the authentication. If MySQL server displays "connection succeeded," then click on the “Next" button.
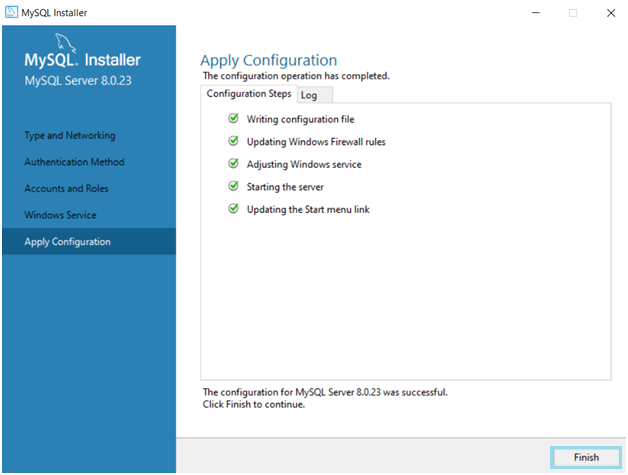
Click on the "Finish" button. After, the installation process of the MySQL installer is complete. Here, MySQL 8.0.23 is successfully installed.
You mostly get the MySQL Command line client, MySQL workbench, MySQL shell interfaces, and other connectors.MySQL supports cross-platform. These are popular operating systems for students and developers. If you want to work on a different operating system, then install MySQL as per requirement.
MySQL User Interface
MySQL server has two popular ways to connect with a virtual device. These interfaces are easy, fast, and user-friendly.
- MySQL Command line client
- MySQL workbench
MySQL Command line client
MySQL command-line client is a widespread connector for beginners and advanced developers. The command-line client interface is similar to the command prompt for the computer. It is used to run a command or query of MySQL.
Step1: MySQL command line sets the path using a command of the folder name.
Step2: Type the "MySQL" keyword on the command-line client. If we get the MySQL database path, then the command line connects the server.
Step3: The below command line connects the MySQL server. Once the server gets connected, you do not need to run it again. The command-line client connects permanently.
mysql –u root –p
Step4: MySQL command-line client requests a password. The password requires safety and privacy.
Enter password: *****(type the password.)
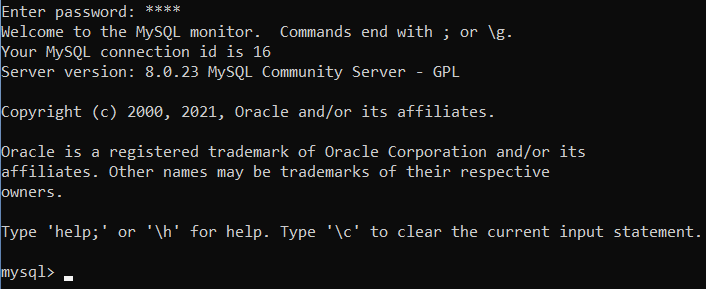
Every time you open the command-line client interface, you must enter the password. If you get the MySQL command and software's information, then you are ready to work on the MySQL system.
Step5: MySQLuses MySQL basic command in MySQL command-line client.
mysql> SHOW DATABASE;
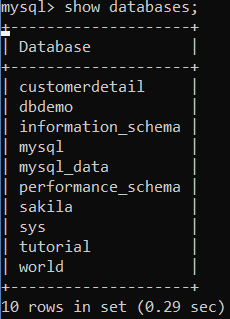
The command-line client displays the available database in the system. You use one of the databases or create a new database. You are now ready to work on the command-line client interface.
Step6: Close the command line client interface.
If a command-line client wants to close, then use the "exit" command. EXIT command automatically discloses the MySQL command-line client interface.
Mysql> EXIT;
The above query is executed to exit MySQL command-line client interface without interruption.
MySQL workbench
MySQL workbench is an application to operate MySQL server without command. Now, see the initial procedure of the workbench interface.
Step1: Open the MySQL workbench application. The first scene of the workbench is given below.

This interface creates more than one MySQL connection. The connection needs to set a unique password.
Step2:Create a MySQL connection using username and root. Every time user needs to enter a password to open MySQL workbench. The image displays the connection of the MySQL server.

Enter the password and press the "OK" button. If a password is correct, then the workbench will display the home page.
Step3: The MySQL workbench displays all databases and tables in the left side column. You can see the menu bar, navigator column, command column on the home page.
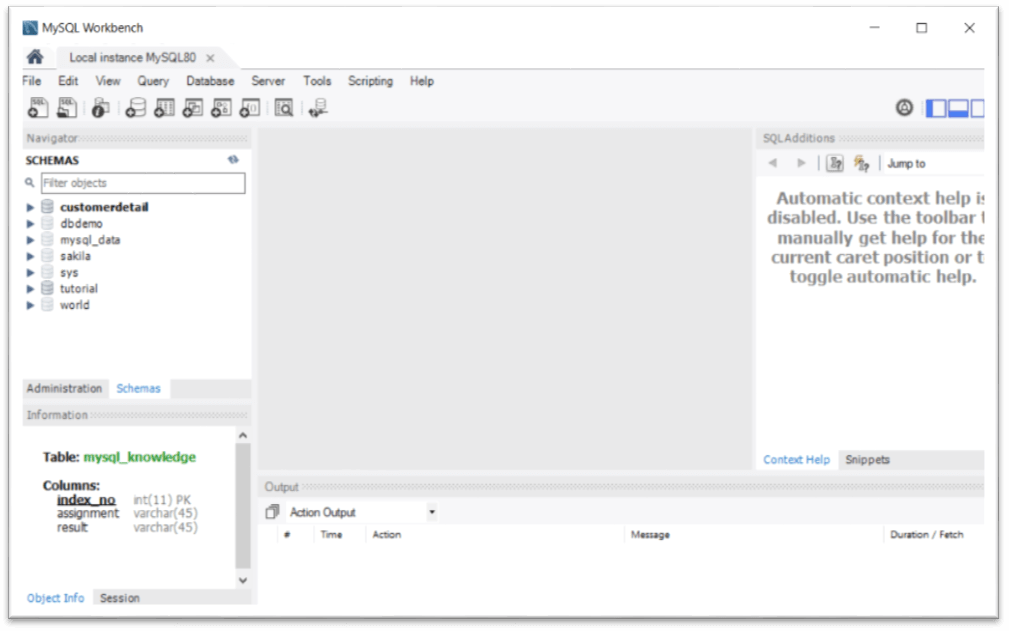
The above image shows the home page of the MySQL workbench interface. You can start the execution of the data operation.
Step4:Connect and manages database and connection.
The interface manages a database using the "Database" icon on the menu bar. Pressthe CTRL+U button.Next, click on the "Connect to Database" icon to display the required database.
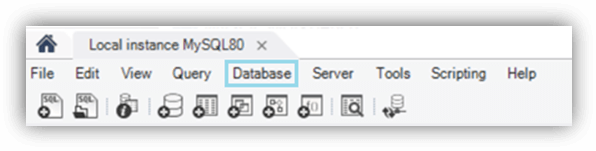
The image displays the menu bar of the workbench interface. This menu bar provides data operation quickly. It helps to manage critical operations and connections.
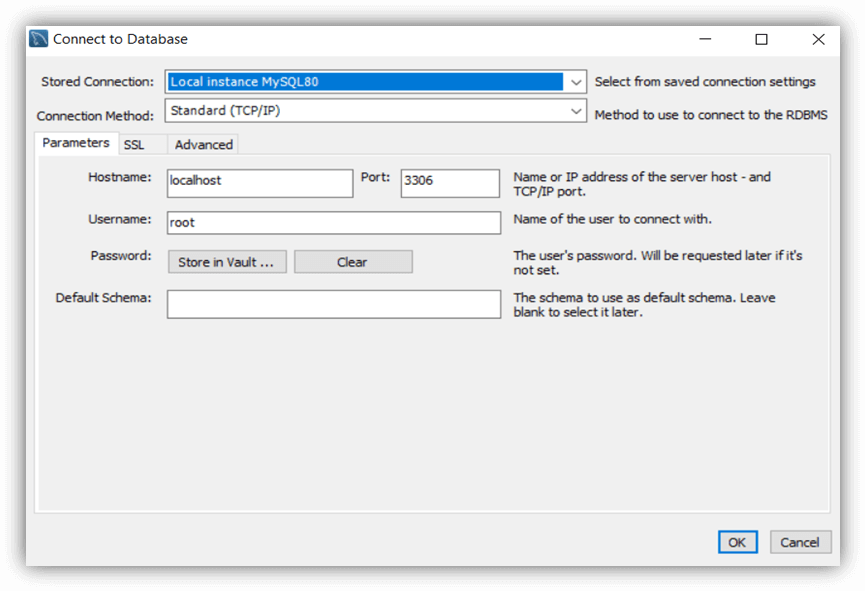
Here you are required to use the username and password every time you want to connect the database. Set up the MYSQL connections using the connection name, username, and required inputs. Press the "OK" button.
Step5: Create a new database or schema.
You can create a schema of MySQL as per project and requirement. The schema is similar to a command-line client database. You can create multiple schemas in one workbench interface.
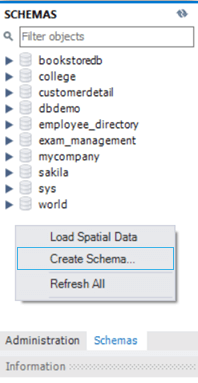
The above image shows schemas and how to create a schema. You can click on "Schemas" and choose "Create Schema..." to contain multiple tables.
Step8:You can choose the required schema and create a table. The table is used to store data in row and column format.
Step9:You are ready to start a data management system. You can create, operate, and remove data using MySQL workbench.