How to insert an email in android application in android version 8
Email Address Insertion
It is used to insert email adrress from the user in the android application.The only point of difference between an EditText and an Emailtext is that EmailText consisits of attribute named as android:inputType="textEmailAddress".
Email address consists of a local part followed by '@' and then a case sensitive domain name.
In this tutorial, we are going to demonstrate the use of Email Edit text.
Step 1: Create a brand new android project on android studio IDE.

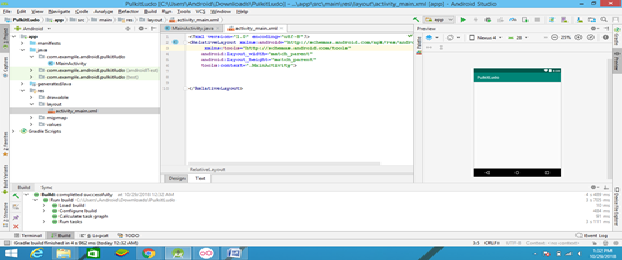
In the next step, select the activity_main.xml file to access the front-end side of the android application.
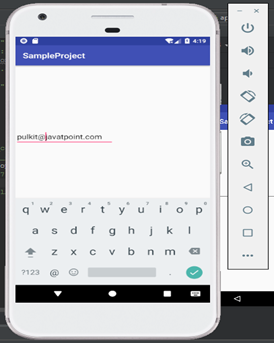
Step 4: Go to the design tab and select email under text.
Step 5: Drag and drop email on your android application preview.
After getting the email edit text XML file will look like this:-
<?xml version="1.0" encoding="utf-8"?>
<RelativeLayout xmlns:android="http://schemas.android.com/apk/res/android"
xmlns:app="http://schemas.android.com/apk/res-auto"
xmlns:tools="http://schemas.android.com/tools"
android:layout_width="match_parent"
android:layout_height="match_parent"
tools:context=".MainActivity"
    android:id="@+id/layout">


    <EditText
        android:id="@+id/editText3"
        android:layout_width="wrap_content"
        android:layout_height="wrap_content"
        android:layout_alignParentTop="true"
        android:layout_marginTop="173dp"
        android:ems="10"
        android:inputType="textEmailAddress" />
</RelativeLayout>
android:inputType="textEmailAddress"
This line represents an Edit text as an textEmailAdress i.e. this Edit Text will be used to insert email from the user.
After the step 5, front-end work is completed, you can take a button for 'submit' according to your requirement. You can also go through my android Button tutorial to understand the working of button in android application.
Step 6: Insert the following code in your Main Activity file:
import android.widget.EditText;
Step 7: Insert the following code in your MainActivity class:
private EditText email;
This will create an instance variable of class EditText as email.
Step 8: Inside the onCreate method of your MainActivity class, insert the following code:
email=findViewById(R.id.editText);
String mail=email.getText().toString();
This will initialize the email instance.
Step 9: In the final step, you can use the String mail to get the email inserted by the user.
Developer may check the email-address entered by the user against the email in his database via mail String.
I would suggest you to take a button to insert the email from the user.
Insert the following code on your onCreate method inside the
MainActivity.java file:
if([email protected]){
Toast.makeText(MainActivity.this,"Welcome [email protected]",Toast.LENGTH_SHORT).show();
}
else{
Toast.makeText(MainActivity.this,"Not a valid user",Toast.LENGTH_SHORT).show();
}