How to Update Gradle in Android Studio?
The Android Gradle plugin adds a number of features that are unique to develop Android apps to the Gradle build system, which is the foundation of the Android Studio development system. The Android plugin can run independently of Android Studio and be updated individually, despite the fact that updates to the plugin are often made in tandem with updates to Android Studio. You should use the most recent versions of Gradle and the plugin for optimal performance. You could get a notification asking you to automatically upgrade the Android Gradle plugin to the most recent version when you update Android Studio. Depending on the build requirements for your project, you can opt to manually specify a version or accept the update. In this piece,we will talk about both approaches. Let's examine each of the five ways that Gradle can be upgraded now.
Various Ways to Update Gradle
Process 1-
Step 1: Navigate to File Settings in Android Studio after opening it.

Then just select the Use default Gradle wrapper (preferred) option under the Build, Execution, Deployment Tab Build, Tools, Gradle option.
Step 2: Choosing the preferred Gradle version.
Open the Project Structure file.
Then select Project from the menu.
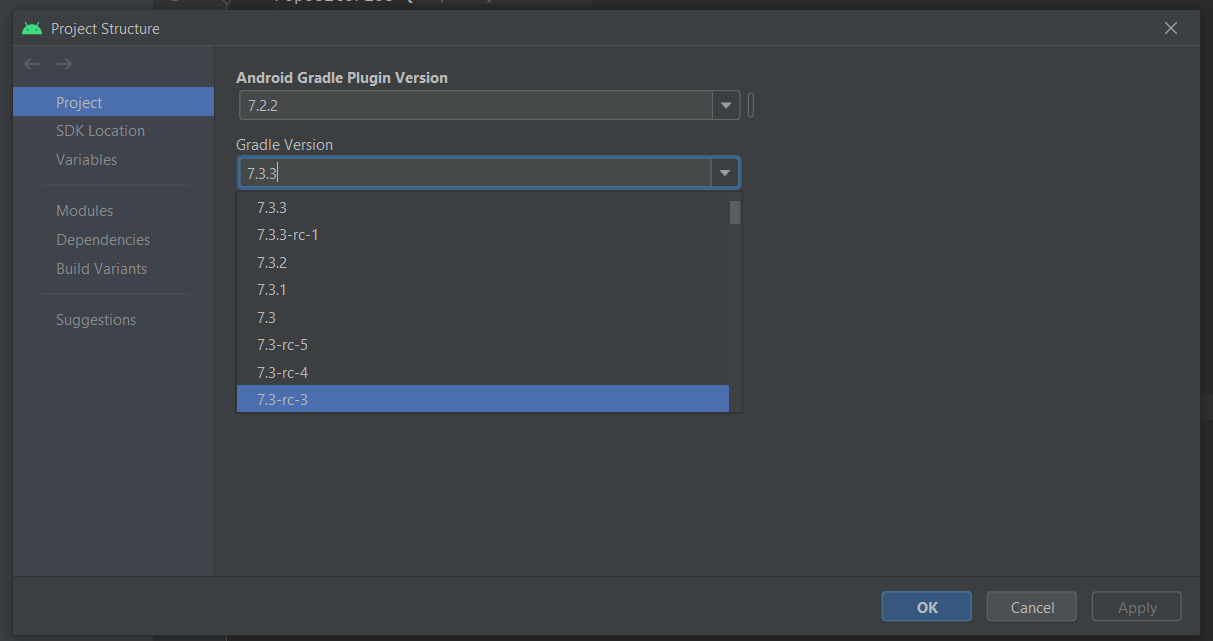
then pick Gradle's most recent version. After that, select "Ok." The most recent versions that are compatible with Android Studio 4.1.2 (March 2021) are:
Android Gradle Plugin version: 4.1.2
Gradle version: 6.5
Process 2-
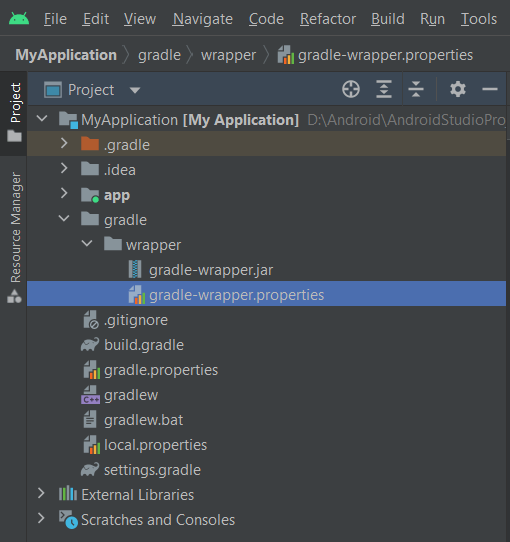
To manually modify the distribution, open gradle-wrapper.properties (Go to Gradle > Wrapper >gradle-wrapper.properties). The file's url property.
Process 3-
Download the most recent version that Android Studio supports at http://www.gradle.org/downloads. (As of 1.9, AS does not support 1.10 yet.)
Install: Unzip the file anywhere, preferably close to where AS is installed: C:\Users[username]\gradle-1.9\
Next, select File -> Settings.

Next, select Gradle and change the Service directory path to the folder you specified earlier. Hit "OK." The bottom status bar should read "busy" and the issue should be corrected. may need to start over.
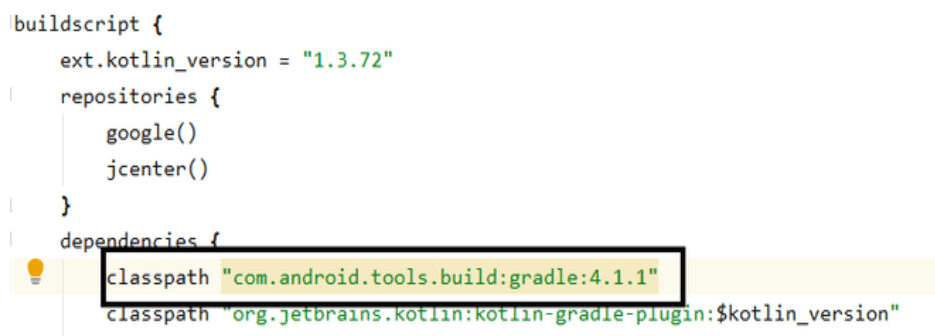
Process 4-
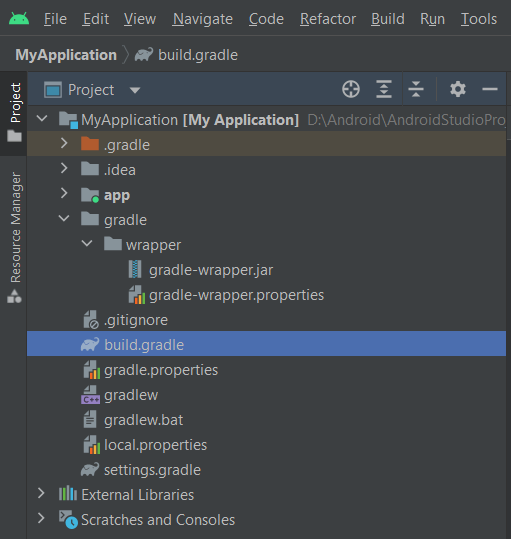
Step 1: Open the build.gradle file for the project.
Step 2: You can manually update Gradle to the most recent version by typing classpath "com.android.tools.build:gradle:x.x.x". As seen below, Replace x.x.x inside dependencies with the most recent version.