AutoCAD Tree Blocks
AutoCAD is widely used for landscaping, garden design, and architecture in general. Plant and tree design in AutoCAD may be rather time-consuming. Designing plants that complement the artwork requires time and experience.
In AutoCAD, place tree and plant blocks.
The blocks arrive in.dwg format, which is the first thing to know. We can save a lot of time and energy by inserting a preset block.
We only need to accomplish the following:
- Select the Browse button in the Insert dialogue box. You can discover both the blocks you've downloaded and any models you've created yourself in this section.
- Look through the collection until you discover the tree or plant block that you wish to use. Click Open after selecting it. The Insert dialogue box must then be open.
- Use the same parameters for the dialogue box as you would for a block in your drawing. All you have to do now is click OK.
- The final stage is quite critical. The message Specify Insertion Point (or Base Point/Scale/Rotate) should be noted. The tree's insertion point must be specified here. You won't have to alter the scale later if you do it correctly from the start.
Trees from Above
The top view orientation, similar to what we see on a map, allows us to observe our trees and plants from a higher vantage point. Unlike a traditional map, trees in AutoCAD are created on a plane in a specific vertical position. When choosing your scale, keep bear mind that this location is usually four feet above the ground. You may observe the items above this level this manner. Additionally, the tree blocks in this level appear "chopped off" on your screen. Objects shown above this vertical location inside the structure should also be avoided.
Cut View of Trees
We can see our trees from the side in cut perspective. This would be the horizontal portion of a facade. This perspective is critical for conveying the plants' outward look in the painting. As a result, while importing our blocks into the AutoCAD drawing, we must be cautious.
It's important to note that the cut view is a vertical orthographic projection of the trees in a horizontal plane. To put it another way, the vertical plane of the tree is normally parallel to one side.
Everything cut off by the plane is depicted as a bold line in our AutoCAD drawing, frequently with a solid fill to show the things that are cut off. Everything beyond is generally represented by a narrower line. The link between the several layers of our drawing is described in these sections.
3D Trees
A 3D model is the last sort of tree we'll look at in this tutorial. The process of producing a mathematical representation of any surface of an item in three dimensions yields 3D tree blocks. It's worth noting that through the rendering process, 3D models may also represent a two-dimensional image.
Add trees to AutoCAD
Trees from Above Unlike a traditional map, trees in AutoCAD are created on a plane in a specific vertical position.
With AutoCAD, create a tree
- Go to the Tools menu. To the Working Set, add Xref and Block In-Place Editing.
- Choose the items you wish to include. Before utilizing the Add option, you may set PICKFIRST to 1 and build a selection set.
In AutoCAD, create a 3D tree
3D Trunk Construction When prompted for the path curve, choose the polyline you generated to represent the trunk profile, and then the axis. Accept the command's settings to construct a 3D tree trunk.
AutoCAD's Design Center
As illustrated, DesignCenter is located beneath the palettes panel on the View tab of the Ribbon. At the command prompt, you can alternatively type ADC or ADCENTER. Many more features are described below and may be accessed in the Autodesk Help system.
AutoCAD allows you to insert persons.
- Select Home > Block panel > Insert from the Home menu. Find.
- Insert a block using one of the following methods:
- Select one or more choices for controlling placement, size, rotation, and automated repetition at the bottom of the Blocks panel.
- Click OK.
Commands in AutoCAD
SHORTCUT/ COMMANDDESCRIPTIONL/ LINE DRAWING
Draw a straight line.
MIRROR/ MI
MLINE: Make a mirror replica of an object
Make a series of parallel lines.
PL/ PLINE
Draw a polyline.
AutoCAD can import a DWG file.
- Manage Import import panel 3D Model tab Create panel Import is an option.
- Select Files of type in the appropriate dialogue box to see the available files.
- Click open after selecting the file to import.
Import blocks in AutoCAD
- Open an existing dwg file or create a new one using a dwg template in AutoCAD.
- Select the Annotate tab Symbols panel from the ribbon. AutoCAD Block Import
- Select the dwg file that includes the block definition in the Import Block dialogue box.
- Select the block to place in the Block area.
- Set the settings for Scale and Rotate.
With AutoCAD, create an object block
- Sketch the things you wish to include in the block.
- To run the BLOCK command, go to the home tab> Block panel> Create.
- In the Name text box, type a name.
- You must specify a starting position.
- Click the Select Objects button in the Objects area.
- Select Retain, Convert to Block, or Delete from the drop-down menu.
With AutoCAD, add a toilet
- Select Design Center from the Insert tab's Content panel drop-down menu.
- Select AEC Content from the drop-down menu.
- Expand AutoCAD Architecture under Custom Applications, then Imperial or Metric.
- Select one of the following layouts and enlarge it:
- Double-click one of the layouts.
Design center for AutoCAD
Other drawings, hatches, blocks, and other items in our drawing area are accessible through the Design Center in AutoCAD. It will allow us to paste, copy, and insert definitions into our current drawing. We may also browse the material on the web page, the network storage, and our PC.
Make use of the AutoCAD design center
- In Design Center, go to the View tab Palettes panel. Find.
- Select one of the following options in Design Center: Open in Application Window by right-clicking the drawing icon in the Design Center content area. Drag the drawing icon from the Design Center content area to the drawing area while holding down Ctrl.
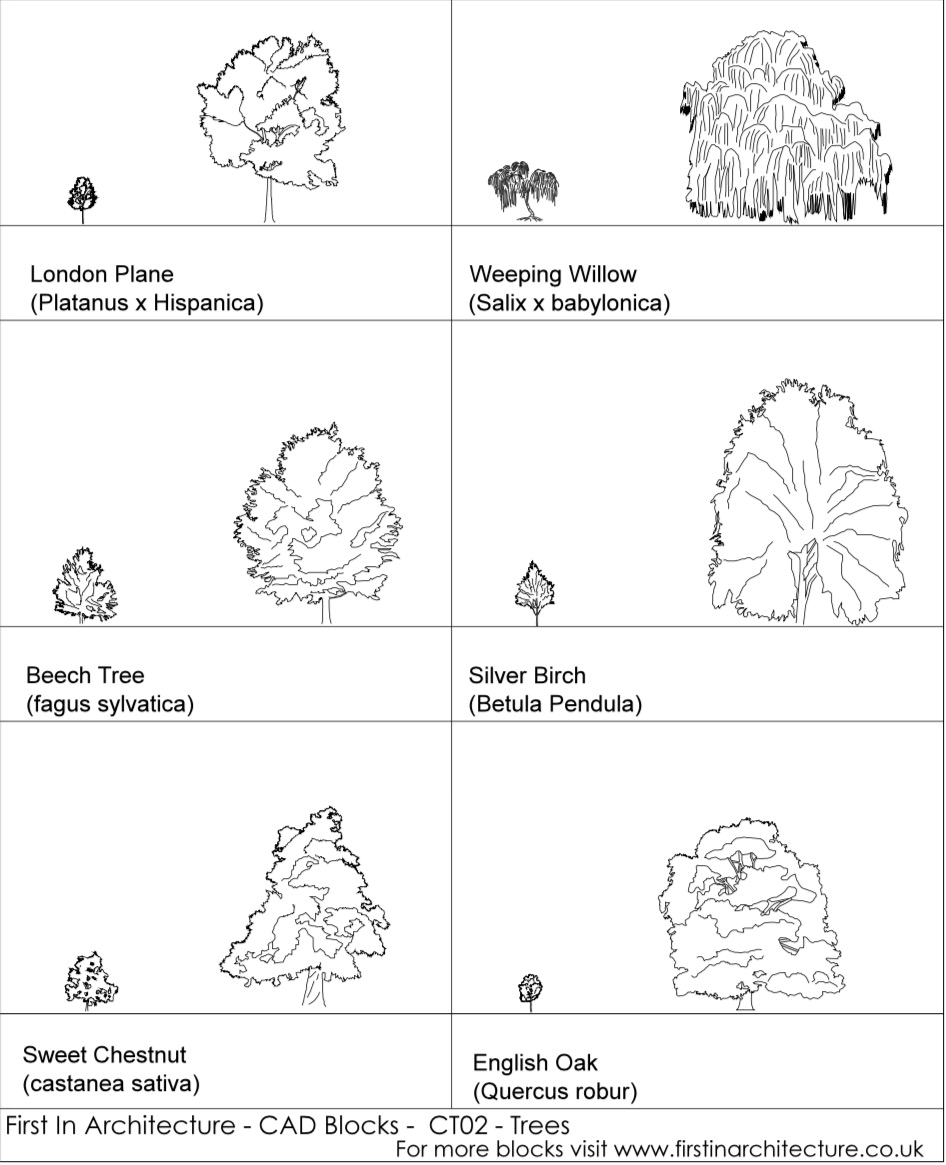
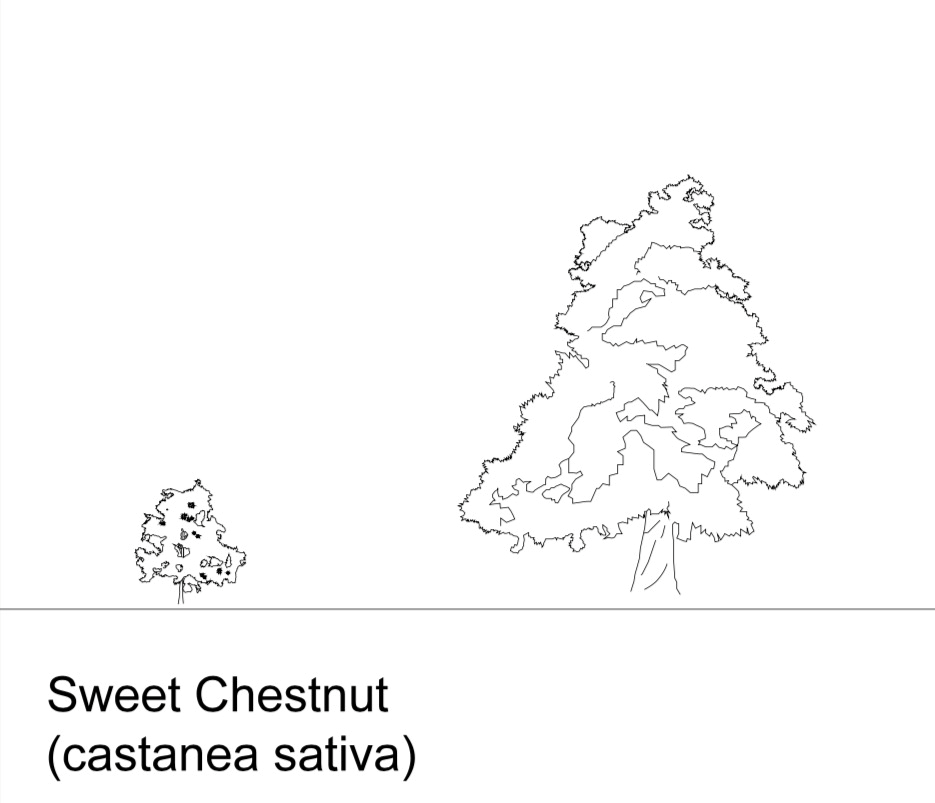
CAD Blocks – Trees
The trees in this set of CAD blocks are in elevation. We've put up a collection of tree cad blocks, including beech, silver birch, and other species. Hopefully you'll find them useful, and keep checking back as our collection expands.
The following tree cad blocks are included in this set:
- CAD Blocks of a Beech Tree
- CAD Blocks of Silver Birch
- CAD Blocks of a Weeping Willow
- CAD Blocks for a London aircraft
- CAD Blocks of an English Oak Tree
- CAD Blocks of Sweet Chestnut