Install Vue.js
How to Install Vue.js
Before start working with the Vue.js framework, it is recommended to install the Vue Devtools extension in the browser. It helps us to inspect and debug our Vue.js applications in a user-friendly interface. There are many methods available to install the Vue.js. Let us discuss the installation of the Vue.js framework with different methods.
Using the <script> tag directly in HTML file
First, we need to visit the official site https://vuejs.org/v2/guide/installation.html and download the Vue.js as per requirement. After downloading, it is required to include it with <script> tag. It provides the two versions of Vue.js for use - Development Version and Production Version. During the development of the project, the Development version will help the user with full warnings and debug mode.
Note: During the project development, do not use the minified version.
Using CDN
It is another method that allows us to add the CDN library to use the Vue.js file. We can visit this (https://unpkg.com/[email protected]/dist/vue.js) link to get the latest version of Vue.js. Vue.js is also available on jsdelivr (https://unpkg.com/[email protected]/dist/vue.js) and cdnjs (https://cdnjs.cloudflare.com/ajax/libs/vue/2.6.11/vue.js).
Using NPM (Node Package Manager)
If you want to develop a large-scale application with the Vue.js framework, it is recommended to use the NPM installation method. It combines well with CommonJS module bundles like Webpack or Browserify. Vue.js provides tools for authoring Single File Components. Use the below command to install the Vue.js using npm.
# latest stable
$ npm install vue
Using Vue CLI (Command-Line Interface)
Before proceeding with the Vue.js framework, we will need to install the node.js and NPM (Node Package Manager), and code editor. To download the latest version of Node.js, open this https://nodejs.org/en/download/current/ link. During the installation of the Node.js, NPM is automatically installed with it, as shown below:

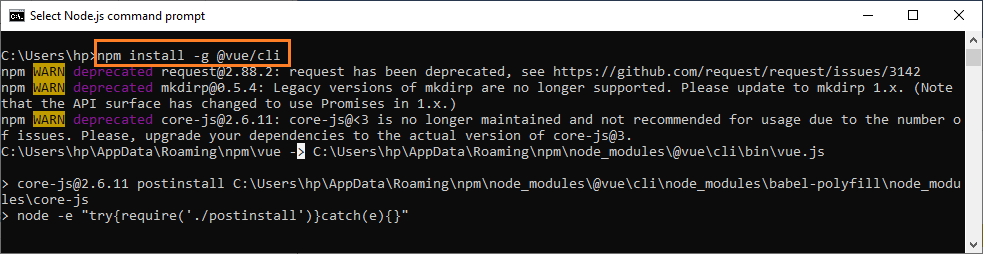
Vue Command Line Interface (CLI) is an access tool for the development of single-page applications. Vue CLI can be installed globally using NPM. To install the Vue CLI, we have to open the node.js command prompt and enter one of the following commands in the terminal window.
$ npm install -g @vue/cli
Or
$ yarn global add @vue/cli
Once you run the above command, it takes a few minutes for the installation of Vue CLI packages.
We can check the version of Vue.js framework with the help of given command, as shown below:
$ vue --version

Upgrading the Vue CLI
If you want to upgrade the global Vue CLI packages, it is required to run one of the following commands in the terminal window, as shown below:
$ npm update -g @vue/cli
Or
$ yarn global upgrade --latest @vue/cli
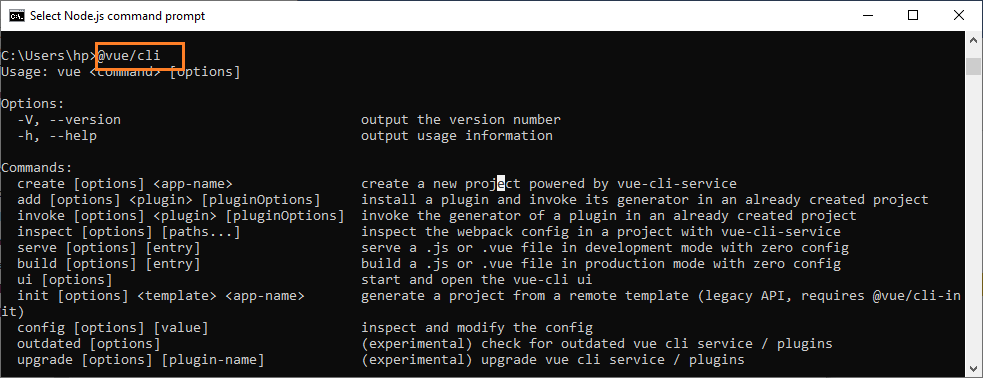
If you want to upgrade one or more @vue/cli related packages inside the project, run the vue upgrade inside the project directory, as shown below:
$ @vue/cli
Create a new Project
To create a new project using Webpack in Vue.js, we need to run the following commands.
$  npm install -g @vue/cli -init
 $ vue init webpack my-project
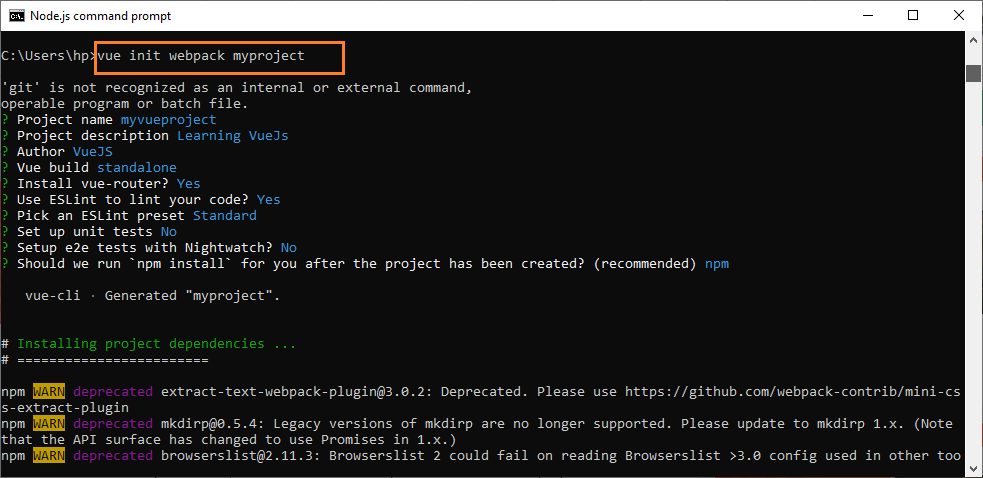
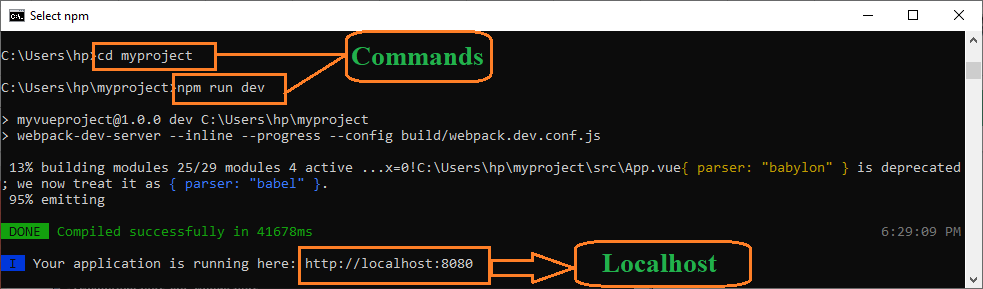
After the execution of the above command on the terminal window, it takes a few minutes to install the project dependencies. We can start a project using the following commands on the terminal window.
$ cd my-project
 $ npm install
 $ npm run dev

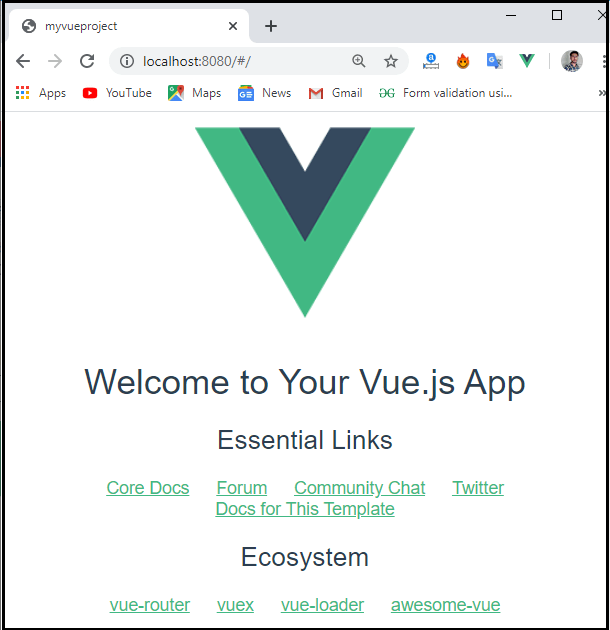
Once we execute the above commands on the terminal window, we will get the localhost http://localhost:8080/#/ on the new tab of Web Browser.
After opening a new tab on our browser, then it shows the tab on the screen, as
shown below screenshot:
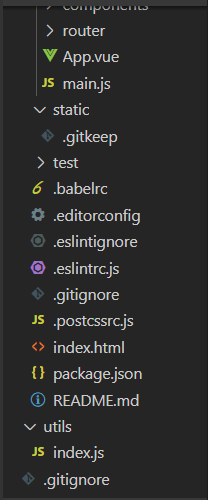
The project structure using Vue CLI looks like the below image: