Vue.js Transition and Animation
Vue.js Transition and Animation
Vue.js transition and animation is an important feature of Vue.js framework. In this section, we are going to discuss the Vue.js transition and animation.
Vue.js Transition
This transition method allows us to use the transition effects when the elements are added, updated, and removed from the DOM. Vuse.js will automatically add/remove the CSS classes at the right time to trigger the CSS transitions. During the transition, we can also provide the JavaScript hook functions to manipulate the custom DOM.
Vue.js has an integrated transition feature, which is required to be wrapped around the transition element. Vue.js offers the transition wrapper component that permits us to add or remove the transition for any element in the following contexts:
- Conditional Rendering (Using v-if)
- Conditional Display (Using v-show)
- Dynamic components
- Component root nodes
The following are the syntax used for Vue.js transition:
<transition name = “name of the transition”>
<div> </div>
</transition>
Here, the name of the vue.js transition is fade. Vue.js transition offers some of the common transition classes, and these classes are prefixed with the transition name.
Example: This example explains how we can use the Vue transition in the Vue.js application.
Index.html
<!DOCTYPE html>
<html>
  <head>
    <meta charset="utf-8">
    <meta name="viewport" content="width=device-width,initial-scale=1.0">
    <title>Vue.js Transition</title>
    <script src="https://unpkg.com/vue/dist/vue.js"></script>
  </head>
  <body>
     <style>
         .fade-enter-active, .fade-leave-active {
            transition: opacity 5s
         }
         .fade-enter, .fade-leave-to {
            opacity: 0
         }
      </style>
    <div id="app">
         <transition name = "fade">
            <p v-show = "show" v-bind:style = "styleobj">This is a Transition Example</p>
         </transition>
      <button v-on:click = "show = !show">Click Here</button>
     </div>
    </div>
  </body>
</html>
Main.js
import Vue from 'vue'
import App from './App'
import router from './router'
Vue.config.productionTip = false
var vm = new Vue({
  el: '#app',
  data: {
    show:true,
    styleobj :{
       fontSize:'40px',
       color:'blue'
    }
 },
 methods : {
 }
});
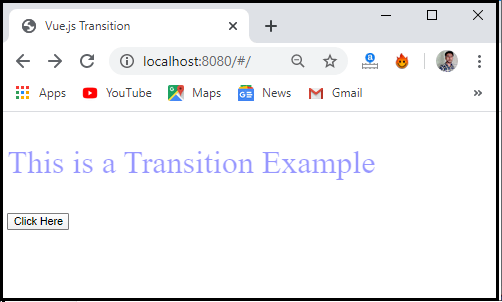
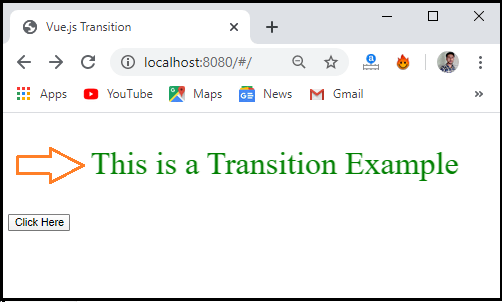
Output: After executing this code, we will get the output, as shown below:
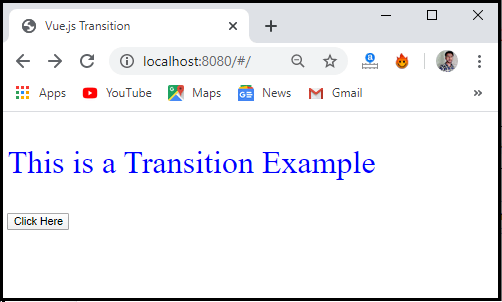
In the above screenshot, we can see that there is a “Click Here” button and the transition content. When we click on the “Click Here” button, the transition content will be disabled in just 5 sec seconds, as shown below:
Transition classes
The vue.js have six transition classes used to add/remove the transitions in the Vue.js application. These transition classes are given below:
- v-enter
- v-enter-active
- v-enter-to
- v-leave
- v-leave-active
- v-leave-to
Now, we are going to discuss these transition classes in detail.
v-enter: The v-enter class is the starting state to enter. It is added before the insertion of an element, and the class is removed after adding the element.
v-enter-active: The v-enter-active class is the active state to enter. This class is applied during the entire entering phase of the Vue transition. It is added before the insertion of an element, and the class is removed when the transition is complete. It is used to declare the duration, delay, and easing curve for the entering in the Vue transition phase.
v-enter-to: It is only available in version 2.1.8+ or later version of Vue.js. It is an ending state to enter. This class added a frame after the element is inserted, and when the transition is complete, the frame is removed.
v-leave: The v-leave class is the starting state to leave. It is added when the leaving transition is triggered, and it removed a class after the frame is completed in the transition phase.
v-leave-active: It is the active state to leave. This class can be applied during the entire leaving phase of transition. It should be added when the leave transition is triggered, and the class is removed when the transition complete. It is used to declare the duration, delay, and easing curve for the leaving transition phase of the Vue.js.
v-leave-to: It is only available in version 2.1.8+ or later version of Vue.js. It is an ending state to enter. This class added a frame after the leaving transition is triggered, and when the transition is complete, the frame is removed.
Example: This example explains how we can use the transition classes in the Vue.js application. Here, the transition name of the Vue.js is the shift. This transition is used to shift the component to left and right according to the user requirement.
Index.html
<!DOCTYPE html>
<html>
  <head>
    <meta charset="utf-8">
    <meta name="viewport" content="width=device-width,initial-scale=1.0">
    <title>Vue.js Transition</title>
    <script src="https://unpkg.com/vue/dist/vue.js"></script>
  </head>
  <body>
     <style>
            .shiftx-enter-active, .shiftx-leave-active {
            transition: all 5s ease-in-out;
         }
         .shiftx-enter, .shiftx-leave-to {
            transform :  translateX(120px);
         }
      </style>
    <div id="app">
      <transition name = "shiftx">
          <p v-show = "show" v-bind:style = "styleobj">This is a Transition Example</p>
      </transition>
      <button v-on:click = "show = !show">Click Here</button>
         </div>
    </div>
  </body>
</html>
Main.js
import Vue from 'vue'
import App from './App'
import router from './router'
Vue.config.productionTip = false
var vm = new Vue({
  el: '#app',
  data: {
    show:true,
    styleobj :{
       fontSize:'40px',
       color:'green'
    }
 },
 methods : {
 }
});
Output: After executing this code, we will get the output, as shown below:
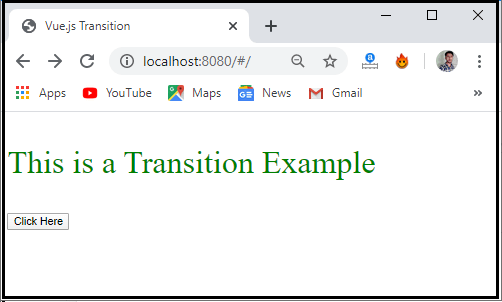
In the above screenshot, we can see that there is a “Click Here” button and the transition content. If we click on the button, the transition content shifted to the right side.
If we again click on the button, the content shifted to its original position.

Vue.js Animation
Vue Animation can be applied in the same manner as the transition is applied. It also includes classes that are required to define for effect to take place.
Example: This example explains how we can use the Vue animation in the Vue.js.
Index.html
<!DOCTYPE html>
<html>
  <head>
    <meta charset="utf-8">
    <meta name="viewport" content="width=device-width,initial-scale=1.0">
    <title>Vue.js Animation</title>
    <script src="https://unpkg.com/vue/dist/vue.js"></script>
  </head>
  <body>
     <style>
         .shiftx-enter-active {
            animation: shift-in 5s;
         }
         .shiftx-leave-active {
            animation: shift-in 5s reverse;
         }
         @keyframes shift-in {
            0%   {transform:rotateX(45deg);}
            25%  {transform:rotateX(90deg);}
            50%  {transform:rotateX(120deg);}
            75%  {transform:rotateX(180deg);}
            100% {transform:rotateX(360deg);}
         }
      </style>
    <div id="app">
      <transition name = "shiftx">
          <p v-show = "show" v-bind:style = "styleobj">This is an Animation Example</p>
      </transition>
      <button v-on:click = "show = !show">Click Here</button>
    </div>
  </body>
</html>
Main.js
import Vue from 'vue'
import App from './App'
import router from './router'
Vue.config.productionTip = false
var vm = new Vue({
  el: '#app',
  data: {
    show:true,
    styleobj :{
       fontSize:'40px',
       color:'green'
    }
 },
 methods : {
 }
});
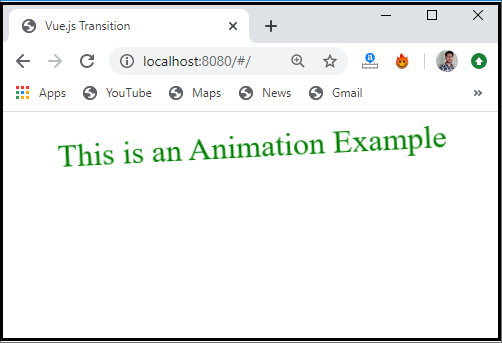
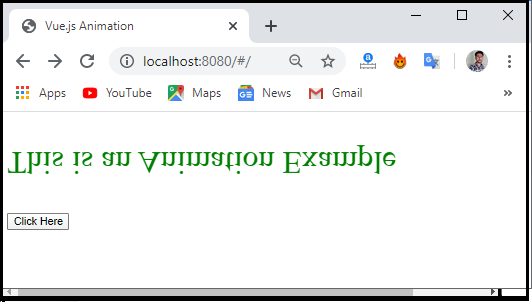
Output: After executing this code, we will get the output, as shown below:
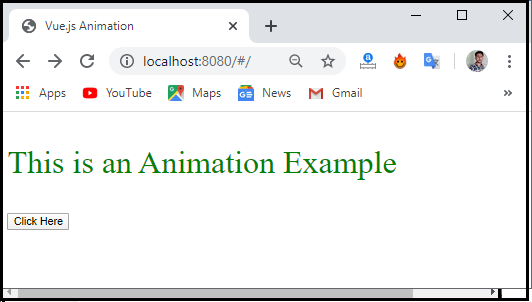
In the above screenshot, we can see that there is a “Click Here” button and the content. If we click on the button, the content changes with a different degree, and reverse the content. After a few seconds, the content comes to its original form.
Custom Transition Classes
The Vue.js framework offers a list of custom classes that can be added as attributes to the transition element. The custom classes of the Vue.js are as follow:
These classes will override the conventional class names. Custom transition classes are very useful when we want to add the Vue’s transition system to an existing CSS animation library like Animate.css.
Let us take an example to understand how we can use the custom classes in the Vue.js application.
Example:
Index.Html
<!DOCTYPE html>
<html>
  <head>
    <meta charset="utf-8">
    <meta name="viewport" content="width=device-width,initial-scale=1.0">
    <title>Vue.js Custom Transition Element</title>
    <script src="https://unpkg.com/vue/dist/vue.js"></script>
    <link href="https://cdn.jsdelivr.net/npm/[email protected]" rel="stylesheet" type="text/css">
    <body>
    <div id="app">
   <button @click="show = !show">
    Animation
  </button>
  <transition
    name="custom-classes-transition"
    enter-active-class="animated swing"
    leave-active-class="animated bounceOutRight">
    <p v-if="show">hello This is Custom Transition element Example</p>
  </transition>
 </div>
  </body>
</html>
Main.js
import Vue from 'vue'
import App from './App'
import router from './router'
Vue.config.productionTip = false
var vm =  new Vue({
   el: '#app',
   data: {
      show: true
   }
})
Output: After executing this code, we will get the output, as shown below:
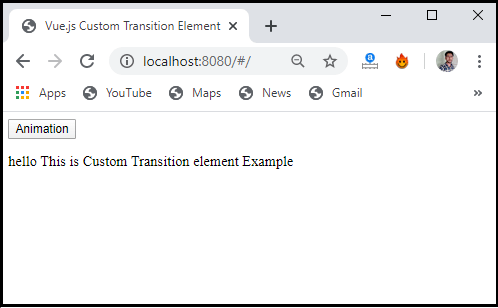
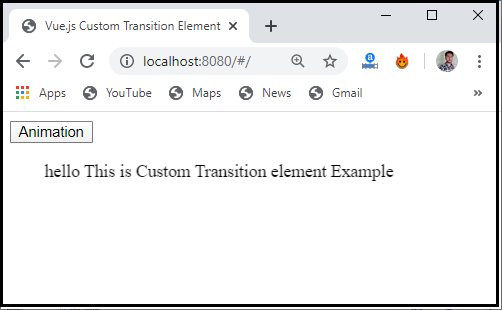
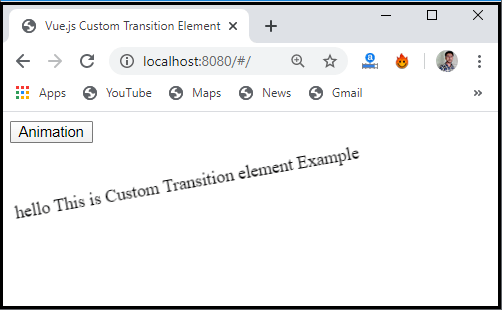
In the above Vue instance, we have applied two animations. The first animation is enter-active-class = “animated swing” and second leave-active-class = “animated bounceOutRight”. Also, we use the custom transition classes for the animation from the external CSS library.
Explicit Transition Duration
Vue.js can also allow us to use the explicit transition and animation on the element. By default, the Vue waits for the transitionend and animatedend event to find out that the transition or animation is finished.
In some cases, the transition and animation can cause delay. In such cases, we can define an explicit transition duration (in milliseconds) by using the duration prop on the <transition> component, as shown below:
<transition: duration = “1500”> </transition>
We can also define the duration separately for entering and leaving, as shown below:
<transition: duration = “{enter = 500, leave = 1000}”> </transition>
JavaScript Hooks
We can also define the JavaScript hooks in transition attributes, as shown below:
<transition
  v-on:before-enter="beforeEnter"
  v-on:enter="enter"
  v-on:after-enter="afterEnter"
  v-on:enter-cancelled="enterCancelled"
  v-on:before-leave="beforeLeave"
  v-on:leave="leave"
  v-on:after-leave="afterLeave"
  v-on:leave-cancelled="leaveCancelled">
</transition>
These JavaScript hooks can be used in combination with CSS transition and animation or by herself.
While using the JavaScript transitions, the done callbacks are needed to enter and leave the hooks. Otherwise, the JavaScript hooks will call synchronously and the Vue transition finished immediately.
It is a good thing to explicitly add the v-bind: css= “false” attribute to JavaScript transitions so that the Vue.js can avoid CSS detection. It also stops the CSS rules from unintentionally impacting the transition.
Let us take an example to understand the JavaScript hooks using Velocity.js.
Example: This example explains how we can use the JavaScript hooks in the Vue.js transition.
Index.html
<!DOCTYPE html>
<html>
  <head>
    <meta charset="utf-8">
    <meta name="viewport" content="width=device-width,initial-scale=1.0">
    <title>Vue.js Transition</title>
    <script src="https://unpkg.com/vue/dist/vue.js"></script>
    <script src="https://cdnjs.cloudflare.com/ajax/libs/velocity/1.2.3/velocity.min.js"></script>
    <body>
    <div id="app">
      <button @click="view = !view">
        Animation
      </button>
      <transition
        v-on:before-enter="beforeEnter"
        v-on:enter="enter"
        v-on:leave="leave"
        v-bind:css="false">
        <p v-if="view" style = "font-size:30px;">
          Hi! This is a JavaScript hooks Example
        </p>
      </transition>
 </div>
  </body>
</html>
Main.js
import Vue from 'vue'
import App from './App'
import router from './router'
Vue.config.productionTip = false
var vm =  new Vue({
   el: '#app',
   data: {
      view: false
    },
    methods: {
      beforeEnter: function (el) {
        el.style.opacity = 0
        el.style.transformOrigin = 'left'
      },
      enter: function (el, done) {
        Velocity(el, { opacity: 1, fontSize: '1.4em' }, { duration: 300 })
        Velocity(el, { fontSize: '1em' }, { complete: done })
      },
      leave: function (el, done) {
        Velocity(el, { translateX: '15px', rotateZ: '50deg' }, { duration: 600 })
        Velocity(el, { rotateZ: '100deg' }, { loop: 2 })
        Velocity(el, {
          rotateZ: '45deg',
          translateY: '30px',
          translateX: '30px',
          opacity: 0
        }, { complete: done })
      }
    }
  })
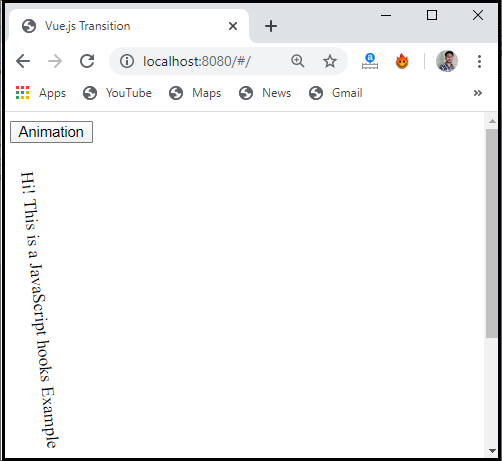
Output: After executing this code, we will get the output, as shown below:
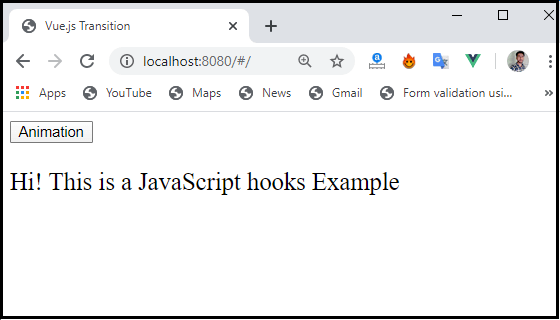
When we click on the “Animation” button, it shows the various types of animation with the content.
Transition on Initial Render
If we want to use the transition on the initial render of a node, we need to include an appear property to the transition component. The following are the syntax used for applying transition on the initial render:
Syntax:
<transition appear><transition>
By default, it will use the transition defined for entering and leaving. We can also define it in the custom CSS classes.
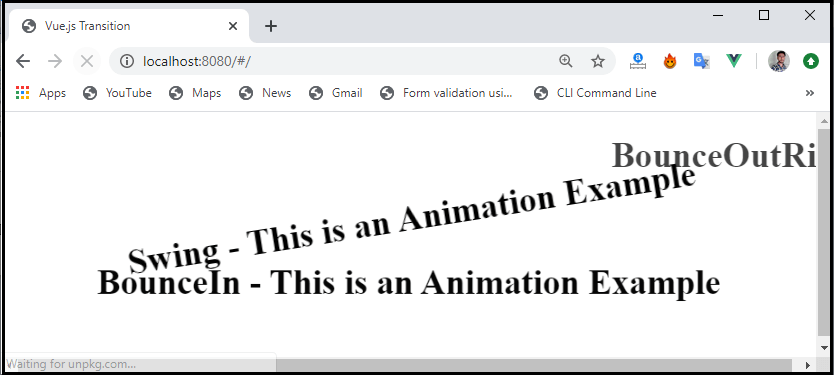
Example: This example explains how we can use the transition on the initial render in the Vue.js Transition.
Index.html
<!DOCTYPE html>
<html>
  <head>
    <meta charset="utf-8">
    <meta name="viewport" content="width=device-width,initial-scale=1.0">
    <title>Vue.js Transition</title>
    <script src="https://unpkg.com/vue/dist/vue.js"></script>
    <link href = "https://cdn.jsdelivr.net/npm/[email protected]" rel = "stylesheet" type = "text/css">
    <body>
    <div id="app" style = "text-align:center">
      <transition
      appear
      appear-class = "custom-appear-class"
      appear-active-class = "animated bounceOutRight">
      <h1>BounceOutRight - This is an Animation Example</h1>
   </transition>
   <transition
            appear
            appear-class = "custom-appear-class"
            appear-active-class = "animated swing">
            <h1>Swing - This is an Animation Example</h1>
         </transition>
         <transition
         appear
         appear-class = "custom-appear-class"
         appear-active-class = "animated bounceIn">
         <h1>BounceIn - This is an Animation Example</h1>
      </transition>
 </div>
  </body>
</html>
Main.js
import Vue from 'vue'
import App from './App'
import router from './router'
Vue.config.productionTip = false
var vm =  new Vue({
   el: '#app',
   data: {
      show: true
    },
  })
Output: After executing this code, we will get the output, as shown below:
We can use either “appear” property or “v-on: appear” hook in the transition.
Transitioning between components
Transitioning between the components is a very easy task in the Vue.js. Here, we don’t need any key attributes in the transition. Instead, we can wrap a dynamic component in the Vue transition.
Example: This example explains how we can use the transitions between the components in the Vue.js transition.
Index.html
<!DOCTYPE html>
<html>
  <head>
    <meta charset="utf-8">
    <meta name="viewport" content="width=device-width,initial-scale=1.0">
    <title>Vue.js Transition</title>
    <script src="https://unpkg.com/vue/dist/vue.js"></script>
    <link href = "https://cdn.jsdelivr.net/npm/[email protected]" rel = "stylesheet" type = "text/css">
    <body>
    <div id="app" style = "text-align:center">
      <transition  appear
      appear-class = "custom-appear-class"
      appear-active-class = "animated swing">
      <component v-bind:is = "view"></component>
   </transition>
   </div>
  </body>
</html>
Main.js
import Vue from 'vue'
import App from './App'
import router from './router'
Vue.config.productionTip = false
var vm =  new Vue({
   el: '#app',
   data: {
      view: 'component1'
   },
   components: {
      'component1': {
         template: '<div><span style = "font-size: 30; color: green;">This is an Animation Example</span></div>'
      }
   }
})
Output: After executing this code, we will get the output, as shown below: