XAMPP Installation
install xampp on windows

XAMPP is a free & open-source stack package which is developed by Apache, mainly it consists of Apache HTTP server, Maria DB database for scripts written in the PHP and Perl programming languages.
XAMPP makes the deployment easy that means a WAMP or LAMP.
The Stack can be installed quickly on an operating system by a developer. It has the advantage of a number of common add-in applications like WordPress and Joomla which can be installed by using Bitnami.
The XAMPP can be broken or divided down as follows:
X: It refers to the cross-platform
A: Apache
M: Maria DB (MySQL)
P: PHP
P: Perl
Installation Guides to XAMPP Step by Step:
The steps for downloading and installing XAMPP server are given below:
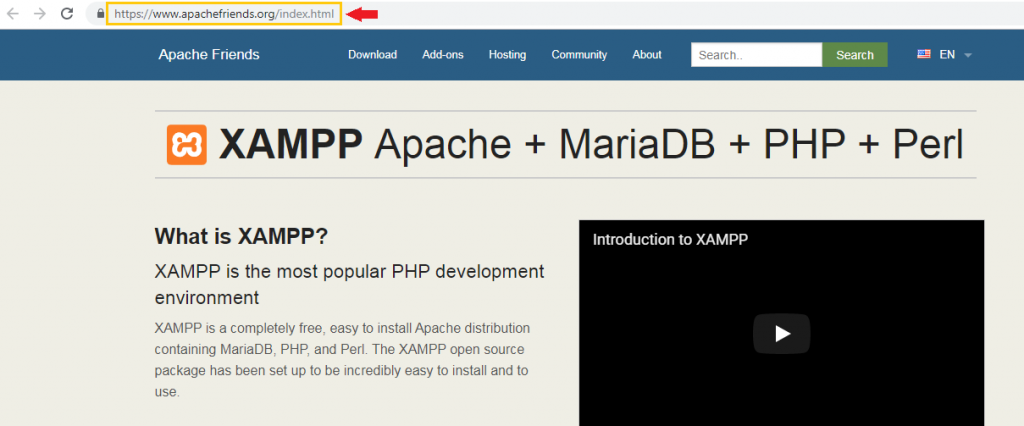
- For downloading XAMPP server, go to the XAMPP website https://www.apachefriends.org/index.html in computer`s browser.
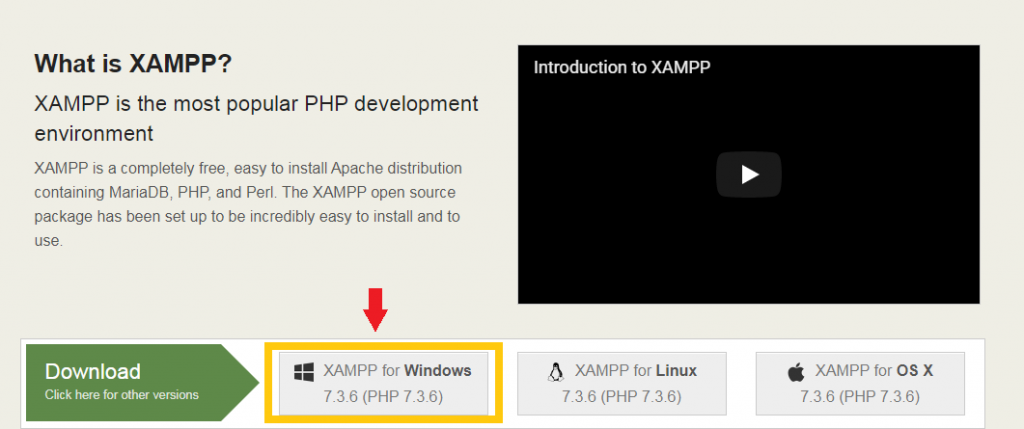
- Click on the XAMPP for windows button.
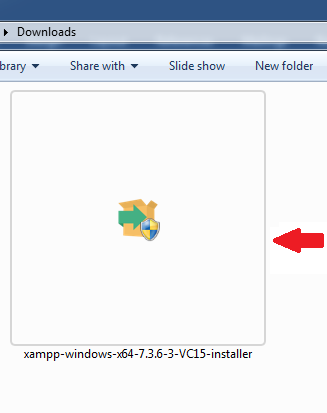
- In the next step, double-click on the downloaded file. The file name should be something like xampp-windows-x64-7.3.6-3-VC15-installer, and we will find it in the default location “download”.
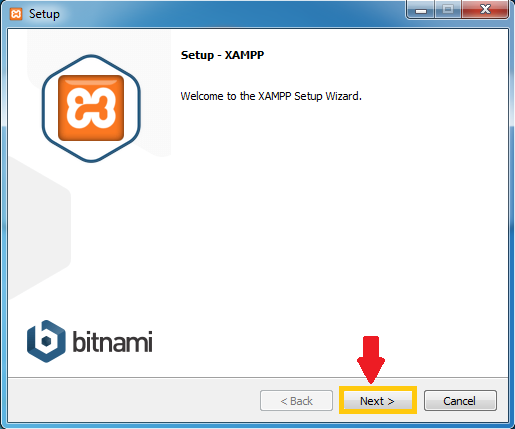
- Click on the Next at the bottom of the setup window.
- Review the list of XAMPP attributes on the left side of the window, select outlook of XAMPP to install. If we see an attribute which we do not want to install for the XAMPP, we can uncheck its box, by default, all the attributes are included in the XAMPP installation.
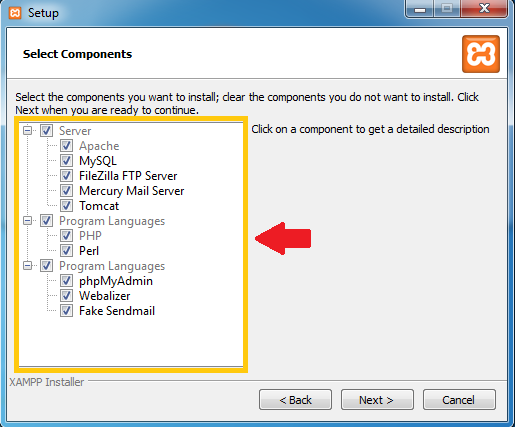
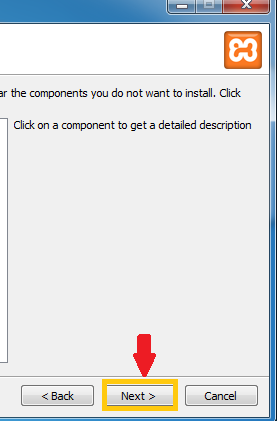
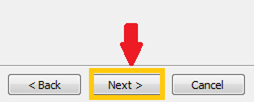
- Click on the Next button at the bottom of the window.
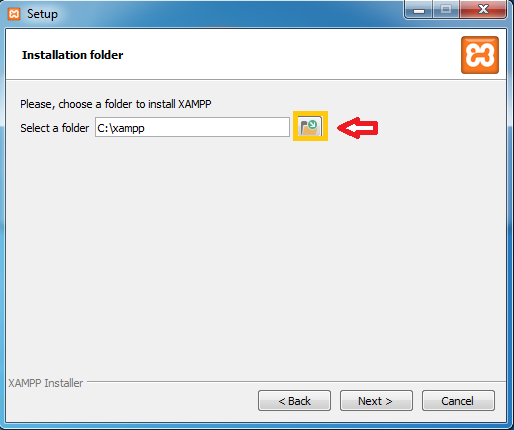
- Click on the folder-shaped icon at the right of the installation window, then click on a folder where we want our XAMPP to be installed.
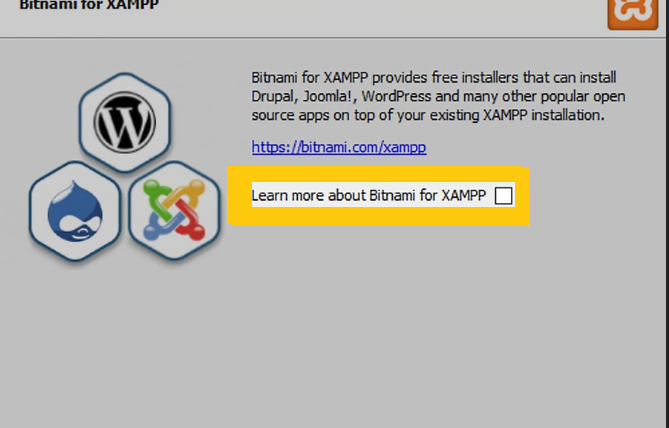
- Uncheck the “Learn more about bitnami” box, then click on the Next button.
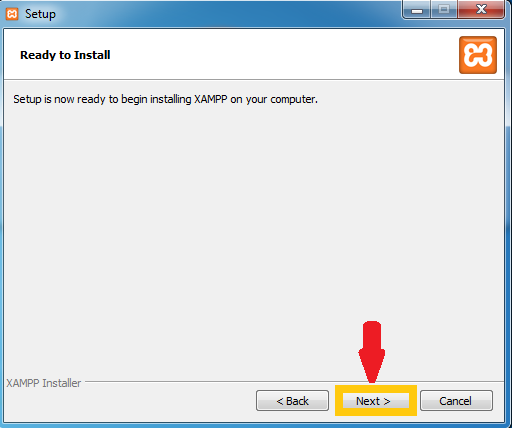
- Begin the installation by clicking on the Next button at the bottom of the Setup window.
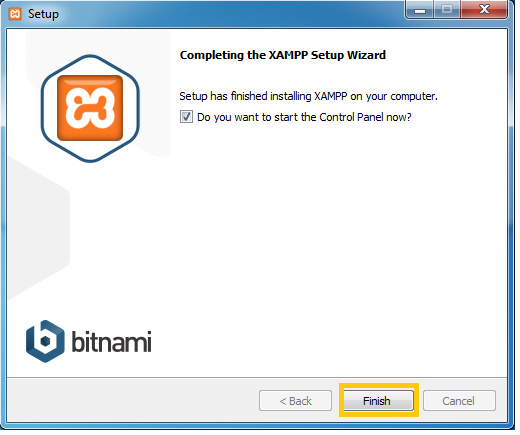
- Once the installation completed, click on the Finish button. Doing this will close the setup window and open the XAMPP control panel.
- Select a Language. Check the Box according to our Language, American flag for English and Germany flag for German.
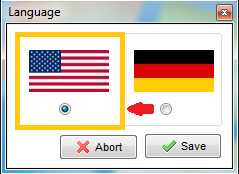
- Click on the Save button, then the Control Panel page is opened.

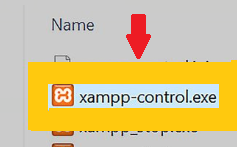
- If the control panel does not open automatically, then go to the Start Menu, double click on the XAMPP icon to open XAMPP Control Panel.
- Once the Control Panel opens, click on the start buttons of the Apache and MySQL server.
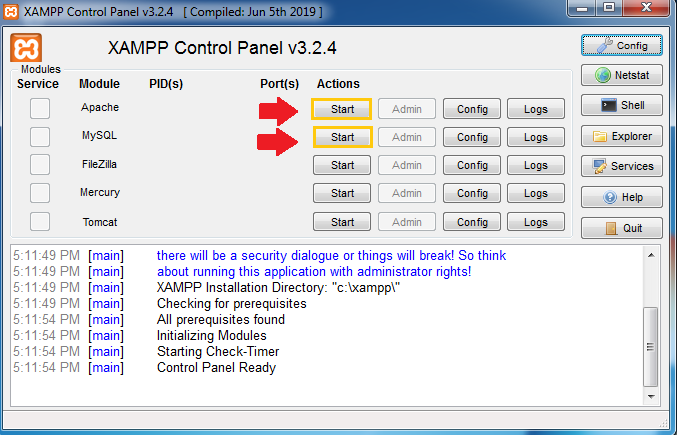
- After Apache and MySQL server started, and it will return the Port(s) number by which we get to know that our Apache and MySQL server are successfully started.
