Python Anaconda setup
Python programming language is used in this tutorial to get hands-on machine learning. A compatible IDE (Integrated Development Environment) is needed to be installed on the computer system before using Python for machine learning. Now we will see how to install Python and an IDE with the help of Anaconda distribution.
Anaconda distribution is an open-source platform for the deployment of the programming languages like Python and R programming. It is used for applications like machine learning, data science, predictive analysis, etc. The main aim is to build simplified packet management and deployment. It supports many operating systems such as Windows, Mac OS, and Linux. It comes up with about 1500 popular data-science packages appropriate for Windows, Mac OS, and Linux. It is used by 1500 million users worldwide.
Anaconda distribution offers several IDE’s for installing Python, for example; Jupyter Notebook, Spyder, Anaconda prompt, etc. It is very suitable as it contains a package solution which makes it easier to install Python at your desktop. It automatically installs Python some of the IDE’s as well as libraries like NumPy, Pandas, etc.
Following steps are given below:
Step 1: - Downloading Anaconda Python
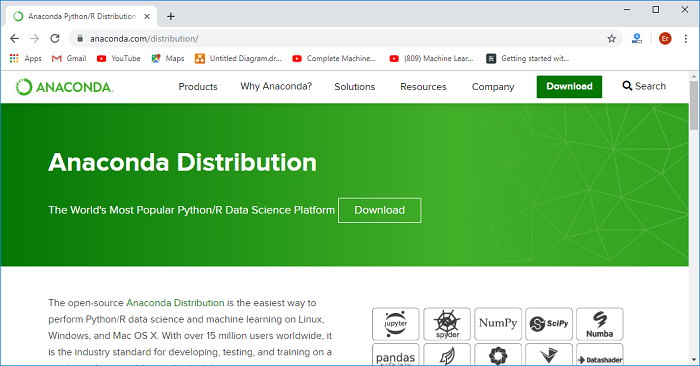
To download Anaconda, you need to open a browser of your choice and type Anaconda Python in the search engine. Click the very first link you see on the window or you can directly download from the link given below; https://www.anaconda.com/distribution/

On clicking the first link you will get on to the download page of Anaconda.
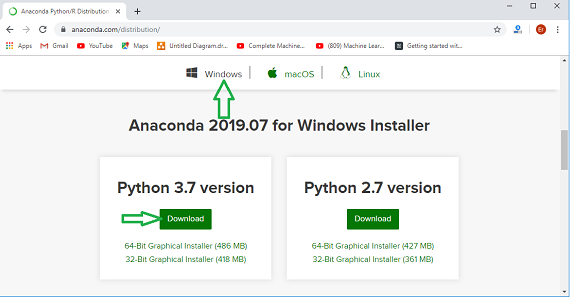
As Anaconda is available for Windows, Mac OS, and Linux. We are here downloading for the Windows, and you can download as per your choice. After selecting the OS, you get two Python versions. Select Python 3.7 Version as it is the latest version and click on Download, it will start the downloading.
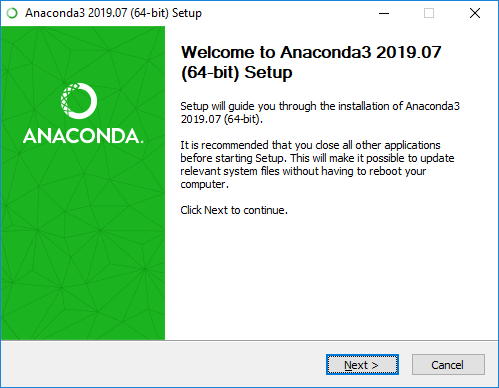
Step 2: - Installation of Anaconda Python Version 3.7
After the downloading is completed, go to the downloads and double click the Anaconda3-2019.03-Windows-x86_64.exe. A setup window for installing anaconda will be displayed. Click on Next, and it will take you to the Agreement Window.
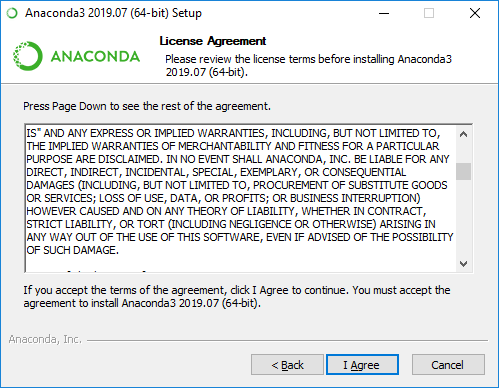
Click on I Agree on the License Agreement Window and proceed further.
Select Just Me from the options given below and then click on Next.

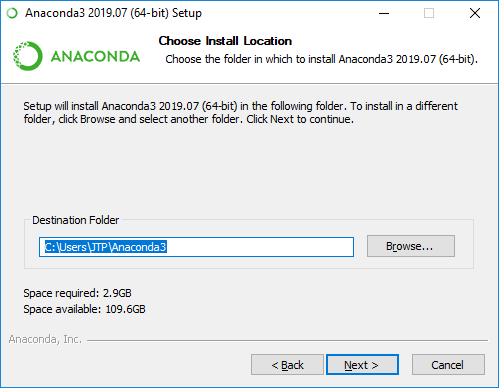
A window will get open, asking for its installation location. You need not to do anything if you don’t want to, just leave it is as default by clicking Next.
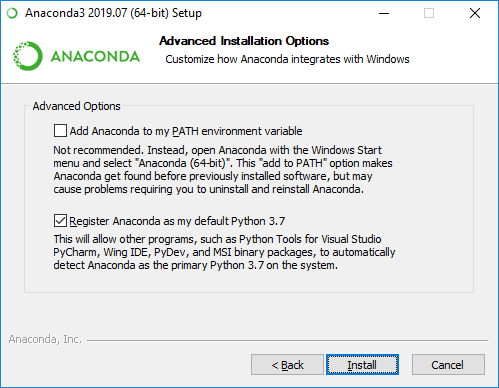
Select the second option and click on Install.
Click on Next, once the installation completes.
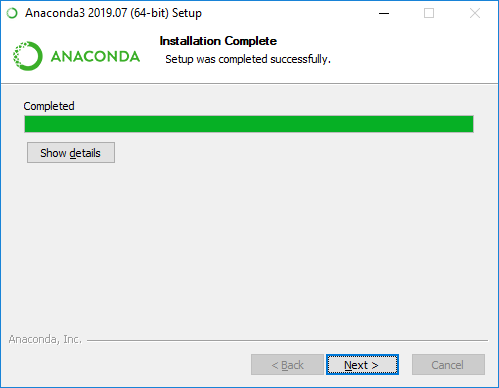
After the installation is completed click on Finish.

Step 3: - Open Anaconda Navigator
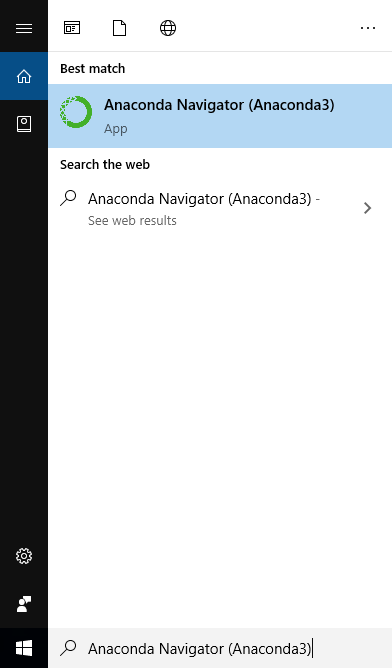
After the installation is done, open the Anaconda Navigator to launch Python IDE may be either Spyder or Jupyter. And for that, you need to click on window key and type Anaconda Navigator in the search bar.
After opening the Anaconda Navigator, launch Spyder IDE on clicking the Launch button below the Spyder. The Spyder IDE will get installed.
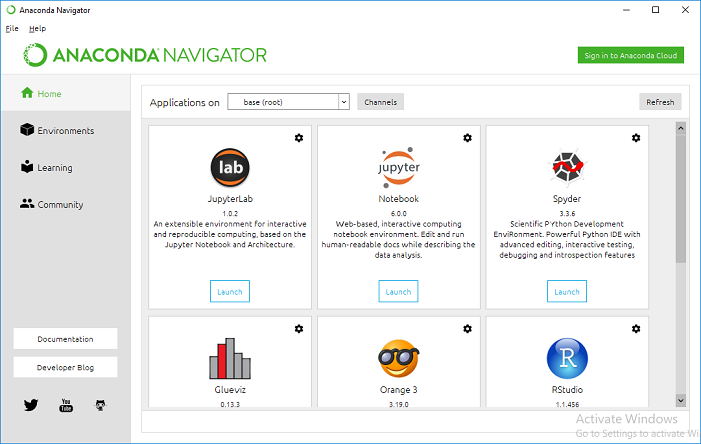
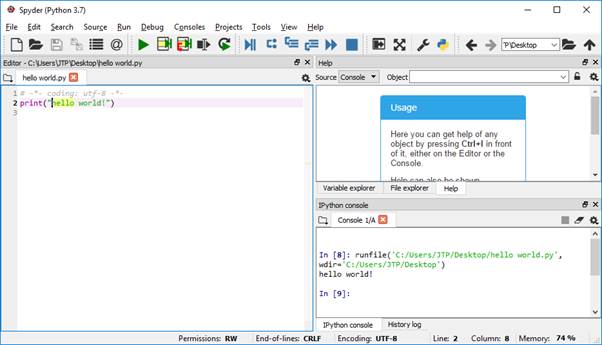
Once the Spyder IDE is launched, the opened window will be looked as the image given below;
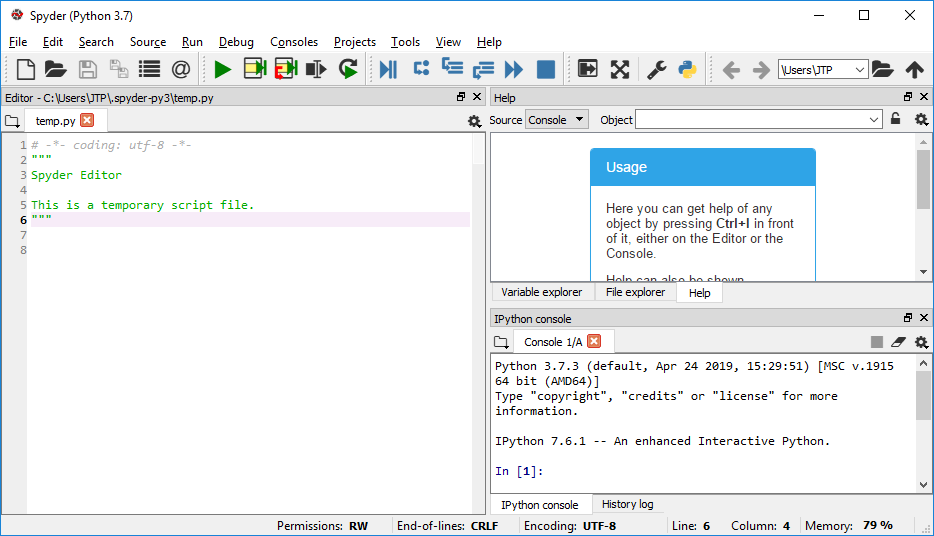
First Program in Python
- Write a program and save it with an extension .py in any folder.
print(“hello world!”)
- Run the program on clicking a triangled shape Run button.
- The output is displayed on the Console pane at the bottom right side.