Ionic Navigation and Routing
The latest version (ionic 4) of the ionic framework, no longer limited to the angular. In Ionic 4, you can create an ionic project in different front-end frameworks such as Vue.js, React.js, and Angular. The angular application contains an important library, such as an angular router, for navigating on different pages. The application will be able to maintain its navigation state if the router is available. You can create a rich application with the angular router and the ionic framework. In this section, you will learn about the routing that is based on an angular.
Navigation is essential for user experience in the development field. By using the navigation, you can move from one page to another page. An important part of the ionic application development is configuring routing and ensuring smooth navigation between the pages.
The Ionic 4 uses a navigation stack for executing navigation between the pages. It uses two stack controllers in the ionic framework to navigate between the pages, i.e., Push and Pop. If you want to go for a new page, ionic push the page on top of the stack, and when you go back to the previous page, ionic will pop page from the stack controller.
Now, we are going to see all the steps of angular routing and navigation and also know how you can navigate between the different pages in the ionic application. Here, we are going to use the various cases to navigate between the pages, as shown below:
Case 1
Step 1: Firstly, you create a new project in the ionic application. It also makes sure that you have installed the latest version of the ionic.
Step 2: After the installation of the latest version of the ionic framework, you need to select a blank template from the various templates. To create new pages, run the following command:
$ ionic g pages
login
Step 3: In this step, you open the app-routing.module.ts file and set the path in the file, as shown below:
App-routing.module.ts
import { NgModule
} from '@angular/core';
 import { Routes, RouterModule } from '@angular/router';
 const routes: Routes = [
   { path: '', redirectTo: 'home', pathMatch: 'full' },
   { path: 'home', loadChildren: './home/home.module#HomePageModule' },
   { path: 'login', loadChildren: './login/login.module#LoginPageModule' },
   { path: 'login', loadChildren: './login/login.module#LoginPageModule' }
 ];
 @NgModule({
   imports: [RouterModule.forRoot(routes)],
   exports: [RouterModule]
 })
 export class AppRoutingModule { }
Step 4: After creating the page, you are required to open the home.page.html file and write the following code:
Home.page.html
<ion-header>
   <ion-toolbar color="primary">
     <ion-title>
       Ionic Navigation Example
     </ion-title>
   </ion-toolbar>
 </ion-header>
 <ion-content>
   <div class="padding">
     <p>Hello World! </p>
     <ion-button color="danger" href="/login">Login</ion-button>
   </div>
 </ion-content>
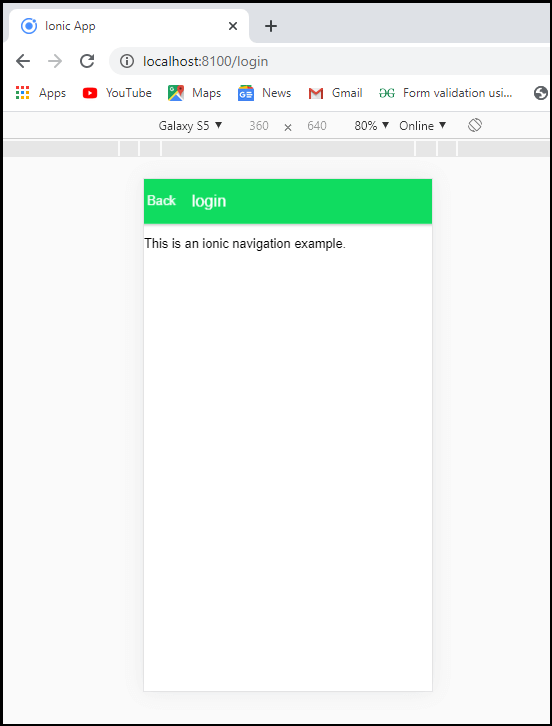
Step 5: After executing this code, you will get the output, as shown below:
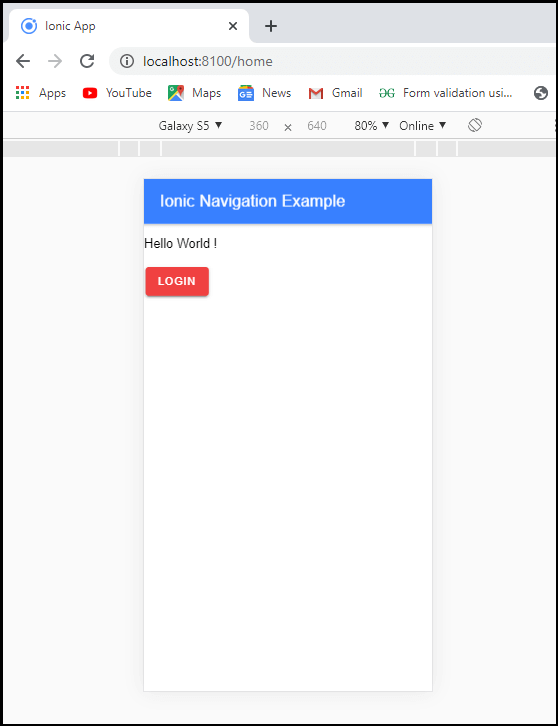
Step 6: When you click on the Login button, it will show the following output:
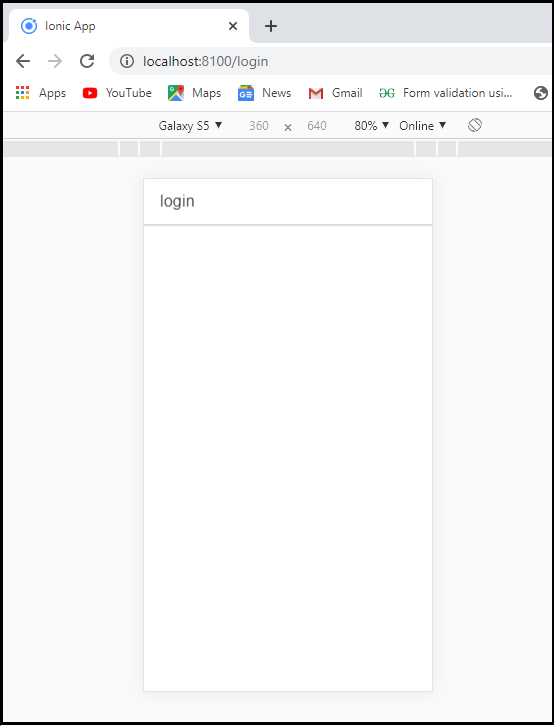
Case 2
In this case, you can navigate between the different pages by using programming in the ionic application, as shown in the below example.
Step 1: In this step, open the home.page.html file and write the code, as shown below:
Home.page.html
<ion-header>
   <ion-toolbar color="primary">
     <ion-title>
       Ionic Navigation Example
     </ion-title>
   </ion-toolbar>
 </ion-header>
 <ion-content>
   <div class="padding">
     <p> Hello World! </p>
     <ion-button color="danger" (click)="login()">Login</ion-button>
   </div>
 </ion-content>
Step 2: Next, open the home.page.ts file and write the following code:
Home.page.ts
import {
Component } from '@angular/core';
 import { Router } from '@angular/router';
 @Component({
   selector: 'app-home',
   templateUrl: 'home.page.html',
   styleUrls: ['home.page.scss'],
 })
 export class HomePage {
   constructor(private router: Router) {}
   login() {
     this.router.navigate(['login']);
   }
 }
Step 3: In this step, open the login.page.html file and add the back button to navigate the previous page in the ionic application. For doing this, add the code, as shown below:
Login.page.html
<ion-header>
   <ion-toolbar color="success">
     <ion-title>login</ion-title>
   <ion-buttons slot="start" (click)="goBack()">Back</ion-buttons>
 </ion-toolbar>
 </ion-header>
 <ion-content>
   <p> This is an ionic navigation example. </p>
 </ion-content>
Step 4: In this step, open the login.page.ts file and write the following code, as shown below:
Login.page.ts
import {
Component, OnInit } from '@angular/core';
 import { Router } from '@angular/router';
 @Component({
   selector: 'app-login',
   templateUrl: './login.page.html',
   styleUrls: ['./login.page.scss'],
 })
 export class LoginPage implements OnInit {
   constructor(private router: Router) { }
   ngOnInit() {
   }
   go(){
   this.router.navigate(['home']);
 }
 }
Step 5: After executing this code, you will get the output, which is shown below:
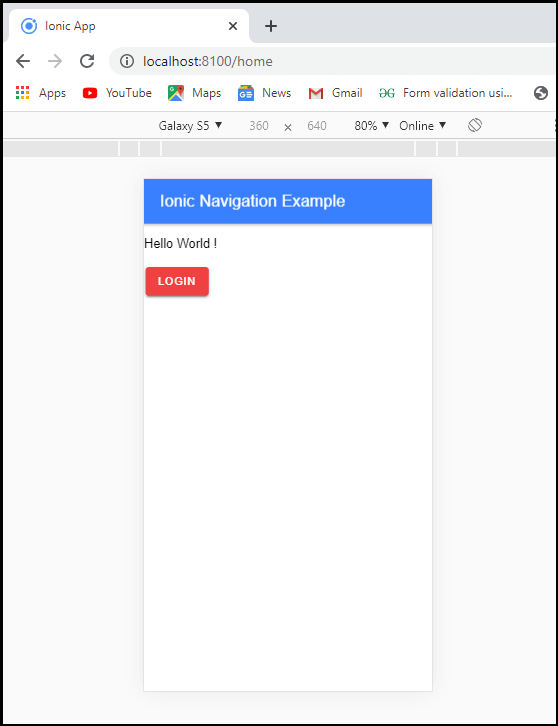
Step 6: When you click on the Login button, you will navigate to the login page. After that, when you click on the back button, the page navigates to the previous page, as shown below:
Case 3
In this case, the user can use the URL to navigate between the pages. Let us understand it with the help of the below example.
Step 1: Here, you create a new component inside the login page. To create a new component, execute the below command.
$ ionic g c
login/profile
Step 2: In this step, open the login.module.ts file and import the ProfileComponent. After that, add the following code in the login.module.ts file, as shown below:
Login.module.ts
import { NgModule
} from '@angular/core';
 import { CommonModule } from '@angular/common';
 import { FormsModule } from '@angular/forms';
 import { Routes, RouterModule } from '@angular/router';
 import { IonicModule } from '@ionic/angular';
 import { LoginPage } from './login.page';
 import { ProfileComponent} from './profile/profile.component';
 const routes: Routes = [
   {
     path: '',
     component: LoginPage
   },
   {
   path: 'details',
   component: ProfileComponent
   }
 ];
 @NgModule({
   imports: [
     CommonModule,
     FormsModule,
     IonicModule,
     RouterModule.forChild(routes)
   ],
   declarations: [LoginPage, ProfileComponent]
 })
 export class LoginPageModule {}
Step 3: Now, open the home.page.html file and add a new button. Here, you can pass the random id in the path for routing, as shown below:
Home.page.html
<ion-header>
   <ion-toolbar color="primary">
     <ion-title>
       Ionic Navigation Example
     </ion-title>
   </ion-toolbar>
 </ion-header>
 <ion-content>
   <div class="padding">
     <p> Hello World! </p>
     <ion-button color="danger" href="/login/details">Login</ion-button>
   </div>
 </ion-content>
Step 4: Next, open the home.page.ts file and add the following code:
Home.page.ts
import {
Component } from '@angular/core';
 import { Router } from '@angular/router';
 @Component({
   selector: 'app-home',
   templateUrl: 'home.page.html',
   styleUrls: ['home.page.scss'],
 })
 export class HomePage {
   constructor(private router: Router) {}
   login() {
     this.router.navigateByUrl('/login');
   }
 }
Step 5: In this step, open the profile.component.html file and write the code, as shown below:
Profile.component.html
<ion-content
color="light">
 <p>
   profile work! <br>
   This is an ionic navigation Example.
 </p>
 </ion-content>
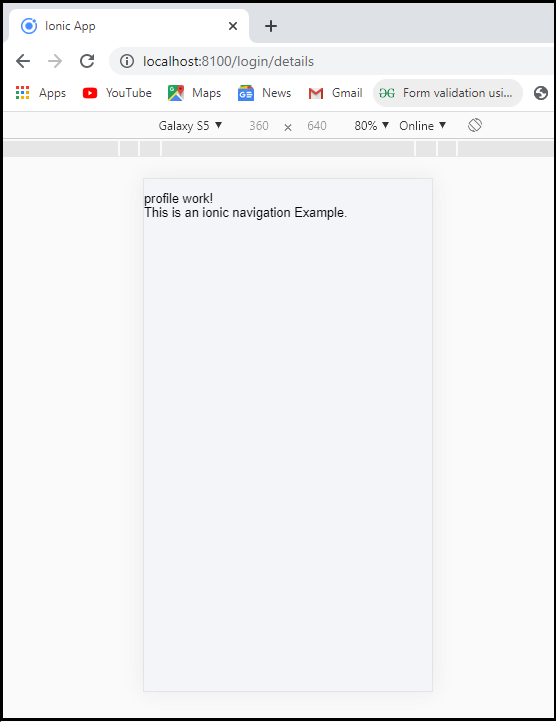
Step 6: After executing this code, you will get the output, as shown below:
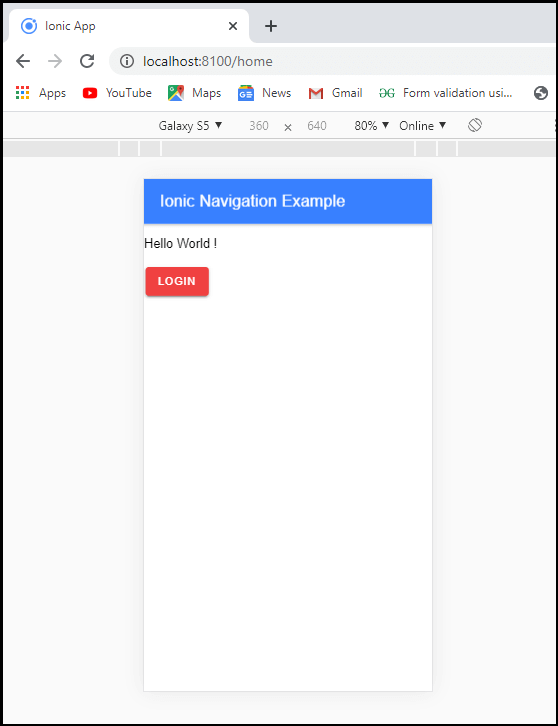
Step 7: When you click on the login button, the URL navigate to the profile component page, as shown below: