Ionic Alert
Ionic Alert
An Alert is a dialog box that presents the users with important information, or it stores the data from the user by using the inputs. Alerts are a great way to provide the user with the ability to choose a particular action or list of actions. It appears at the top of the application content. The user must manually ignore them before they can resume interaction with the application. It may also include a header, subheader, and message as an alternative.
An Alert can be thought of as a floating modal, which covers only a part of the screen. This means that an alert should be used for quick actions such as passwords, verifications, small app notifications, or many other options. Alerts are extremely flexible and can be customized easily.
Ionic Alert Controller
Alert controller basically used in the ionic application, which controls the alert component. You can create and dismiss the alerts by using the alert controller. Alerts are very flexible, and it can be customized easily. There are different types of alerts in an ionic application which are shown below:
- Basic Alerts
- Confirmation Alerts
- Radio Alerts
- Prompt Alerts
- Checkbox Alerts
Basic Alerts
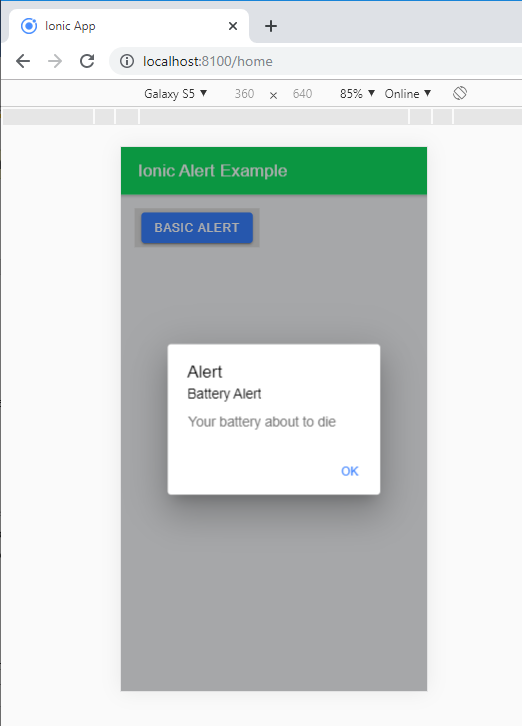
It is used to notify the user about the new information. This information can be about a change in the application, a new feature, and an urgent situation that requires acknowledgment. It also notifies the user about the confirmation of the action was successful or not.
Example: The below example shows how you can use the basic alerts in the ionic application. It shows many alert options in the app such as header, message, alerts, etc.
Home.page.html
Ionic Alert Example
Home.page.ts
import { Component } from '@angular/core';
 import { AlertController } from '@ionic/angular';
 @Component({
  selector: 'app-home',
  templateUrl: 'home.page.html',
  styleUrls: ['home.page.scss'],
 })
 export class HomePage {
  constructor(public alertCtrl: AlertController) { }
 async showAlert() {
  const alert = await this.alertCtrl.create({
  header: 'Alert',
  subHeader: 'Battery Alert',
  message: 'Your battery about to die',
  buttons: ['OK']
  });
  await alert.present();
  const result = await alert.onDidDismiss();
  console.log(result);
  }
 }
Output: After executing this code, you will get the output, as shown below:
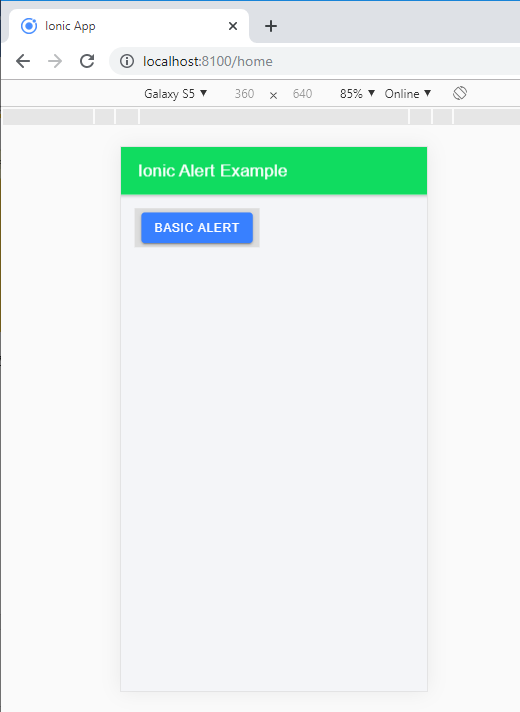
When you click on the basic alert button, then it shows the alert message. If you click on the OK button, then the alert message will be disappeared.
Confirmation Alerts
Confirmation Alerts are used when the user has to confirm a specific choice explicitly before moving forward in the app. The common example of the Confirmation Alert is checking to ensure that a user wants to create or delete a message from their chatbox.
Example: The below example shows how you can use the confirmation alert in the ionic application.
Home.page.html
  Confirmation Alert


  Alert
Home.page.ts
import { Component } from '@angular/core';
 import { AlertController } from '@ionic/angular';
 @Component({
  selector: 'app-home',
  templateUrl: 'home.page.html',
  styleUrls: ['home.page.scss'],
 })
 export class HomePage {
  constructor(public alertCtrl: AlertController) { }
  async showConfirm() {
  const confirm = await this.alertCtrl.create({
  header: 'Confirmation',
  message: 'Do you want to exit this game',
  buttons: [
  {
  text: 'Ok',
  role: 'Ok',
  handler: () => {
  console.log('Confirm Ok');
  }
  },
  {
  text: 'Cancel',
  role: 'Cancel',
  handler: () => {
  console.log('Confirm Cancel.');
  }
  }
  ]
  });
  await confirm.present();
  }
 }
Output: After executing this code, you will get the output, as shown below:
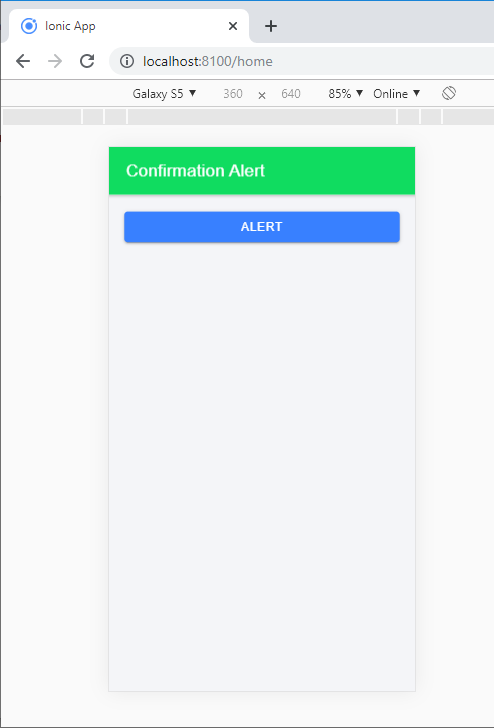
When you click on the Alert button, then it shows the confirmation alert message. If you click on the OK and Cancel button, then the alert message will be disappeared.
Radio Alerts
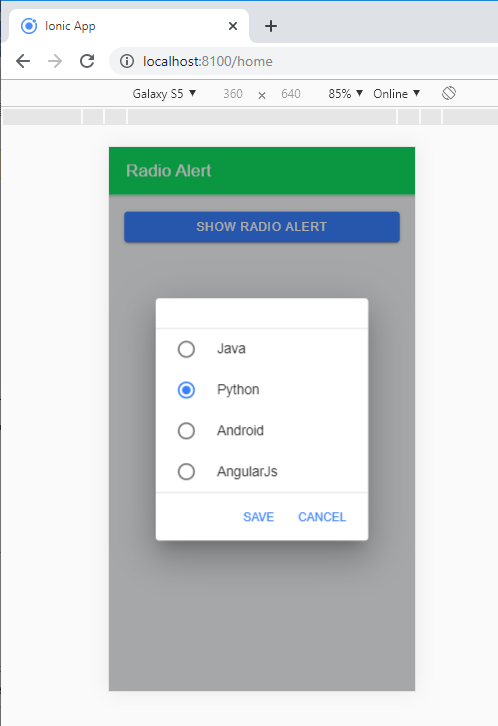
Radio Alerts are similar to the confirmation alerts, but you can use the radio component to provide a number of options. It provides a set of options to the users, but you can select only one option.
Example: The below example shows how you can use the radio alert in the ionic application.
Home.page.html
  Radio Alert


  Show Radio Alert
Home.page.ts
import { Component } from '@angular/core';
 import { AlertController } from '@ionic/angular';
 @Component({
  selector: 'app-home',
  templateUrl: 'home.page.html',
  styleUrls: ['home.page.scss'],
 })
 export class HomePage {
  constructor(public alertCtrl: AlertController) { }
  async showRadio() {
  const alert = await this.alertCtrl.create({
  inputs: [
  {
  name: 'radio 1',
  type: 'radio',
  label: 'Java',
  value: 'Java',
  },
  {
  name: 'radio 2',
  type: 'radio',
  label: 'Python',
  value: 'Python',
  checked: true,
  },
  {
  name: 'radio 3',
  type: 'radio',
  label: 'Android',
  value: 'Android',
  },
  {
  name: 'radio 3',
  type: 'radio',
  label: 'AngularJs',
  value: 'AngularJs',
  },
  ],
  buttons: [
  {
  text: 'Save',
  handler: data => {
  console.log('Save clicked');
  }
  },
  {
  text: 'Cancel',
  handler: data => {
  console.log('Cancel clicked');
  }
  },
  ]
  });
  await alert.present();
  }
 }
Output: After executing this code, you will get the output, as shown below:
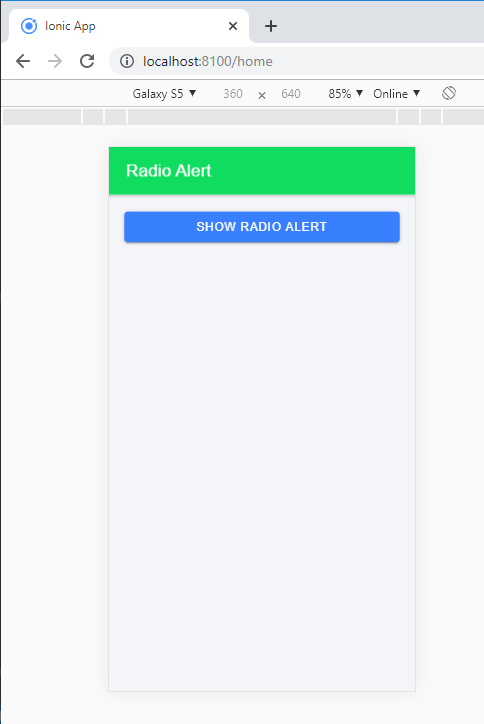
When you click on the Show Radio Alert button, then it shows the Radio alert message.
Prompt Alerts
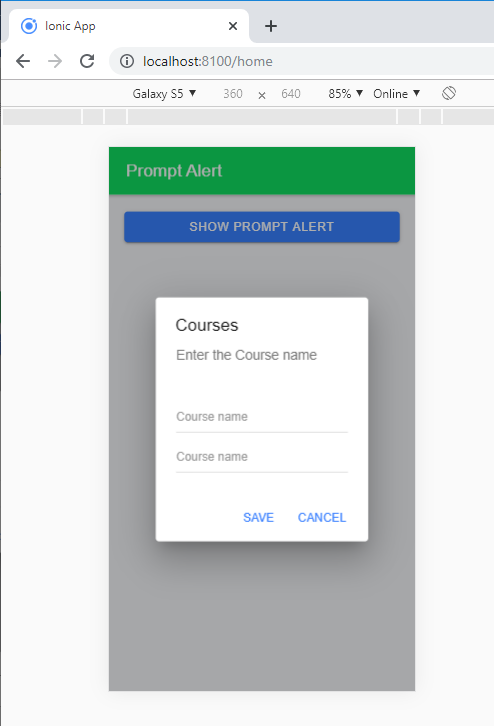
Prompt alerts provide a way for the user to input data or information. Sometimes, Prompt alerts are used to ask the password from the user before progressing forward in the application.
Example: The below example shows how you can use the prompt alert in the ionic application.
Home.page.html
  Ionic Alert


  Show Prompt Alert
Home.page.ts
import { Component } from '@angular/core';
 import { AlertController } from '@ionic/angular';
 @Component({
  selector: 'app-home',
  templateUrl: 'home.page.html',
  styleUrls: ['home.page.scss'],
 })
 export class HomePage {
  constructor(public alertCtrl: AlertController) { }
  async showPrompt() {
  const prompt = await this.alertCtrl.create({
  header: 'Courses',
  message: 'Enter the Course name',
  inputs: [
  {
  name: 'title',
  type: 'text',
  placeholder: 'Course name'
  },
  {
  name: 'title',
  type: 'text',
  placeholder: 'Course name'
  },
  ],
  buttons: [
  {
  text: 'Save',
  handler: data => {
  console.log('Save clicked');
  }
  },
  {
  text: 'Cancel',
  handler: data => {
  console.log('Cancel clicked');
  }
  }
  ]
  });
  await prompt.present();
  }
 }
Output: After executing this code, you will get the output, as shown below:
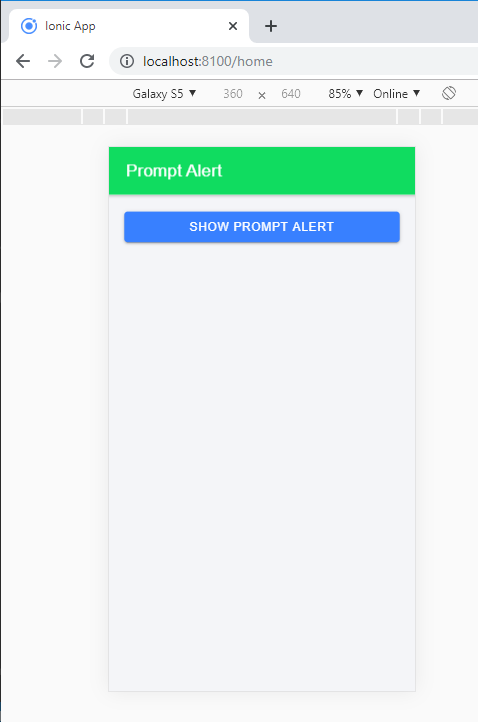
When you click on the Show Prompt Alert button, then it shows the Prompt alert. Here, you can input the value in the placeholder.
Checkbox Alerts
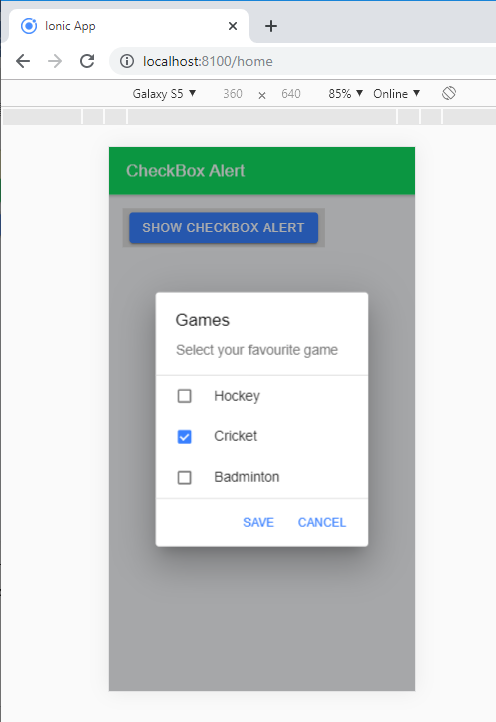
Checkbox alerts are similar to the confirmation alerts, but you can use the checkbox component to provide the multiple choices. It offers the user a set of multiple choices for the selection.
Example: The below example shows how you can use the checkbox alert in the ionic application.
Home.page.html
CheckBox Alert
Home.page.ts
import { Component } from '@angular/core';
 import { AlertController } from '@ionic/angular';
 @Component({
  selector: 'app-home',
  templateUrl: 'home.page.html',
  styleUrls: ['home.page.scss'],
 })
 export class HomePage {
  constructor(public alertCtrl: AlertController) { }
  async showCheckBoxAlert() {
  const alert = await this.alertCtrl.create({
  header: 'Games',
  message: 'Select your favourite game',
  inputs: [
  {
  name: 'checkbox',
  type: 'checkbox',
  label: 'Hockey',
  value: 'Hockey',
  },
  {
  name: 'checkbox',
  type: 'checkbox',
  label: 'Cricket',
  value: 'Cricket',
  checked: true,
  },
  {
  name: 'checkbox',
  type: 'checkbox',
  label: 'Badminton',
  value: 'Badminton',
  },
  ],
  buttons: [
  {
  text: 'Save',
  handler: data => {
  console.log('Save clicked');
  }
  },
  {
  text: 'Cancel',
  handler: data => {
  console.log('Cancel clicked');
  }
  }
  ]
  });
  await alert.present();
  }
 }
Output: After executing this code, you will get the output, as shown below:
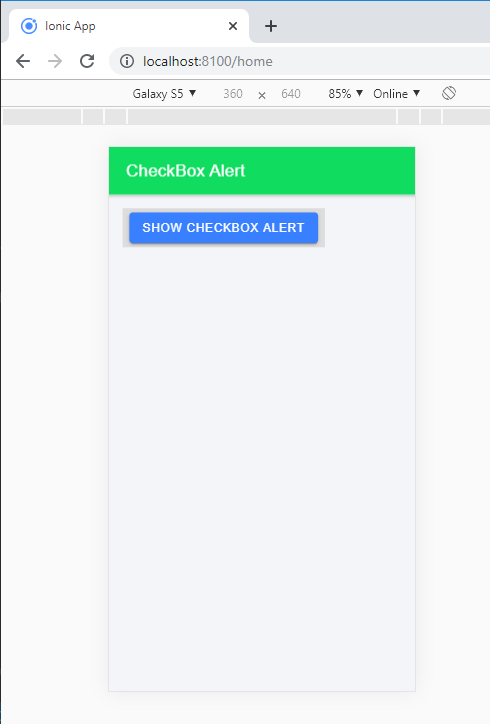
When you click on the Show Checkbox Alert button, then it shows the Checkbox alert. Here, you can select the value.