Routing is a process by which a
user can direct to different pages based on their actions and requests. ReactJS
router is generally used to develop single web page applications. React Router
is used for defining multiple routes in an application. When a user enters any
specific URL into the browser, and if the path of that URL matches with any
‘router’ inside the router file, then the user will be redirected towards a
particular route.
React router is used to establish
routing in the react application by using the React router package. It gives a
synchronous URL to the browser with data that will be displayed on the webpage.
It maintains the behavior and standard structure of the application and mainly
used for creating single page web applications.
Why React Router?
React Router is also used for
displaying the multiple views in a single page web application. Without using
the React Router, you cannot display the multiple views in the React
applications. The social media websites like Facebook, Instagram, etc. use
React router for rendering multiple views.
Components of React Router
There are mainly two types of
router components:
<BrowserRouter>: It is used to
handle the dynamic URL.
<HashRouter>: It is used to handle
the static request.
Benefits of React Router
React Router has several benefits
that are given as follows:
In React Router, it is not mandatory to manually
set the browser history.
Links are used for navigating the internal links
of the application, similarly as an anchor tag.
There is a use of switch feature for rendering.
The router requires only a single child element.
Step by Step procedure for
installing React Router
There are three packages to react
for routing. These are as follows:
react-router: It gives the core routing
functions and components for the react-router applications.
react-router-native: It is for mobile
apps.
react-router-dom: It is used for
designing web applications.
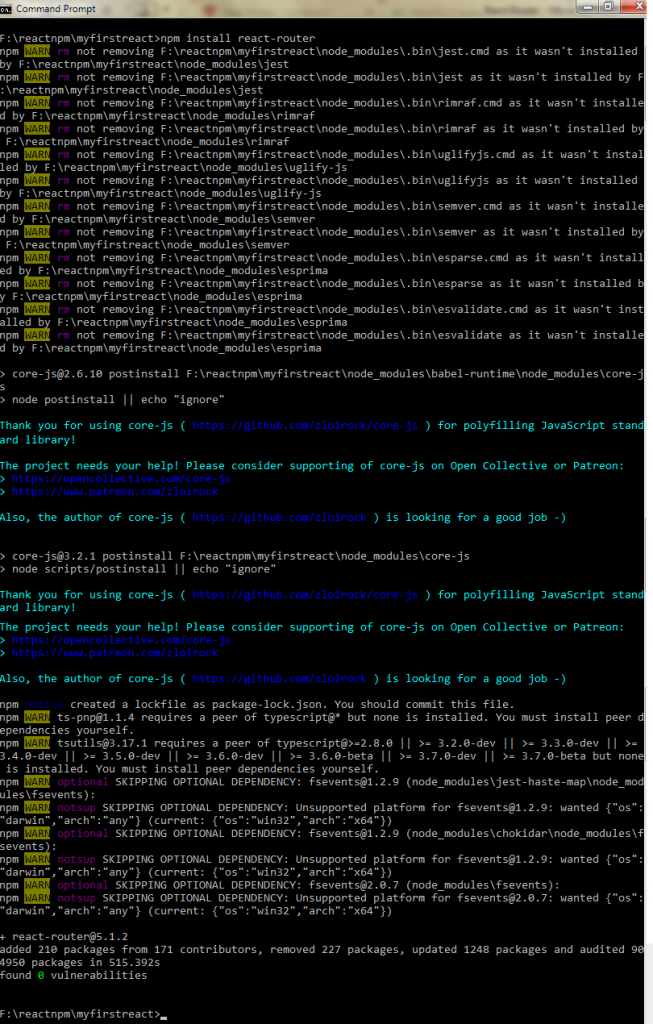
Step1: Install a React Router
A simple way to directly install
the react-router in your application is as follows. You have to run the
following command in your command prompt:
npm install
react-router
Step 2: Now, we
have to create two more components About.js and Contact.js along
with App.js (already present).
About.js
import React from 'react';
 class About extends React.Component {
  render() {
 return About
  }
 }
 export default About;
Contact.js
import React from 'react';
 class Contact extends React.Component {
render() {
  return Contact
}
 }
 export default Contact;
App.js
import React from 'react' ;
 class App extends React.Component {
render() {
return (

Home

)
 }
 export default App;
Step 3: To perform
routing, you need to open the index.js file and import all the three
component files in it. You have to import line: import { Route, Link,
BrowserRouter as Router } from 'react-router-dom', which helps in the
implementation of routing.
Index.js
import React from 'react';
import ReactDOM from 'react-dom';
import { Route, Link, BrowserRouter as Router } from 'react-router-dom';
import './index.css';
import App from './App';
import About from './About';
import Contact from './Contact';
const routing = (
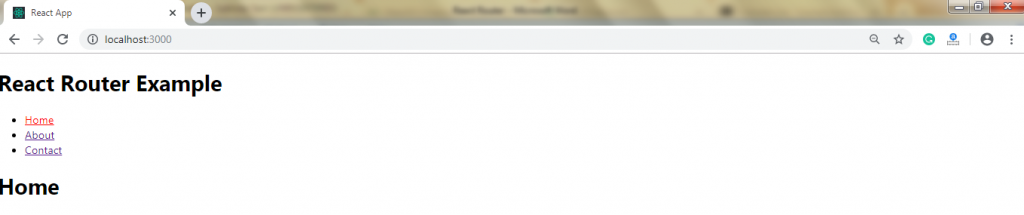
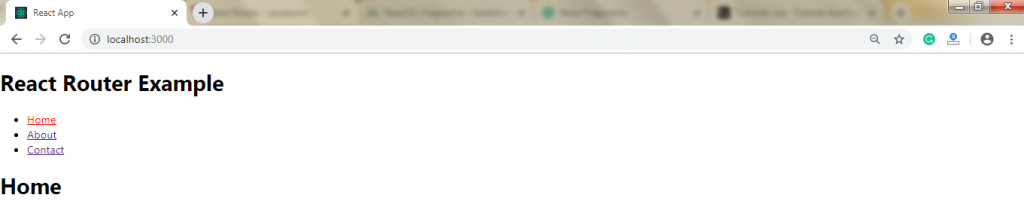
Now open your command prompt
and start the npm by using the npm start command. After the
successful compilation, you will get the following output:
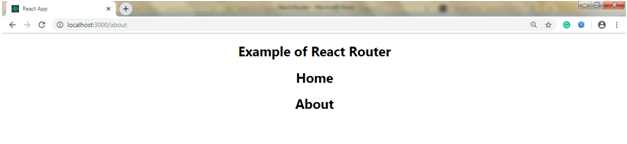
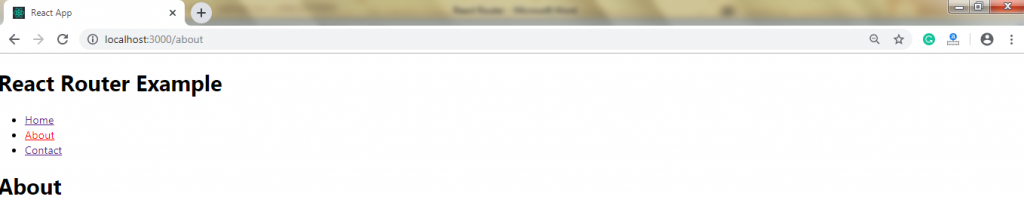
If you write localhost:3000/about manually
in the browser,
then the About component is rendered on the screen, and you will get the
following output:
In the above output, you can
notice that the home component is still rendered. It happens because the path
attribute of the home path is ‘/’ and the path attribute of about
path is ‘/about’, and it can be observed that slash (/) is common
in both of the paths and renders both components.
If you want to stop this behavior,
you have to use exact prop. It can be clear from the following example:
Index.js
import React from 'react';
import ReactDOM from 'react-dom';
import { Route, Link, BrowserRouter as Router } from 'react-router-dom';
import './index.css';
import App from './App';
import About from './About';
import Contact from './Contact';
const routing = (
Example of React Router
Output:
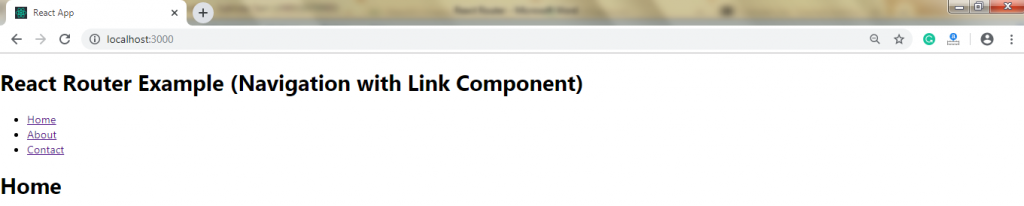
Adding Navigation using Link Component
Sometimes, we require multiple
links on a single page. If we click on any of the specific links, it should
load the page, which is associated with that link without any reloading
of the webpage. To perform this, we have to import <Link>
component in the index.js file.
What is Link Component?
It is the component that is used
for creating the links that allow you to navigate on different URLs and render
its content without the reloading of the webpage.
Example
Index.js
import React from 'react';
import ReactDOM from 'react-dom';
import { Route, Link, BrowserRouter as Router } from 'react-router-dom';
import './index.css';
import App from './App';
import About from './About';
import Contact from './Contact';
const routing = (
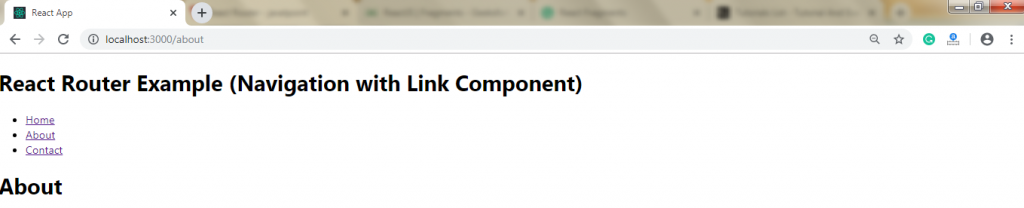
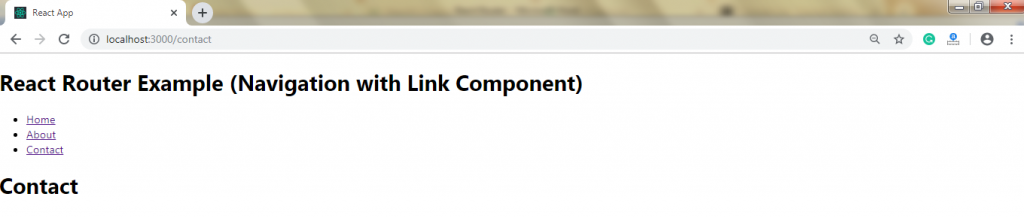
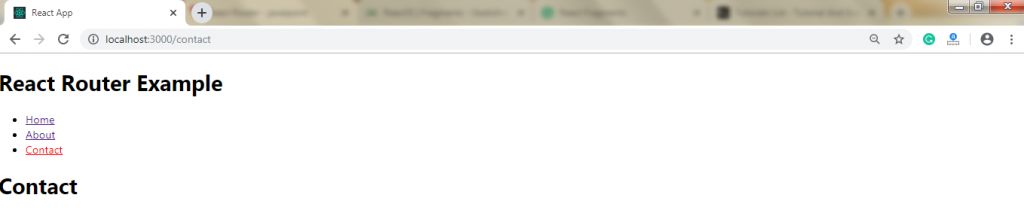
React Router Example (Navigation with Link Component)
When you click on About and
Contact link, you will see that the URL is changing, and the component of
that specific link is rendered on the screen.
When you click on the About link,
you will get the following output:
When you click on the Contact link,
you will get the following output:
We can also add some styles to
the link, such that if we click on any specific link, it should be easily
identified which link is active. For performing it, the React router gives NavLink
instead of Link. The NavLink has the activeStyle property,
which means when we click on the Link, it provides a specific style by which it
can be easily identified which one is currently active.
It can be clear with the
following example:
Example:
import React from 'react';
import ReactDOM from 'react-dom';
import { BrowserRouter as Router, Route, Link, NavLink } from 'react-router-dom';
import './index.css';
import App from './App';
import About from './About';
import Contact from './Contact';
const route = (
You will get the following output
after the successful compilation of the above code.
Because the Home link is
currently active so, the color of the Home link is red. When you click
on the About link, the color of the link turns into red, because the link
gets active.
Similarly, when you click on the
Contact link, the link gets active, and the color turns to red.
Note: The Link
component allows you to navigate the different routes on the website,
whereas the NavLink component is used for adding the styles to the
active routes.
React Router Switch
The <Switch> is used
for rendering the components only when the URL is matched. Otherwise, it
returns the notfound component.
Let us try to create the notfound
component.
Notfound.js
import React from 'react'
const Notfound = () =>
Not found
export default Notfound;
Index.js
import React from 'react';
import ReactDOM from 'react-dom';
import { BrowserRouter as Router, Route, Link, NavLink, Switch } from 'react-router-dom'
import './index.css';
import App from './App';
import About from './About';
import Contact from './Contact';
import Notfound from './Notfound';
const route = (
If you manually enter the wrong
URL, then it will give you the Not Found error. It will get clear in
the following image:
React Router <Redirect>
A <Redirect> component is
used for redirecting to another route in our application to maintain the old
URLs. You can place it anywhere in the route hierarchy.
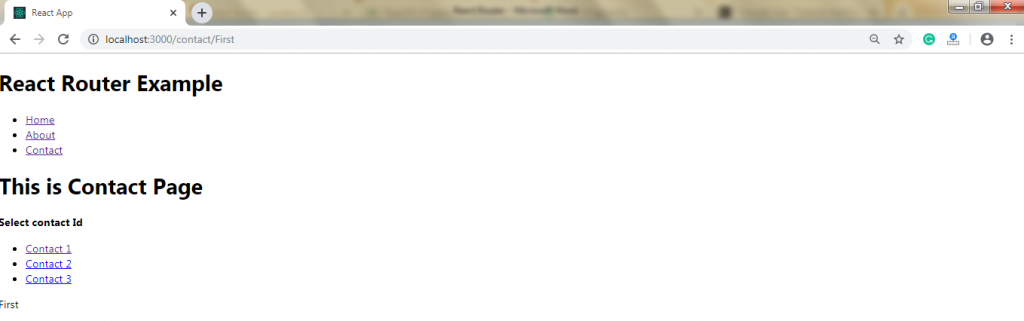
Nested Routing in React
It allows you to render the sub-routes
in your application. The following example will help you to understand it.
Example:
Index.js
import React from 'react';
import ReactDOM from 'react-dom';
import { BrowserRouter as Router, Route, Link, NavLink, Switch } from 'react-router-dom'
import './index.css';
import App from './App';
import About from './About';
import Contact from './Contact';
import Notfound from './Notfound';
const route = (
Once the code gets successfully
compiled, you will get the following output:
After clicking the Contact, you will get the contact
list, and on clicking any contact from the contact list you will also get the
corresponding output: