How to Install a Different Operating System on a PC?
Factors to be Aware Of
- Your existing drive's data will be completely erased if you install a new operating system before moving forward, backing up all the info you want to retain.
- It would help if you modified the Boot sequence in the BIOS to start from a bootable disc drive. You can download an ISO file from the company's website that distributes the operating system and use it to make a bootable disc drive.
Part 1
Picking a new operating system
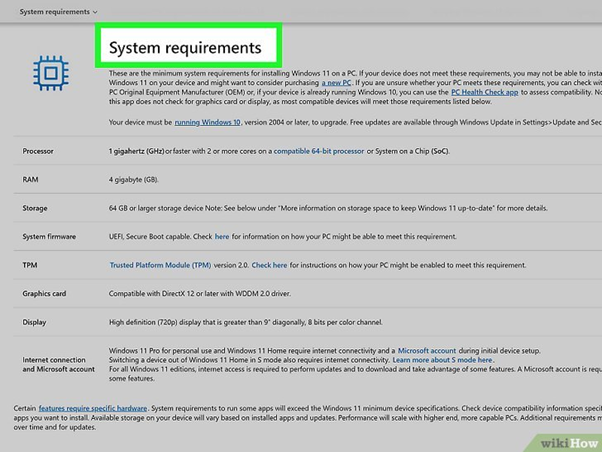
1. Review the equipment specifications. Make sure your computer can manage a unique operating system if you have an older computer because operating systems have different hardware needs. Some of the hardware needs for various operating systems include the following:
- Windows 10 requires a processor running at 1 GHz or higher, 1 GB of RAM for 32-bit processors or 2 GB of RAM for 64-bit processors, and 16 GB or 20 GB of free hard disc capacity—display resolution of 800 x 600 or higher, DirectX 9 or later, and WDDM 1.0 software.
- Linux Ubuntu — 2 GHz dual-core CPU, 4 GB of RAM, 25 GB of available hard disc capacity, VGA monitor with a minimum resolution of 1024x768 pixels, CD/DVD ROM or USB port, and an active internet link.
- Linux Mint requires 2 GB of RAM (4 GB), 20 GB of hard disc capacity (100 is recommended), and a 1024 x 768 or greater resolution.
- Linux Fedora: bootable media, dual-core CPU, 2GB Memory, and 25 GB of available storage.
- Arch Linux: 64-bit (x86 64) processor, 512 MB of Memory, 2 GB of available hard disc capacity. Although it is a simplified, lightweight form of Linux, installing Arch Linux can be challenging. It is not advised for novices to use Arch Linux.
- macOS — only Apple machines are compatible with this operating system. While it is feasible to install macOS on a non-Mac computer, doing so is a time-consuming and difficult procedure that calls for very specialized hardware in your PC. Many Computers cannot support macOS.
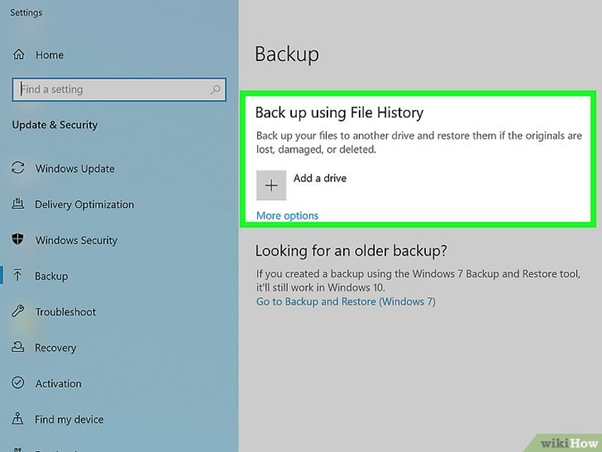
2. Make a digital backup. The complete hard disc will probably need to be erased when you install a new operating system because the old operating system needs to be removed first. This implies you must back up your computer's data to retain them all. Before beginning the installation procedure, copy any crucial data to a backup spot. Additionally, you can use online services like SkyDrive, iCloud, DropBox, and Google Drive.
- Programs cannot be backed up; once your new operating system has been loaded, they must be restarted.
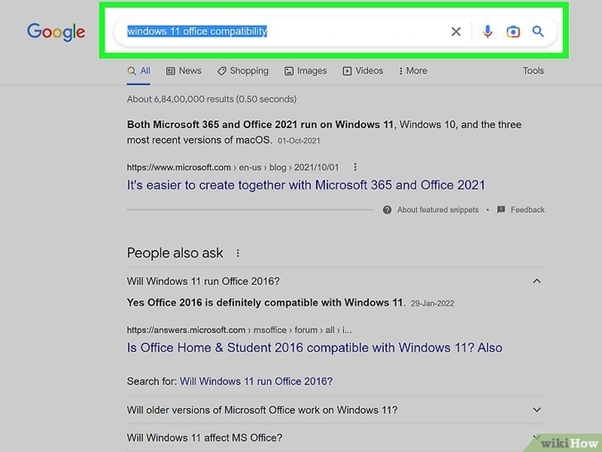
3. Do some program interoperability research. Ensure the applications you want to use are supported by the operating system you want to run. If you use those products for business, you can run something other than Microsoft Office or Adobe software on a Linux computer. Similar applications exist, but they might need to be more functional.
Part 2
Creating a Boot disk

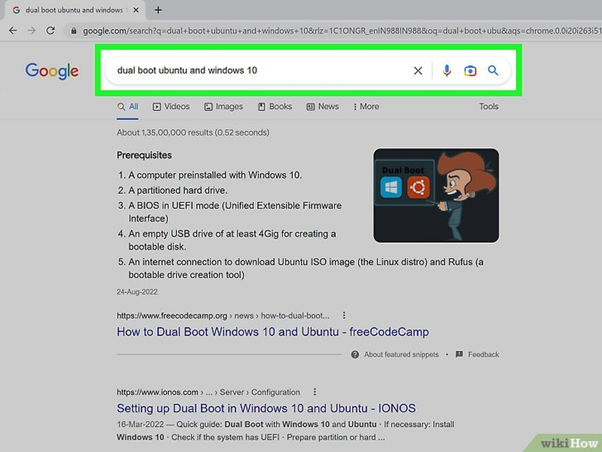
1. Obtain the ISO file for the operating system. The majority of Windows editions demand that you buy a license. You can, however, switch for free to Windows 10 if you currently use Windows 7 or 8. Similarly, Windows 10 users can update to Windows 11 without paying anything. On the developer's website, you can obtain the ISO file regardless of the OS system you want to use.
- An ISO file is a disc picture that must be transferred to a bootable USB device or burned to a CD.
- As an alternative to getting an ISO file, Windows 10 and 11 let you acquire a media creation utility that you can use to make a bootable USB device.
- You can only update to your present version of Windows when upgrading Windows. This implies that you can only update to Windows 11 Home Edition if you currently have Windows 10. If you want to update, you must buy a license to obtain Windows 11 Pro.
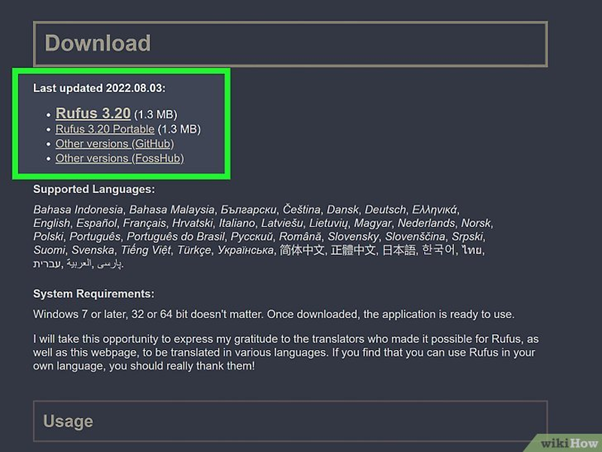
2. Obtain Rufus. Use the free tool Rufus to make a working USB disc device.
- Alternatively, place a fresh disc in your CD/DVD RW drive if you are making a writable CD or DVD. Then select Create Disk Image from the context menu when right-clicking the saved ISO file.
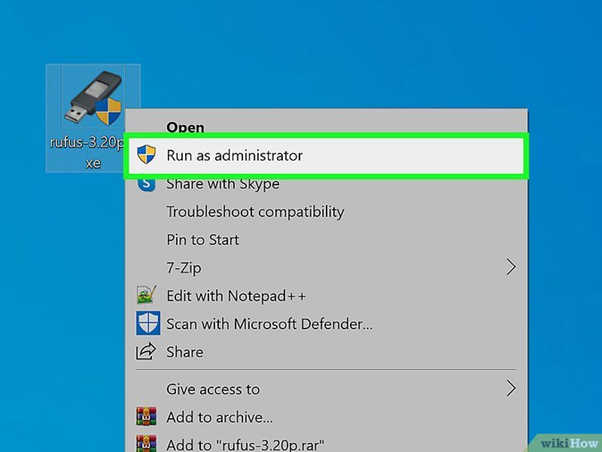
3. Open Rufus and insert a clean Flash device. Make sure your USB device is 4 Gigabytes or bigger. Open Rufus after inserting it into an empty USB device on your computer.
When Rufus copies the ISO file to the USB drive, it will remove all data present on the device. Any files and data on the disc you want to retain should be backed up.
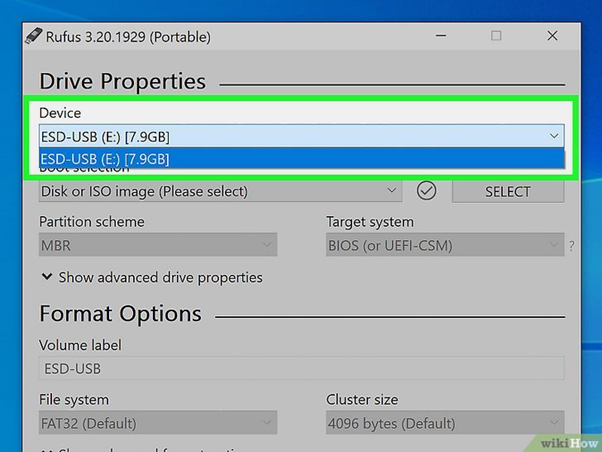
4. Choose a Flash device. To choose your USB device, use the drop-down option at the top of Rufus.
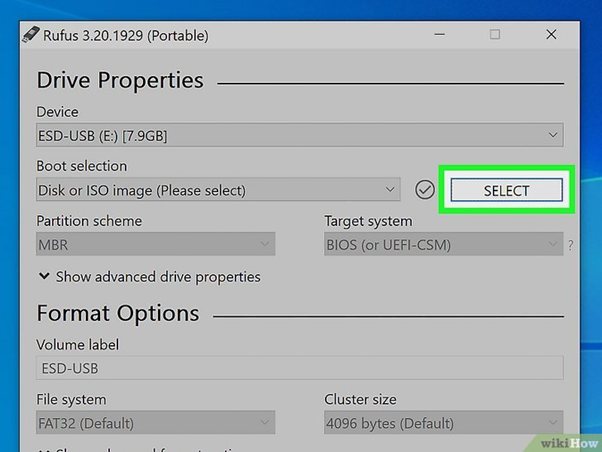
5. Pick the ISO file for your new operating system by clicking Download. At the top, next to the "Boot selection" window, click the Select icon. Downloaded items are typically located in your "Downloads" subdirectory.
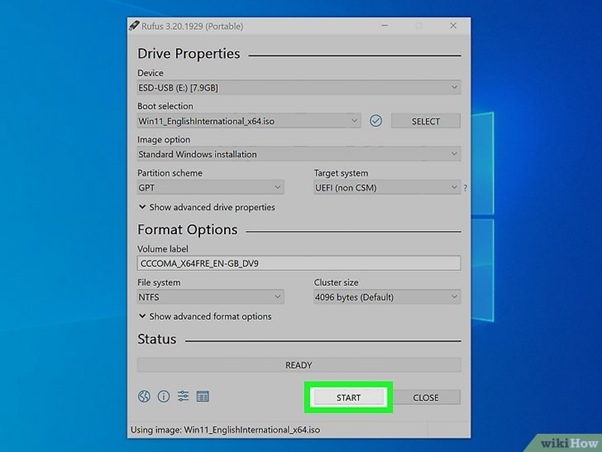
6. Select Commence. It can be found at Rufus' base. By doing this, the ISO file will begin to be written to the USB device as a bootable CD. Give the procedure a few minutes to finish. After completing the process, you can use the USB device to start your computer.
Part 3
Changing the boot order
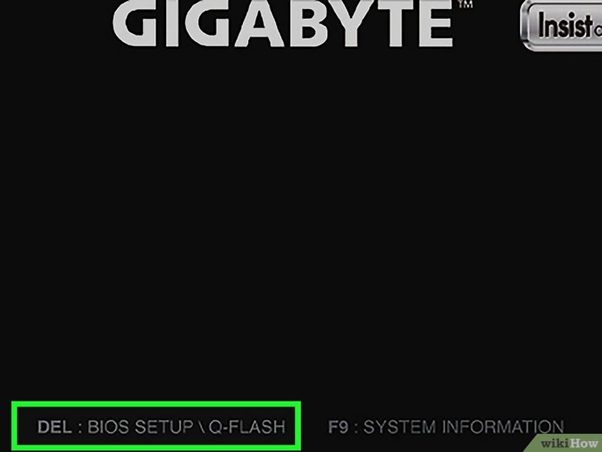
1. Launch the Firmware. When you turn it on, your computer will inform you which button to click to enter the BIOS. You hit a different button depending on your computer's brand and type. Typically, it is "Esc," "DEL," "F1," "F2," "F10," "F12," or "F10." You can use the following procedures to launch into your BIOS from within Windows 10 or 11 if your computer starts up too quickly for you to see which key to press:
- Press the Windows Start key.
- Select the Gear/Settings button.
- Select Update & Security (Windows 11) or System (Windows 10)
- Select Restore.
- Select Resume Now from the "Advanced Setup" menu.
- To restart now, click.
- To troubleshoot, click.
- You should click UEFI System Options.
- Choose Reset.
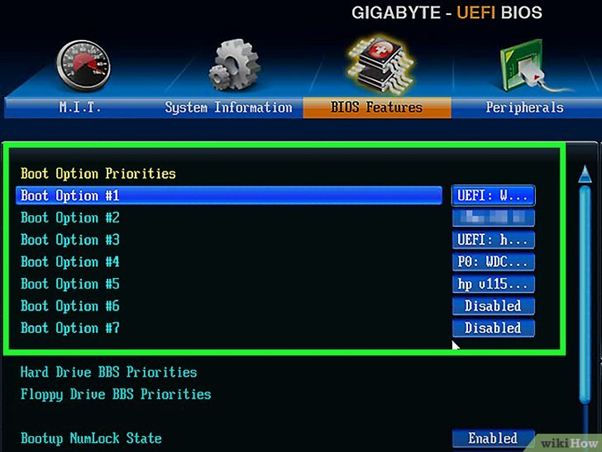
2. It would help if you found the boot sequence options. From one computer brand and model to the next, the BIOS interface varies. Look for the opportunity to modify the boot sequence of your machine. It might be a page with "Boot" or a closely related term.
- To move around the BIOS menu, you usually use the arrow buttons on your computer. To choose a selection, hit Return.
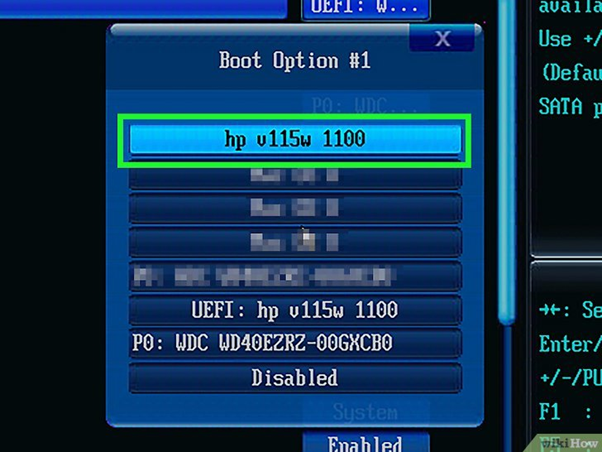
3. Make sure your computer starts from the CD/DVD ROM or USB device by changing the boot sequence.
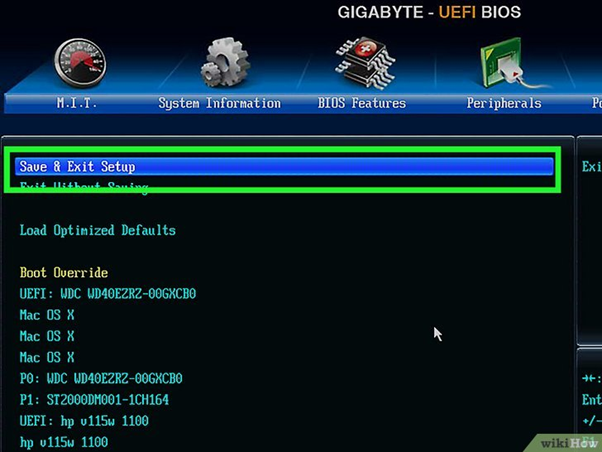
4. After saving, quit the BIOS. Find the choice to save your modifications and leave the BIOS after you have made the necessary adjustments. Your laptop will restart.
Part 4
Installing the operating system
1. Choose the sequence of your installations. Windows must be installed first, followed by Linux if you want to operate a Linux version alongside Windows. This is so that Linux can be loaded because Windows has a very stringent bootloader that must be in place. Windows will not start otherwise.
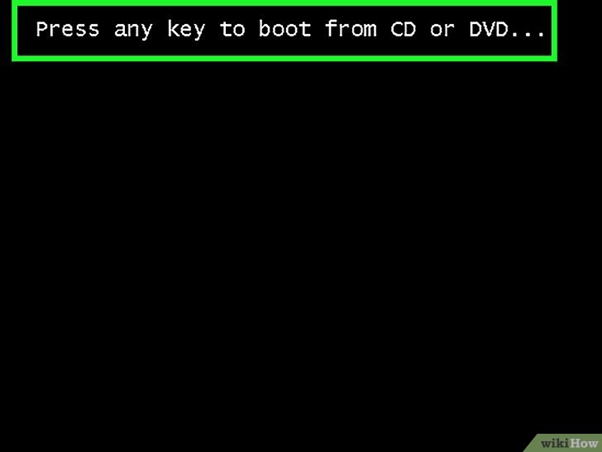
2. Boot up using the software DVD. The ISO file you generated is on this USB device or CD/DVD ROM. Start your machine after that. Instead of starting from the standard hard drive, your computer will launch from the floppy drive.
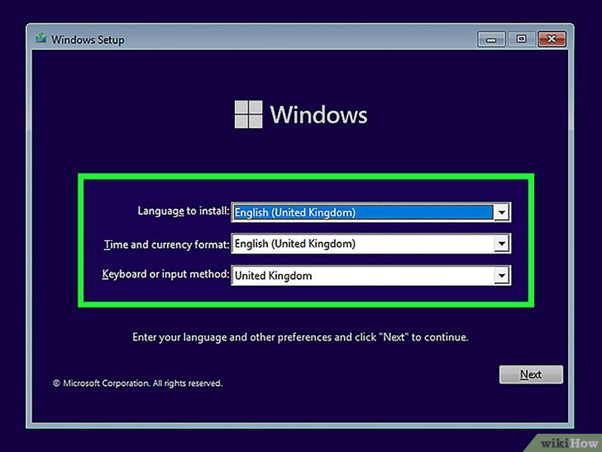
3. Choose your keyboard configuration and region. Each operating system has a distinct startup procedure. Most will request that you choose your language, keyboard arrangement, and time and money formats first. It might instantly identify your keyboard layout, but ensure it is the right one for your nation. Choose your chosen choices using the menu options. Click Next or Proceed after that.
- When running Linux Ubuntu, you can try the software first. If you want to test Ubuntu first, you can choose this choice. When you are prepared to install Ubuntu, select the icon that reads "Install Ubuntu" in the lower-right area of the screen.
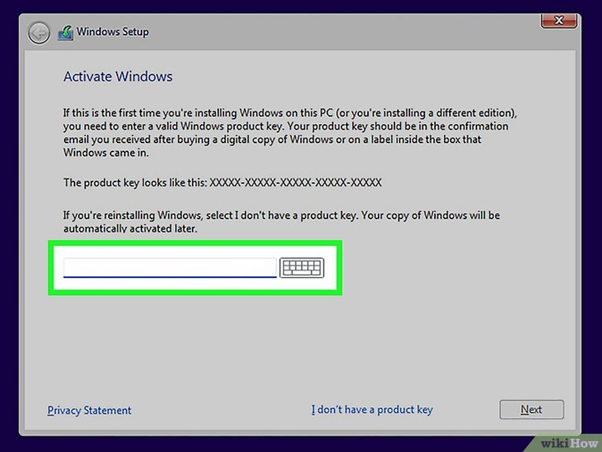
4. Your purchase key is in the box. For complete access to Windows when downloading it, you must input a product key.
- You can then choose the Windows version you want to use and carry out the installation procedure. Later on, you will have to buy a product key.
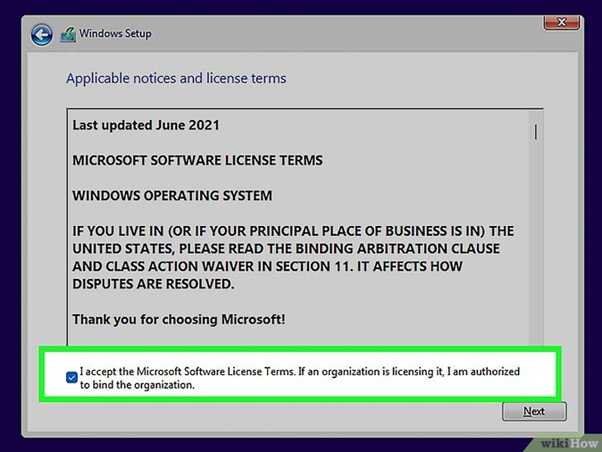
5. The terms and conditions are accepted. Generally, before downloading an operating system, you must accept the license deal. Click Next or Proceed after that.
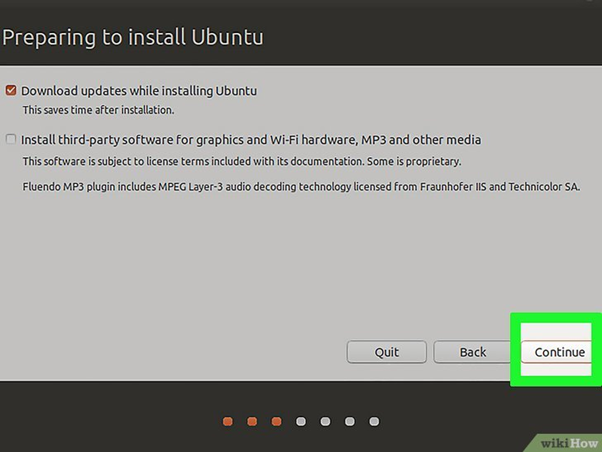
6. Choose your Linux upgrade choices. Update choices are provided by the installer when running Ubuntu Linux. A standard download with games, a web browser, tools, and a media player is an option. Only an online browser and tools will be installed during a minimal installation. Additionally, you can decide whether to install third-party software for graphics, Wi-Fi, and other devices along with the Download.
- It is advised that you upgrade your Wi-Fi and graphics hardware and run third-party applications.
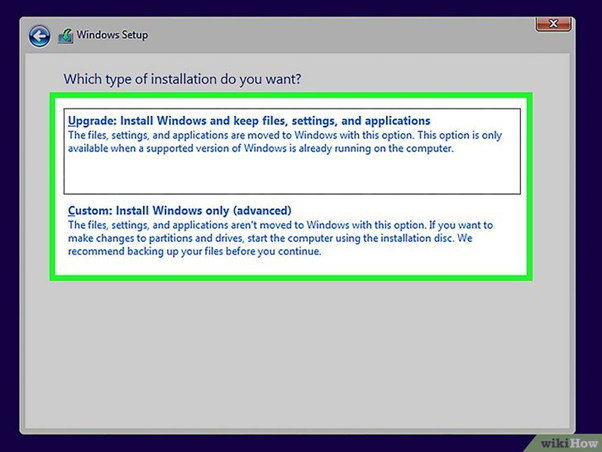
7. Pick the implementation option you want. Windows will let you choose between an upgrade and a bespoke update. It is strongly advised that you select "Custom" and begin from zero, even if upgrading to an earlier version of Windows. This will reduce issues resulting from merging outdated options with modern ones.
- When installing Linux, you will be offered the choice of whether to install it alongside your current operating system (Windows) or wipe the drive and install it on its own. If Linux is already loaded, you can reinstall or wipe the disc clean and install Linux from scratch. You can select how much hard disc capacity you want to set aside for Linux if you run it alongside Windows.
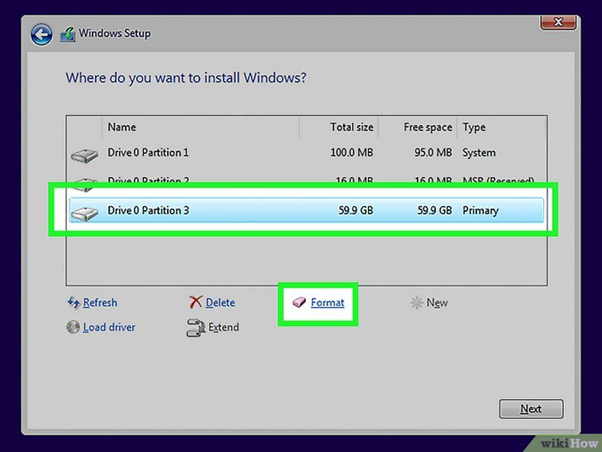
8. Resize the divisions. It would help if you decided which hard drive sector you want to run Windows on before you can proceed. Data on deleted partitions are erased, and the room is returned to the Unallocated area. To make a new partition, select the unallocated area and press Next.
- The partition must be in the Ext4 style if you are running Linux.
- Choose carefully which section to put the operating system on if you have multiple disc drives or drive partitions.
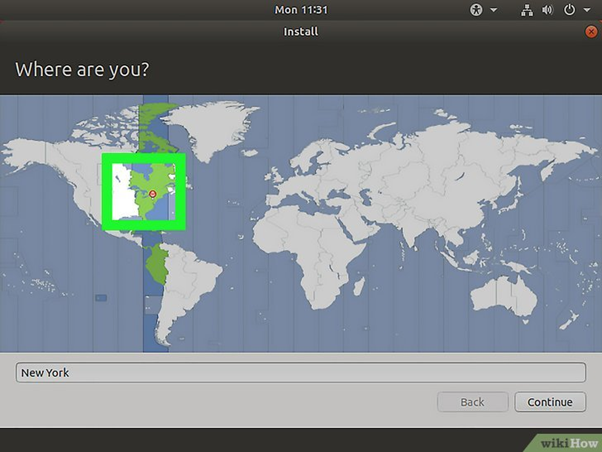
9. When downloading Windows, choose your keyboard configuration before choosing your nation.
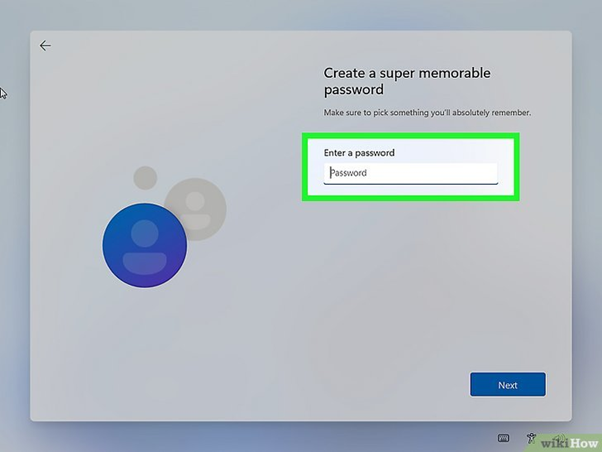
10. Make a user account. You must log in with your Microsoft account when downloading Windows. You will be prompted to input your identity, computer name, password, and Linux installation information.
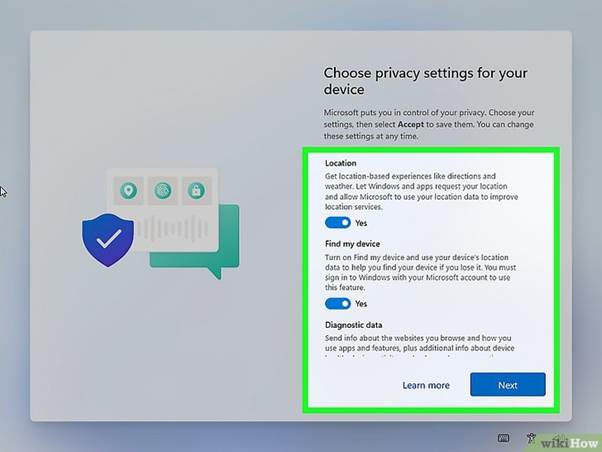
11. Hold off until the work is finished. You might be prompted to allow features like the capability to transmit diagnostic data to Microsoft or the use of locations to locate your device.