How to make use of the Excel Autofit in Excel
In Microsoft Excel, Autofit can be used to adjust and then fix the column and the respective row height to till the maximum limit until and unless it has the text in it.
In Excel worksheets, it is advised that if any column, as well as its cells, contain content that is not efficiently seen to their full length, unlike some of the characters from it are overlapped with the other respective cell's content or are moving out from the cell limit then, in that case, we can effectively make use of "AutoFit". With the help of Autofit, you can easily make out the cell to fit it to the maximum length or select the suitable options from the respective Format options drop-down menu that is made available in the Home menu ribbon efficiently. And we can also make double-click on the Column edge for the Autofit respectively.
Moreover, the Autofit options can be primarily used with the help of the three most important as well as the standard methods that are discussed below:
- With the help of the Double-click, we can initiate the AutoFit column and the rows.
- And also via the help of the ribbon we can effectively automate the Autofit to the columns and the rows, respectively.
- And we can also make use of the keyboard shortcut in order to Autofit Columns and rows.
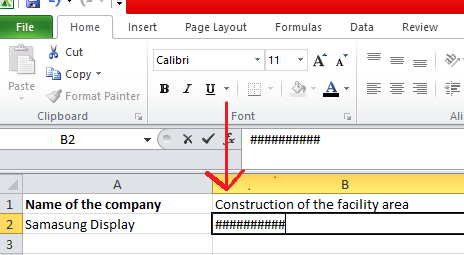
Let us now consider the below example, as clearly seen in the below-attached screenshot.
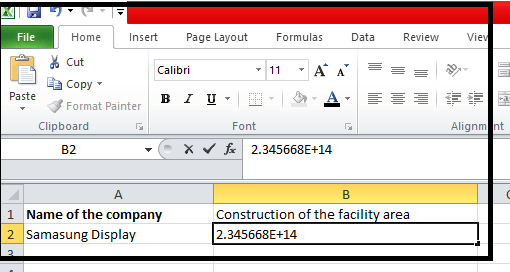
Now moving on to discussing and using the above three effective methods, we will be comparing these three methods for the particular example as clearly seen in the abovementioned figure.
How to Make Use of the Autofit in the Microsoft Excel?
In Microsoft Excel, Autofit is termed to be the simple as well as the easy-to-use function; now let us make understand these with the help of the three methods as follows:
Method: 1 Make use of the double-click in order Autofit column width and the height of the row
This method is considered one of the quickest and easiest ways to adjust the particular column width and row height.
Besides these, the basic steps to implement the method are as follows:
- If an individual wants to Autofit the column width, an individual needs to drag out the mouse pointer to the respective right border of the "Column header." And when the double-headed arrow gets appears, then immediately double-click on that border.
- Secondly, in order to make Autofit the height of the particular row, then in that case particular case an individual must needs to drag out the mouse pointer to the particular lower border of the row header respectively, and soon after that, the double-headed arrow will get appears on the screen of an individual, and then immediately individual must double-click on the header respectively.
- For Autofit the multiple columns and the rows, an individual needs to select them all at once by clicking and dragging over them effectively and then moving on to performing the double-click between any two columns and the row headers.
Furthermore, the below-attached screenshot will efficiently explain all the above steps in a little bit of detail:
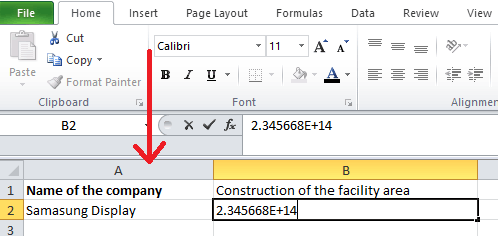
Step 1: First of all, double-click on the header options as clearly seen in the below-attached screenshot; by just doing this, the width of the particular column will be get adjusted, and the changed width can be effectively seen in the next step followed by the step 1.
Step 2: Now, after that, we will double-click on the header, as seen in the below-attached screenshot.
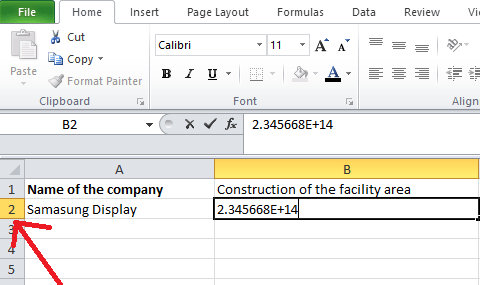
Step 3: From the below-attached screenshot, it can be seen that the value is not displayed in the cell's respective cell, that is, cell B2; this is because the size of the particular column is small. Therefore, the width should be effectively increased to show the value of the columns.
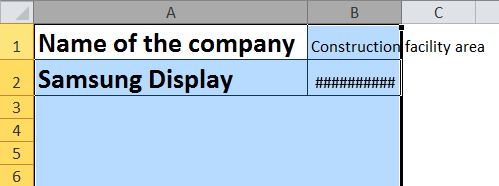
Step 4: After that, making double-click between the particular columns as depicted in the below-attached screenshot, it will Autofit the width of the columns respectively.
Step 5: The Autofit is implemented to the particular column width and the row heights with the help of the double-click options, as seen in the screenshot below.

Method 2: Use the Ribbon to Autofit the column width as well as the row height
It is also considered one of the other most essential methods to Autofit the respective column width and the row height of the cells in the particular excel sheet. And the specific ribbon method that can be effectively used for Autofit is a bit longer than the previously discussed methods.
Furthermore, this particular method is the more extended process to implement Autofit features compared with the other previous methods.
Let us consider the above-discussed example, as clearly seen in the attached figure, and then follow the steps discussed below in brief.
- To adjust the respective width of one or several columns, first of all, select the columns, and after that, select all the individual columns by just moving to the "Home Tab" and after that, under the respective “Cells" option to choose the "Format option," from the list of options under the format, select “Autofit Column width.”
- Similarly, to adjust the height of one or several rows, select the rows, and after that, select all the rows by moving to the "Home Tab." Then after that, under the "Cells" options, an individual needs to make the selection of the "Format" options. And from the various options available under the format list, let us select the "Autofit Row Height."
And the below-attached figure will effectively explain the above-discussed steps in detail, which are as follows:
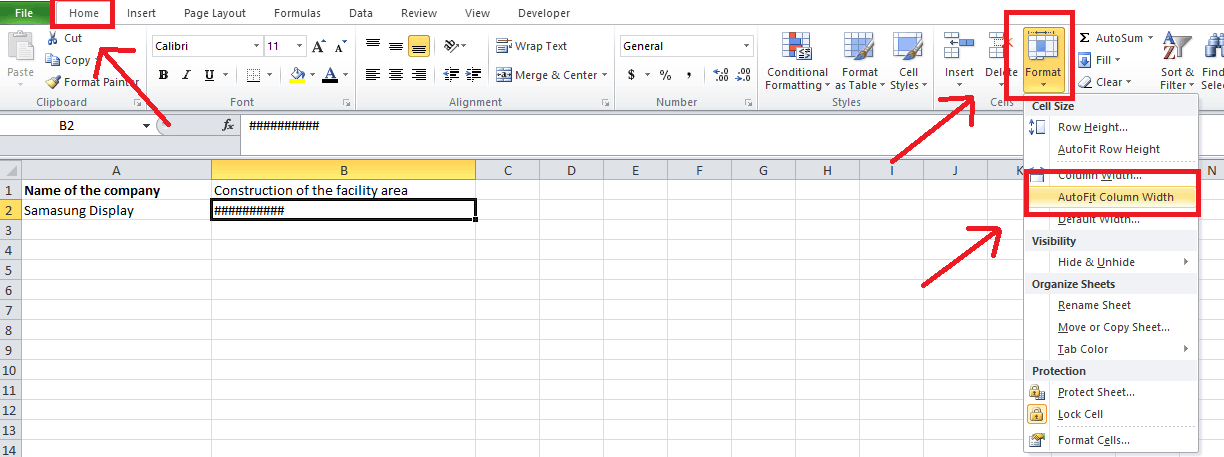
Step 1: In the first step, after selecting the respective columns for which an individual needs to adjust their separate columns' width, click on the Home-> Format->Autofit Column width, respectively.
As seen clearly in the below-attached figure respectively.
Step 2: After this step, select the rows for which an individual needs to adjust their row height, and click on Home-> Format-> Autofit Row Height.
Method 3: We can Autofit the respective Column width as well as the Row height via the help of the shortcut key from the keyboard
Various users purposely use this method, and they are primarily familiar with the help of using the respective keyboard for most of their operations in Microsoft Excel. Let us now effectively consider the below mentioned steps in order to implement this particular method to Autofit the column width and row height respectively.
- And for the purpose of doing Autofit of the respective column width: An individual first needs to select the total number of the columns as per the choice of an individual and then moving on to press "Alt+H", then press "O", and then effectively press the "I."
- And to Autofit the respective Row Height: An individual needs to select the number of rows according to a particular choice, and then after that, an individual needs to press "Alt+H", and just after that go on pressing the "O", and then "A."
- And if in case an individual needs to Autofit the entire sheet, press effectively "Ctrl+A" respectively.
Moreover, the "Alt+H" basically opens the home tab; "O" opens the format menu; "I" selects out the Autofit column width options; "A" selects the respective Autofit row height options.
What are the Advantages of the Autofit in the Microsoft Excel?
The various advantages that are associated with the use of Autofit in Microsoft Excel are as follows:
- The respective option, Autofit in Excel, is a real-time-saver, wherein it helps the readers to read out clearly what is being written out in the cell effectively.
- The help of the various shortcut key options for the various Autofit of the column's width and the respective row height is beneficial as it is the fastest way to implement the Autofit feature.
- And the Ribbon method is advantageous in particular cases wherein an individual has many cells filled with the data, as using the double-click options is considered tedious.
What are the Disadvantages of the Autofit in the Microsoft Excel?
The various disadvantages that are associated with using Autofit in Microsoft Excel are as follows:
- For a new user who is not comfortable with the help of the respective shortcut options, the individual user won't be able to remember the keys and for which the functions which separate keys are used effectively.
- In those cases, if an individual authorizes the respective row height to height, an individual cannot see the standard row height. And also, by the help of changing of the respective font size as well as the styles it will effectively changes the size of the row height.
Things to Remember
The following thing needs to remember by an individual while working with Autofit in Microsoft Excel is as follows:
- First, the maximum width of the respective column is 255, which means it can effectively accommodate a maximum number of 255 characters. However, by just making increment to its font size or by changing the style of the font an individual can primarily reduce that number effectively.
- And the particular rows have a maximum height of 409 points, in which 1 point is primarily equal to 0.035 cm.
- In this particular case, the text entered by an individual is the text that is wrapped out in the specific cell. To ensure sure, an individual must click on the "Wrap Text", or the cell's height will be the height of the particular font.
- And if, in the case, when the respective column width or row height is primarily set to 0, that is usually the particular row or the column is not visible, which means they are hidden.