Adding Column in Excel
Excel spreadsheet is a combination of rows and columns. After creating the table, there is a need to insert additional row or columns. To organize a better worksheet for calculations, Excel provides some methods to insert new rows or columns. When the new cell is added to the existing table, the new cell will be formatted in default manner to match the existing table. Here in this tutorial, the method to insert new column is explained briefly.
1. How to insert a new column in the cell?
To insert a new column in the cell, following steps are followed.
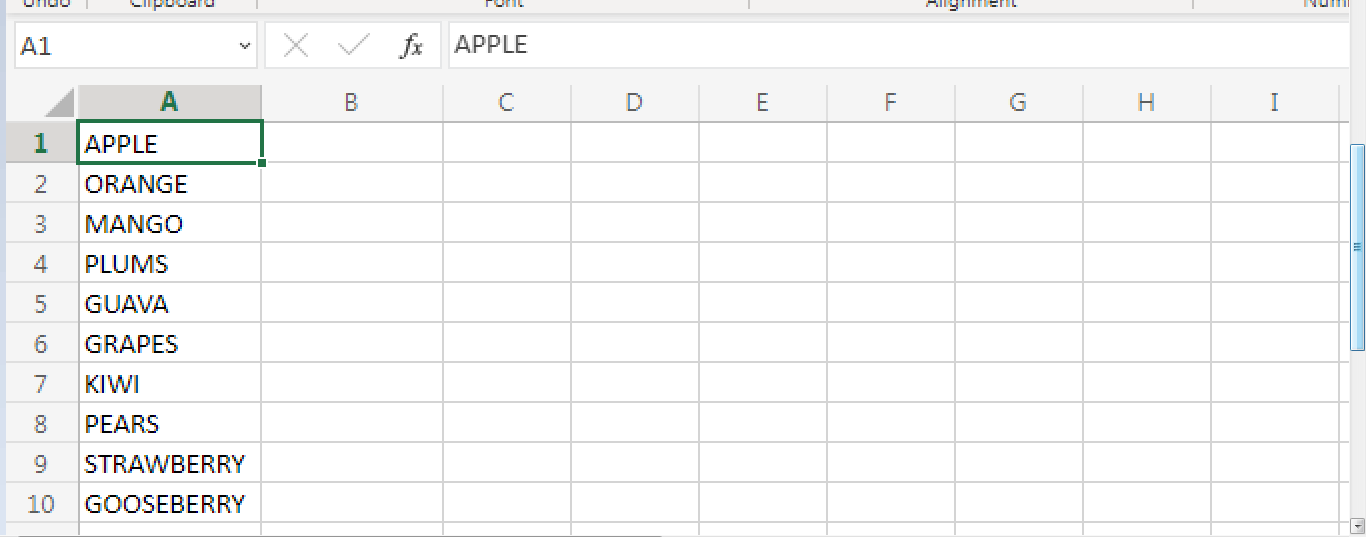
Step 1: Enter the data in the respective column. Here in this example, the values are entered in the column range from A1:A10.
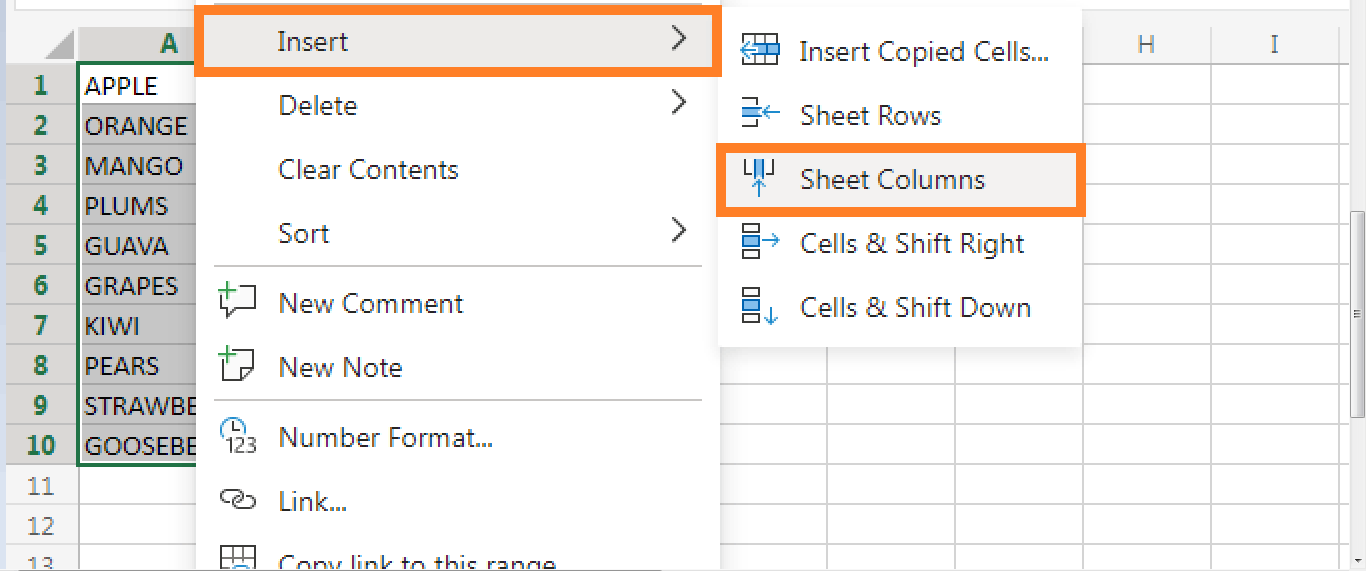
Step 2: Select the column A and right click towards it, choose Insert.
Step 3: An empty column is inserted toward the left of the data as shown in the worksheet.
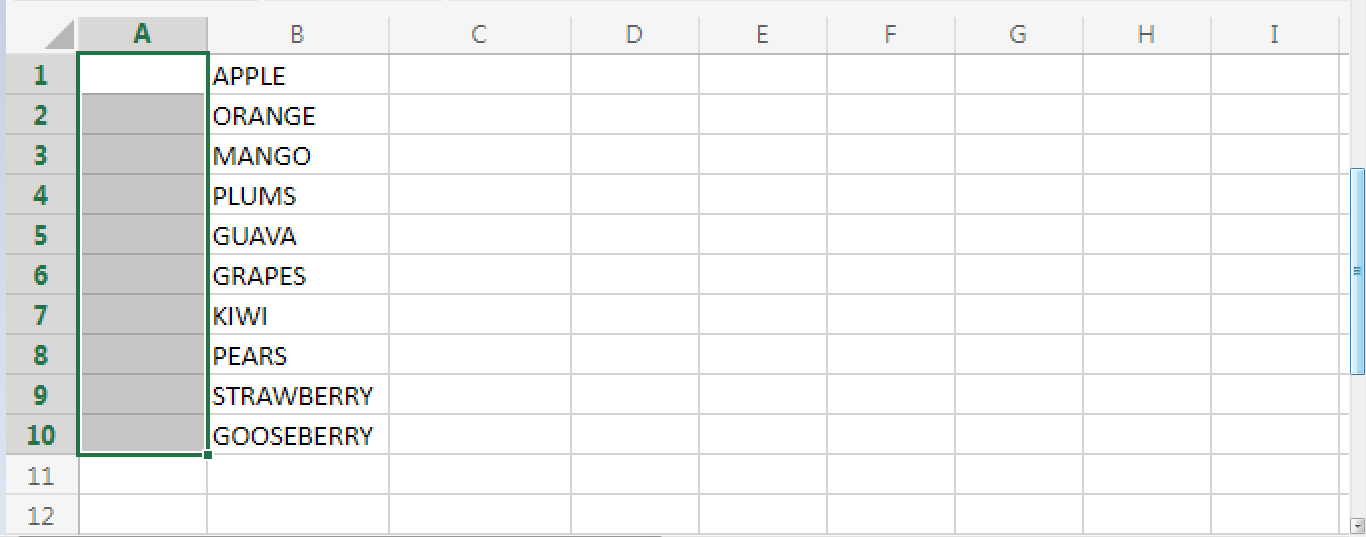
From the above worksheet, a new column called ‘A’ is inserted where the data are shifted to column ‘B’.
2. How to add multiple columns in Excel?
To add multiple columns in Excel, following steps should be followed.
Step 1: From the table, choose the multiple column headers, here in this example A and B are chosen.
Step 2: Right click towards the cell, and choose the Insert option.

From the above worksheet, the multiple columns are inserted. If the row or columns are inserted, the cell reference will update automatically.
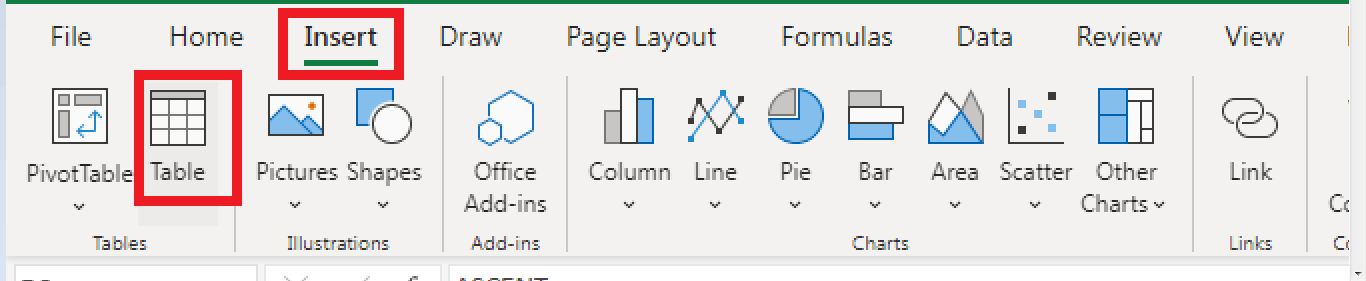
3. How to add columns using Home tab?
Excel provides default function in the home tab, to insert the new column in the cell.
Step 1: Enter the data in the worksheet,
Step 2: Select the respective columns. Here the columns A, B, C and D are selected.
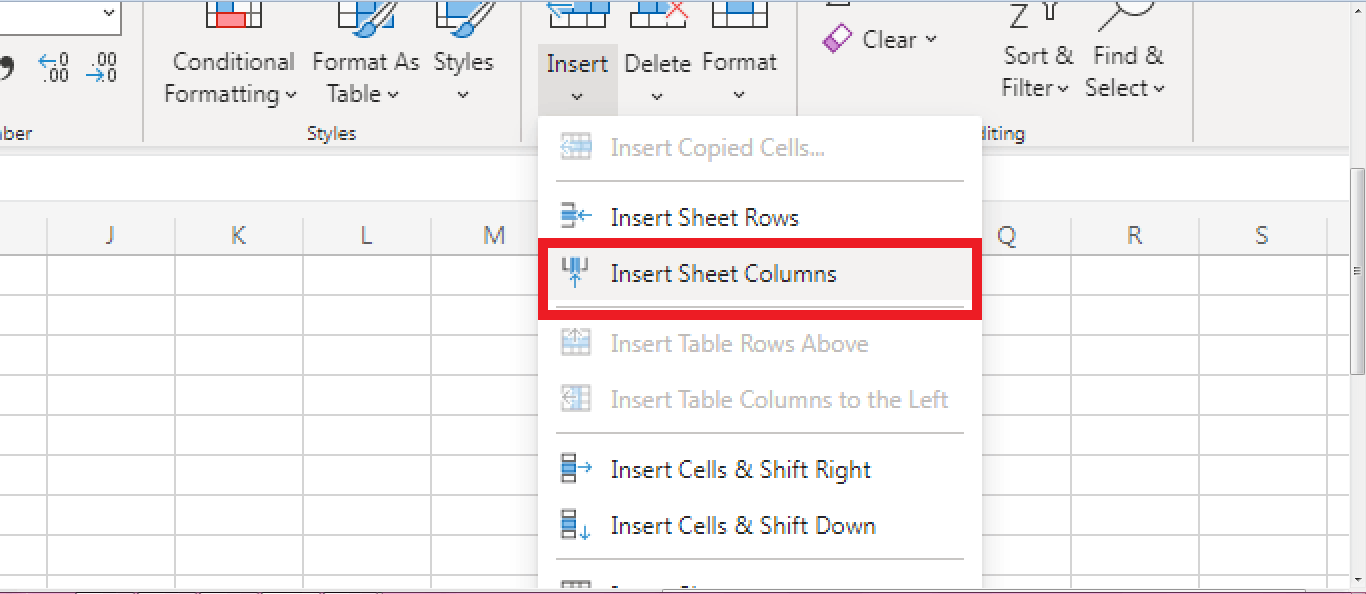
Step 3: Choose Insert>Insert Sheet columns from the Cell group in the Home Tab.
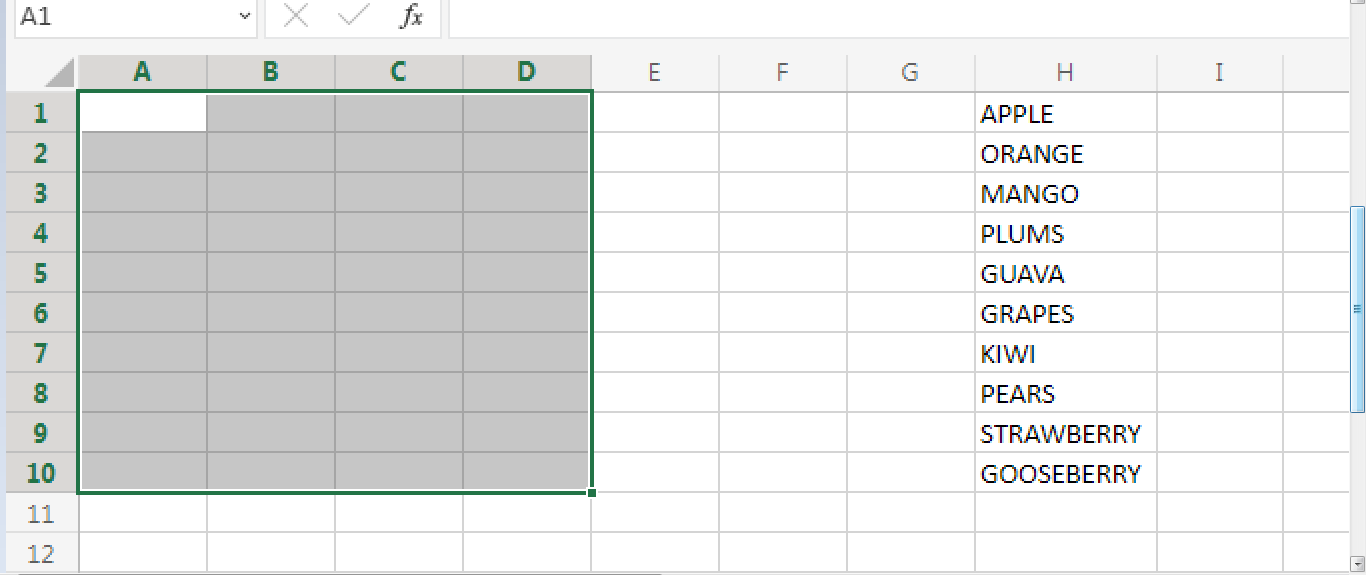
From the above worksheet, the new columns are inserted.
Step 4: To quickly add a column, select a column and use the shortcut CTRL+SHIFT+.
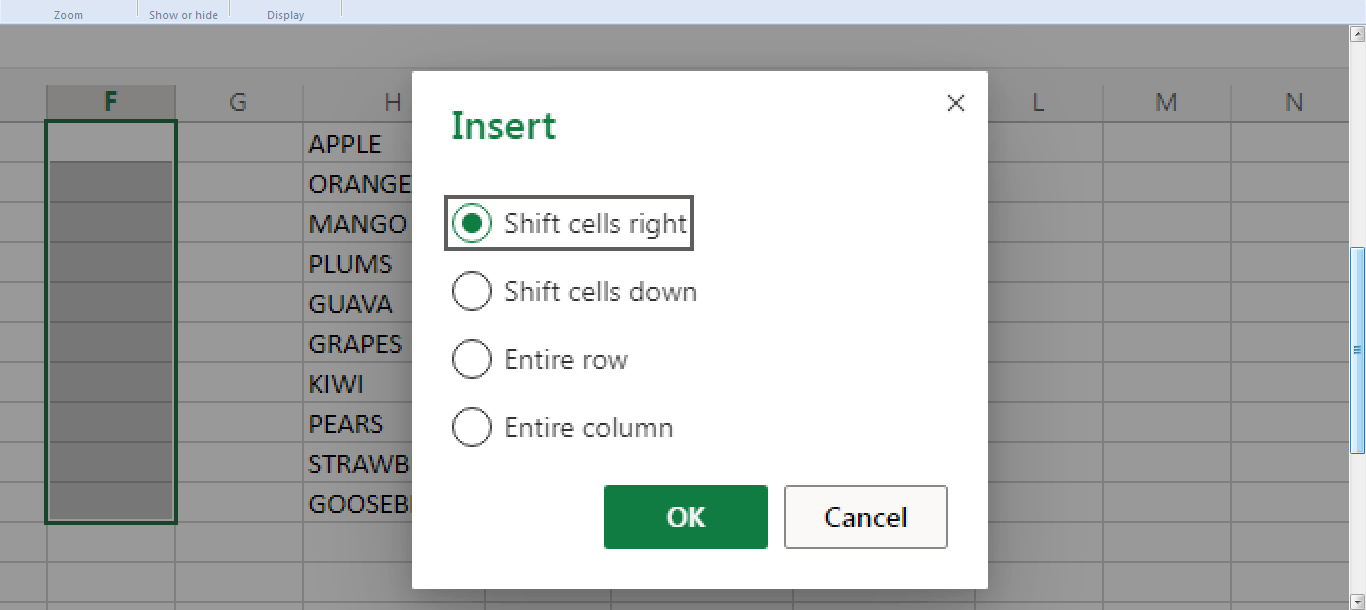
Here the column F is selected, press CTRL+SHIFT+. A dialog box is shown in the above image. In that choose the option, Shift cells right. Press OK. The new column will be inserted.
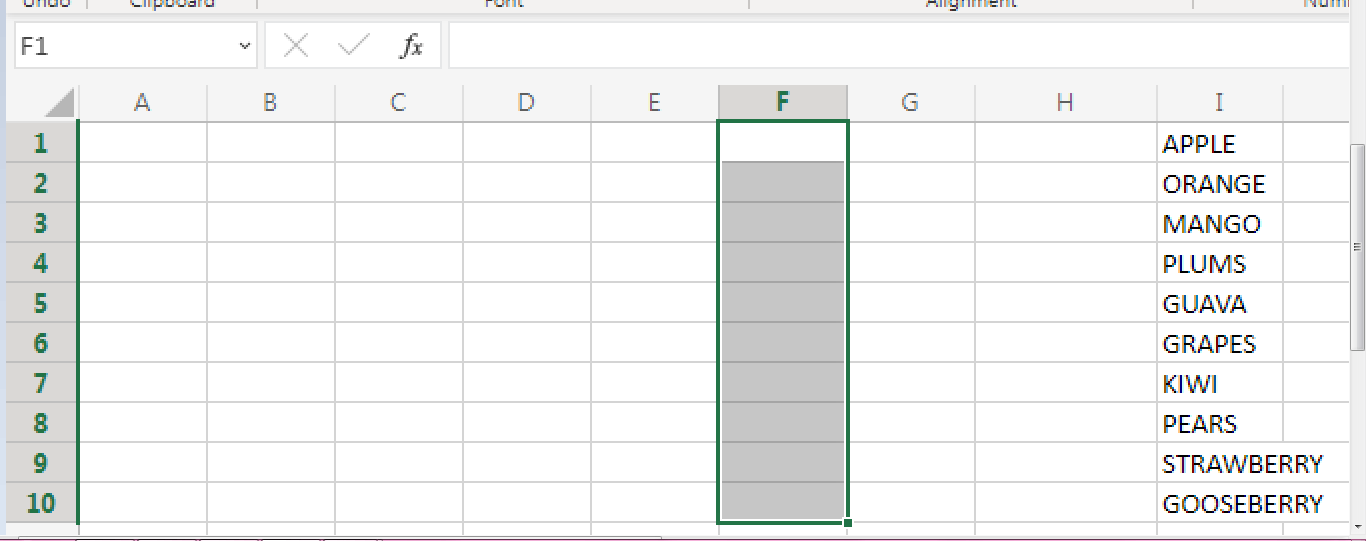
From the above worksheet, the data is moved towards the right and new column is inserted using the shortcut. Similarly one can insert the multiple columns, using the shortcut method.
4. How to add row or column adjacent in a Table?
To add a row or column in a table, steps to be followed are,
Step 1: Enter the data in the worksheet.
Step 2: To change the data into table, select the data and click on the Insert option in the home tab, and click Create Table option.
It creates the table for the respective data.
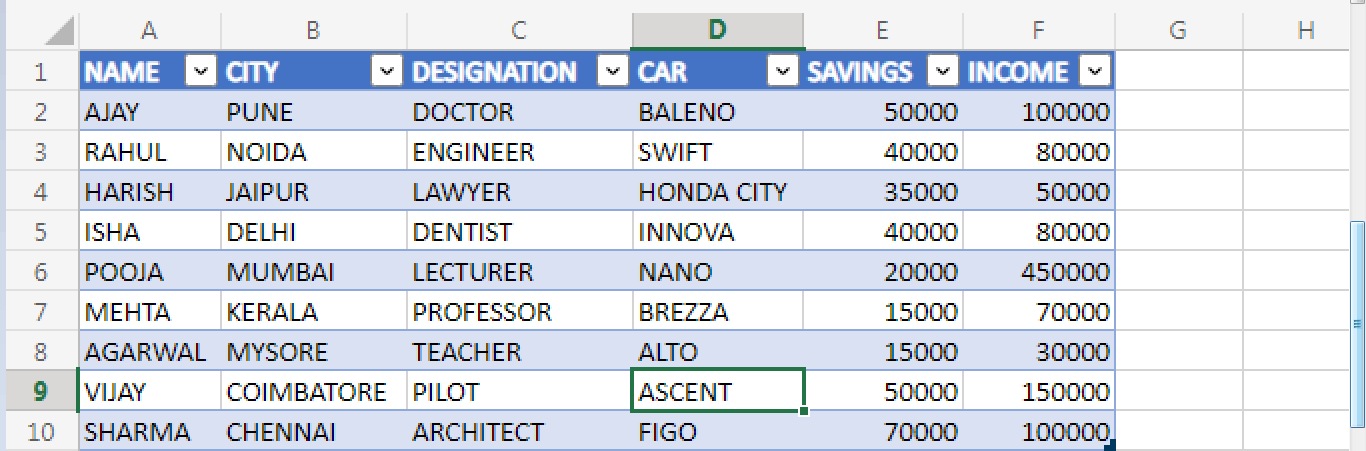
From the above worksheet, the table is created.
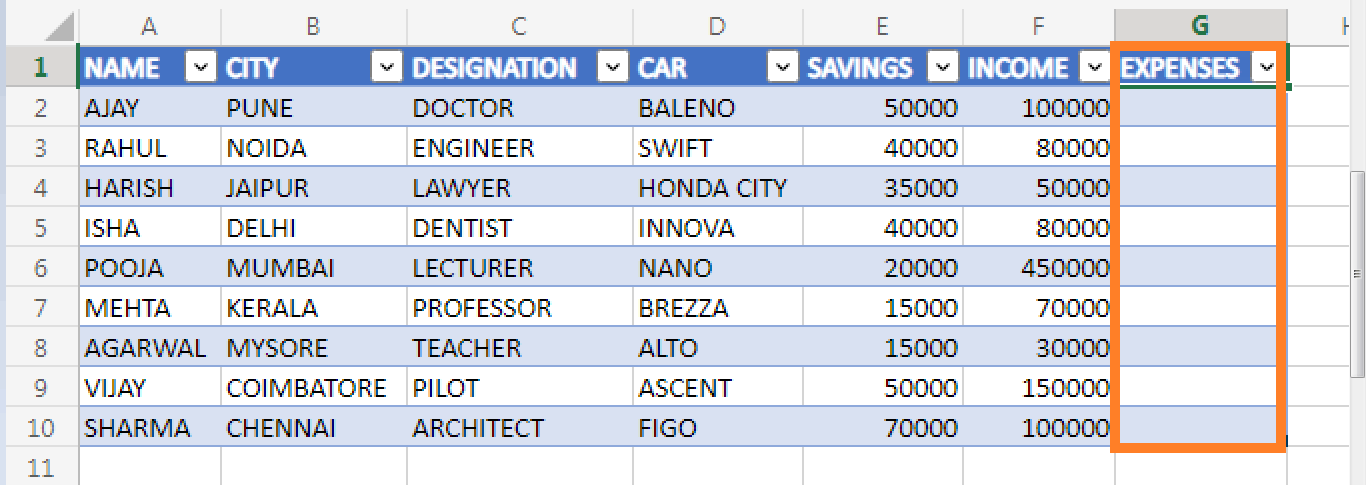
Step 3: To insert a new column, choose any of the blank cell next to the column.
Step 4: Enter the cell value of the selected cell.
Step 5: After entering the cell value, press Enter key or click anywhere outside the cell.
The new column called “Expenses” is added to the existing row and the table formatting is also applied to the new column.
If the formula is entered in the blank column, it automatically fills the balance column, without using the AutoFill feature. Similarly if rows are added, the formulas automatically add the rows as well.
5. How to insert the Row or Column within the Table?
To insert the row or column within the table, steps to be followed are,
Step 1: Select the cell in the table row or column next to where the new row or column is inserted.
If the column header is selected, the insert option won’t available.
Step 2: Here the cell B2 is selected, which is the column of “CITY”. Now choose the Insert option from Home tab and click the option “Insert Table column to the Left”
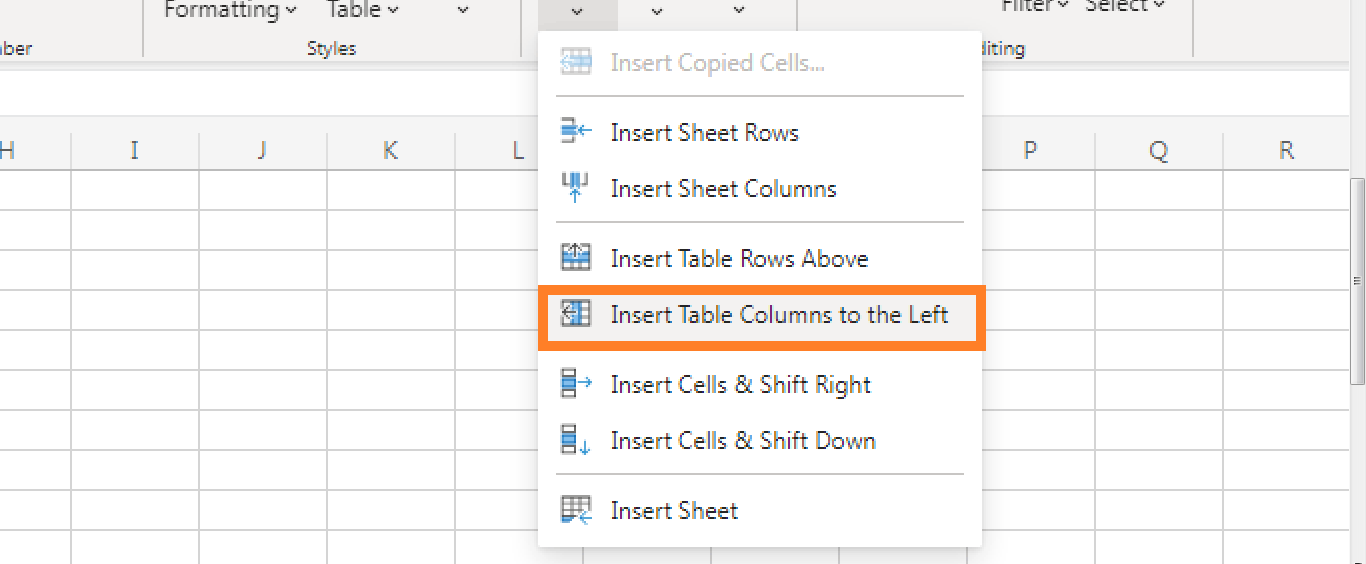
Step 3: Now, a new Column is inserted towards the left of the selected column.
Another shortcut method to insert the row or column is, right click any of the cells in the row or column, in which to be added. A pop-up dialog box will open. In that choose “Insert” option and select the other option from the dialog box “Table Columns to the Left “or “Table Rows Above”. The new row or column will be inserted.

From the above worksheet the additional row or column is inserted using shortcut method.
6. How to delete the Rows or Column in the table?
Sometimes there is an additional row or columns present in the table. To remove the rows or columns, steps to be followed are,
Step 1: Select the additional row or column. Here column B1 is selected as the additional row

Step 2: Choose the Delete option from Home tab, in that choose “Delete Sheet Column”.
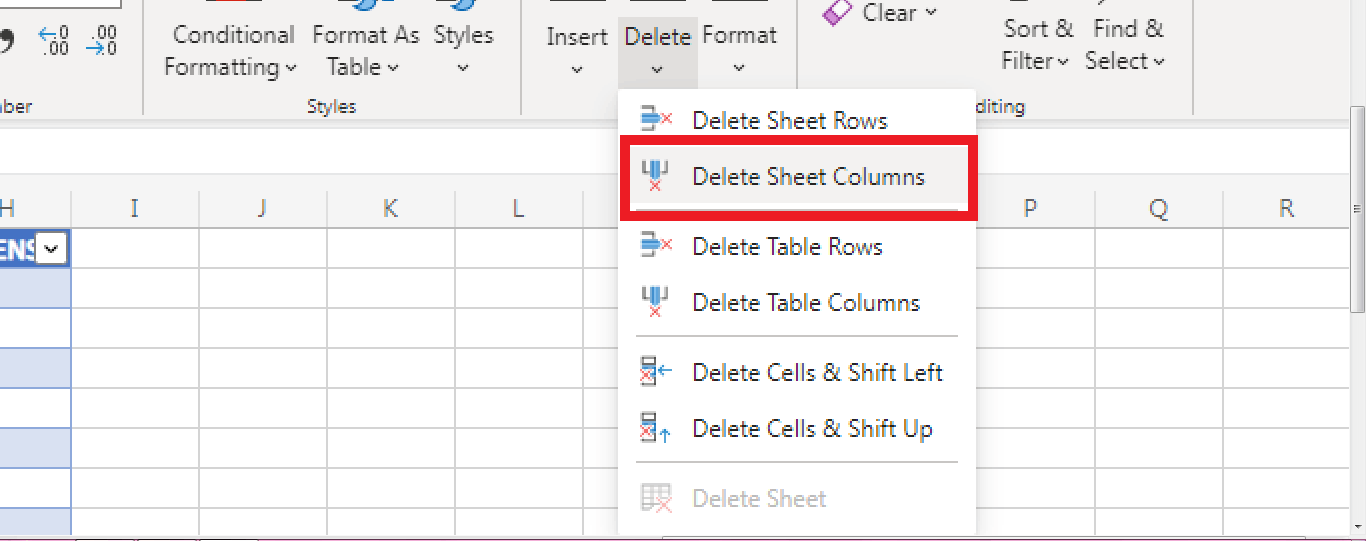
The additional column will be deleted as shown in the image.
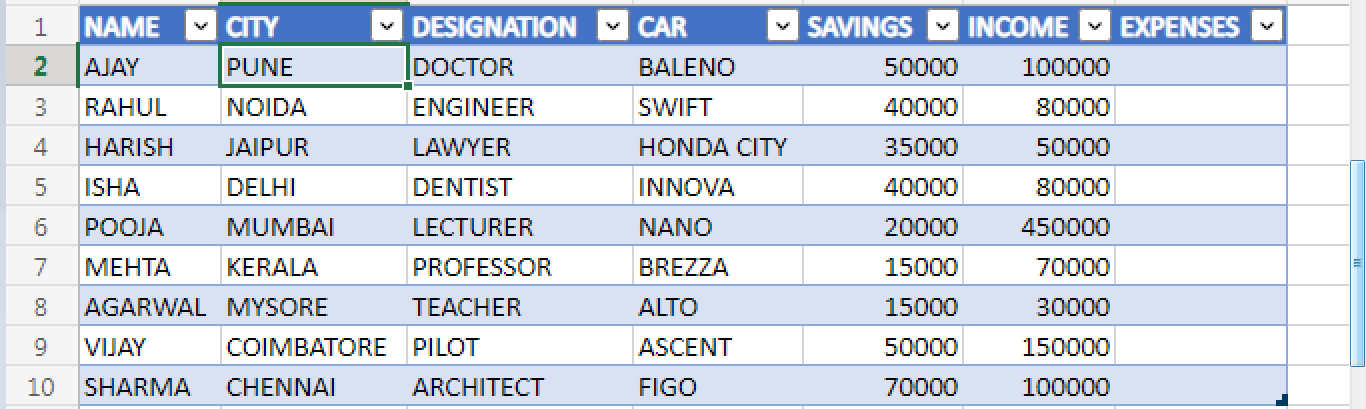
Here in this worksheet, the additional column is selected which present left to the “CITY” column.
Another shortcut method to delete the column is, right click any of the cells in the row or column, in which to be deleted. A pop-up dialog box will open. In that choose “Delete” option and select the other option from the dialog box “Table Columns “or “Rows”. The selected row or column will be deleted.
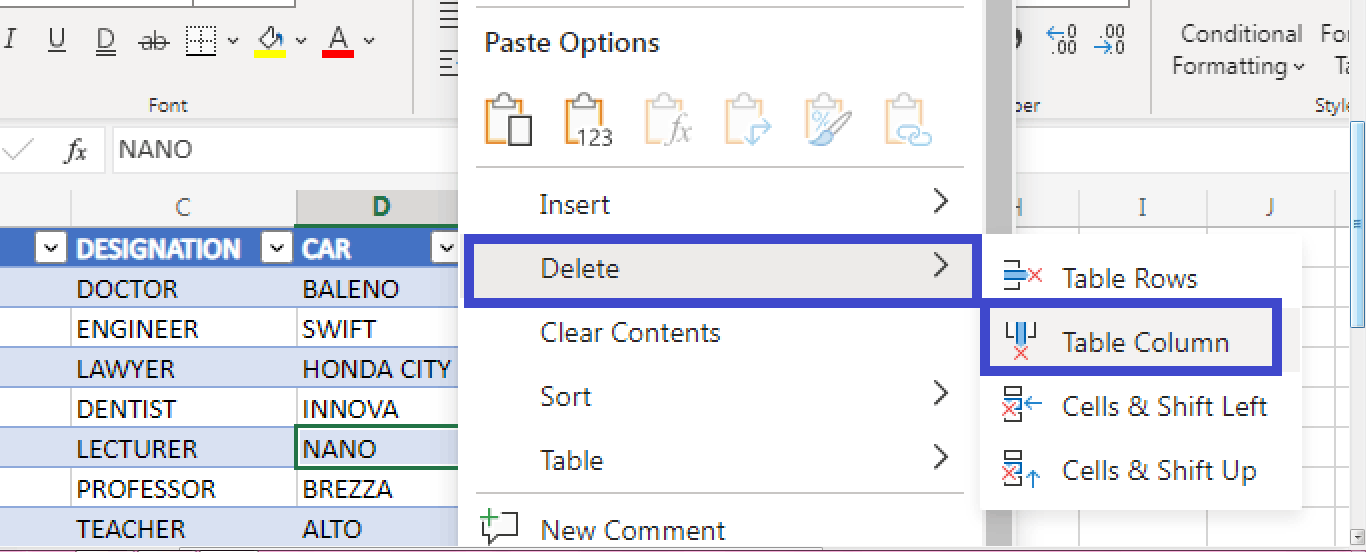
From the above worksheet, the shortcut method to delete column is shown.
6. How to insert a column using keyboard Shortcut?
The rows or column can be inserted using Keyboard Shortcuts. It is one of the fastest methods. To use the shortcut method, steps to be followed are,
Step 1: Select the column which to be move forward when a new column is inserted. In default excel adds the column left to the selected column. If column C is selected, the new column is inserted between before C where C is moved to next column.
Step 2: Press CTRL+SHIFT+ “+”. A dialog box will appear
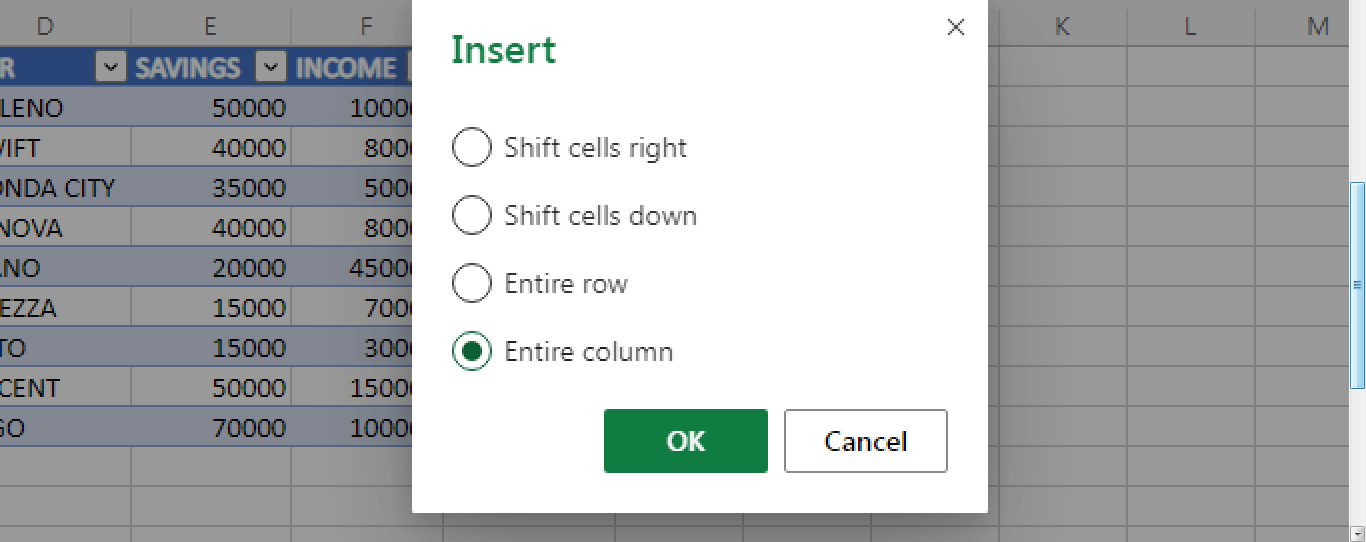
In that choose, the required option. Here to insert column “Entire column” is selected.
7. How to add multiple columns using shortcut?
From the above method, the steps to insert the new column or row are briefly explained. Sometimes, there is a need to insert multiple columns. To perform this function quickly shortcut method is used.
Step 1: Choose the number of columns to be inserted, and select the same amount of columns to move forward while inserting the new column. For example, to insert four columns between A and B, select the B, C, D and E columns.
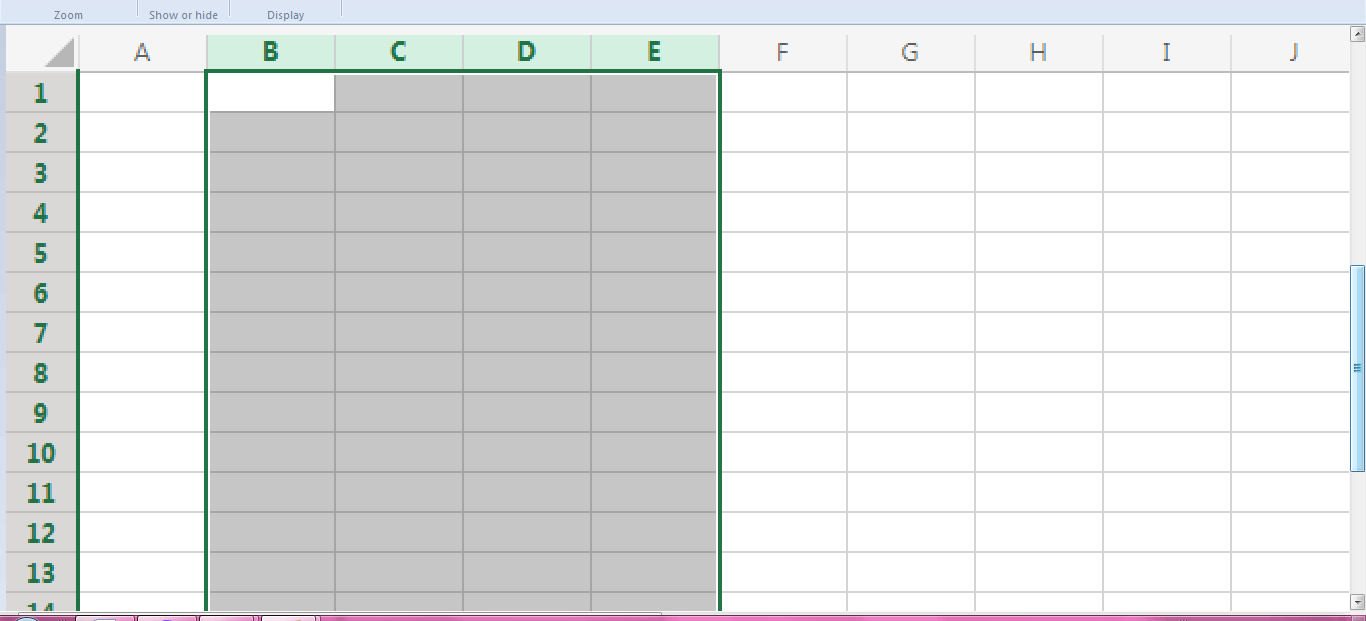
Step 2: Click the shortcut method CTRL+SHIFT+”+”. The required number of new column will be inserted.
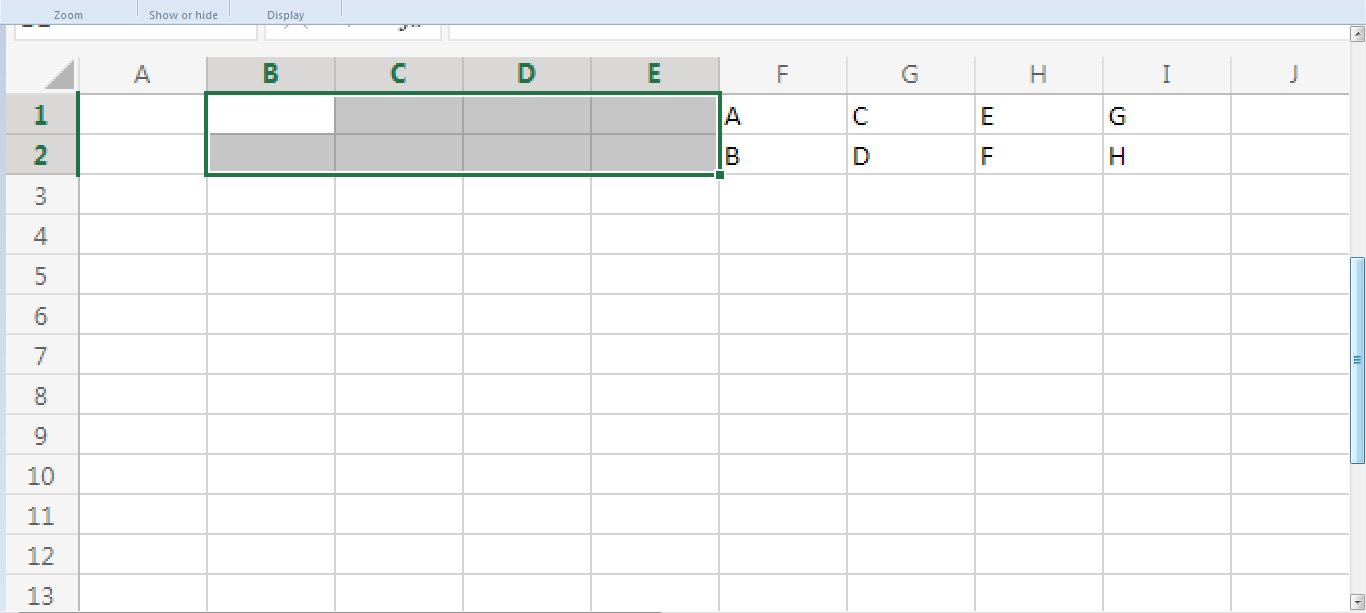
From the above worksheet, the values present in the column B,C,D and E are moved forward and the four new columns are inserted.
Summary
From the above tutorial, the various methods and functions to insert a new column to the existing column is explained briefly.