How to print titles in Excel
In Microsoft Excel, if a particular task is completed in the worksheet, the user wants to print the worksheet. While performing this job, the row and column headings will display only on the first page of the printed one. The required row and column title won’t present on the following pages if the particular option is not selected. To publish the titles on every printed page, one can choose the Print options from the “Page Layout” tab, which enables the title to be present on all pages. For reference, the titles must be present on every page of the worksheet.
Let’s look at how to print titles on every printed sheet in a step-by-step process.
How to enable the row and column headings in all the printed sheets?
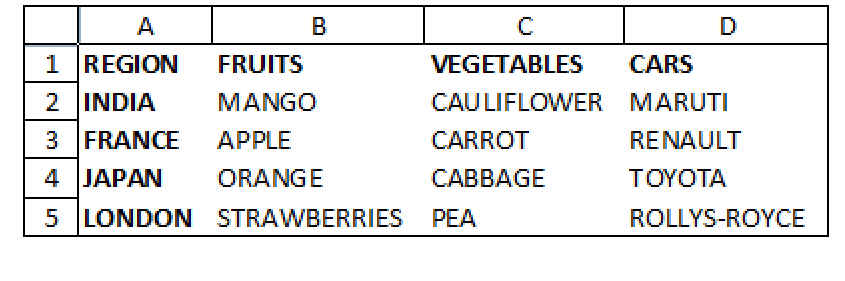
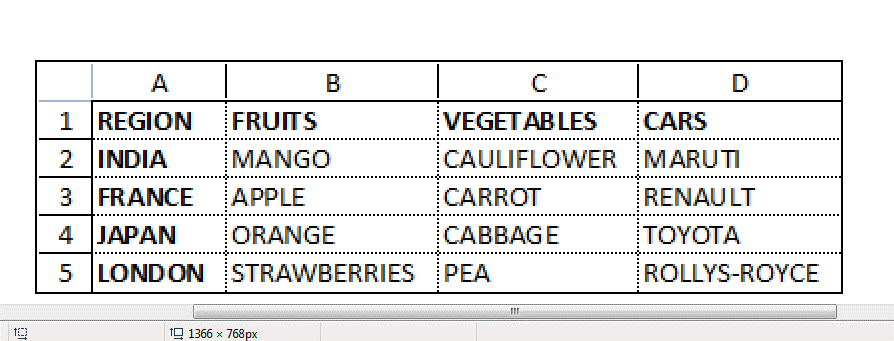
STEP 1: Enter your data in the spreadsheet.
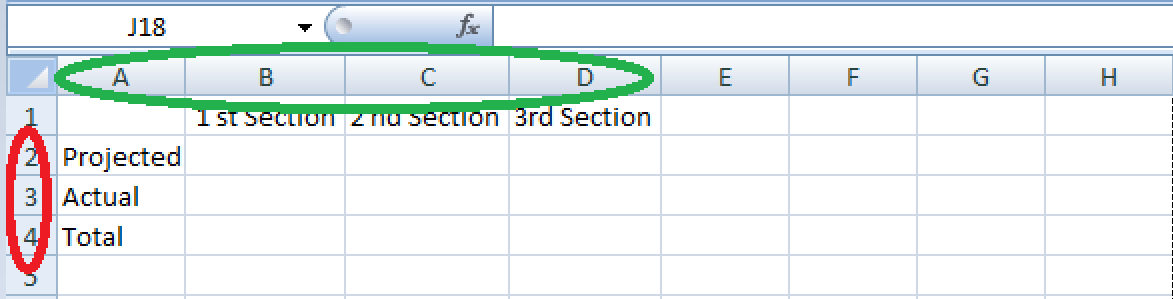
From the above chart, the green rounded alphabets like A,B,C,D are row headings and Red rounded numbers like 2,3,4 are column headings.
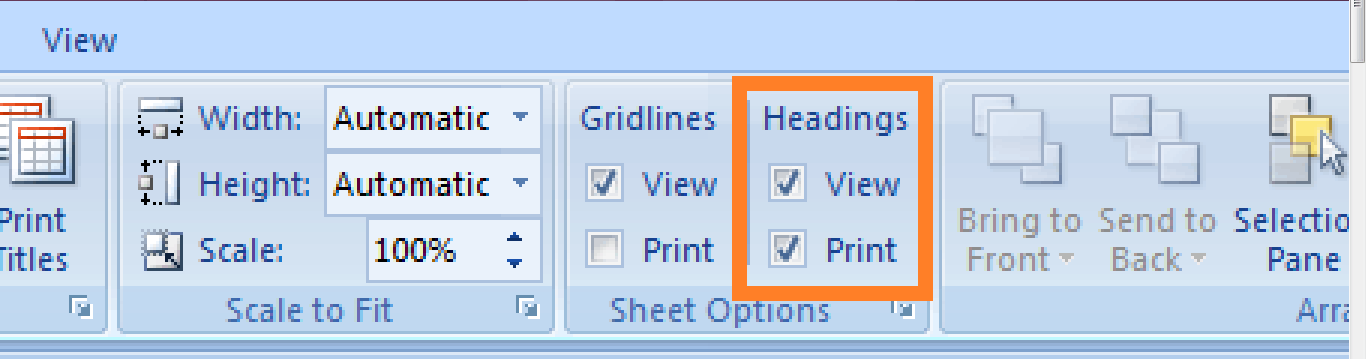
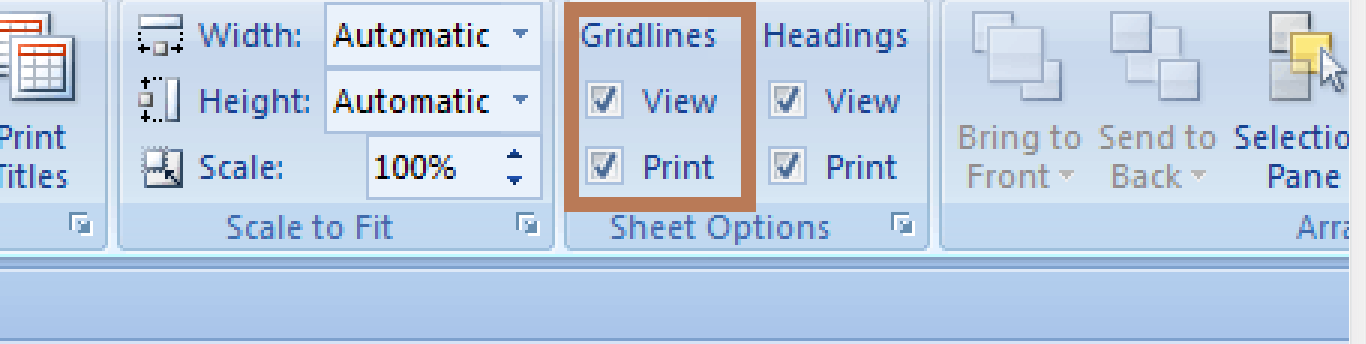
STEP 2: Click on the Page Layout Tab. In the Sheet Options group click on the Print checkbox under Heading Tab.
STEP 3: Click on the File Menu and choose Print Option.
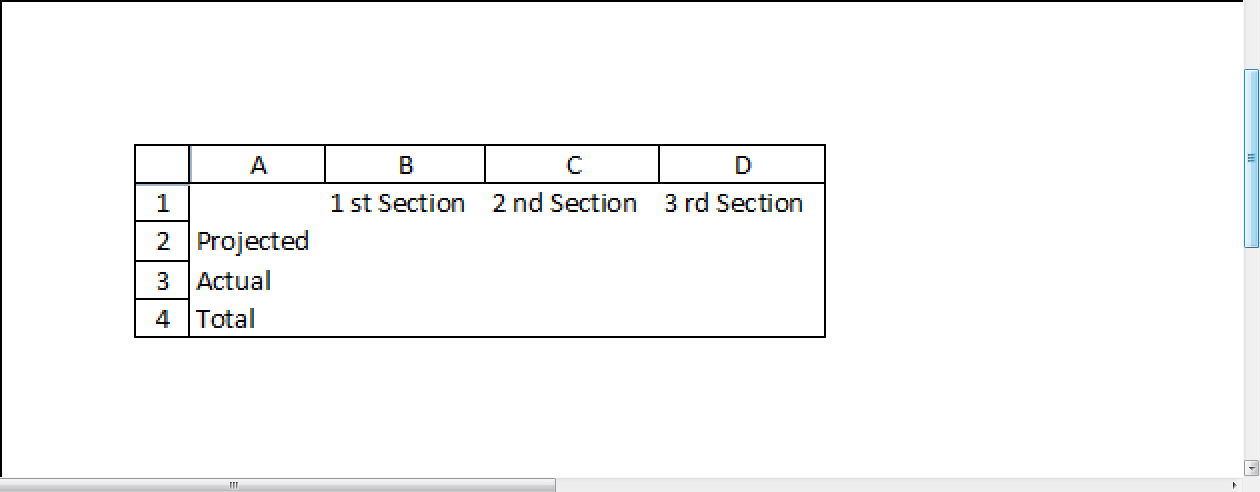
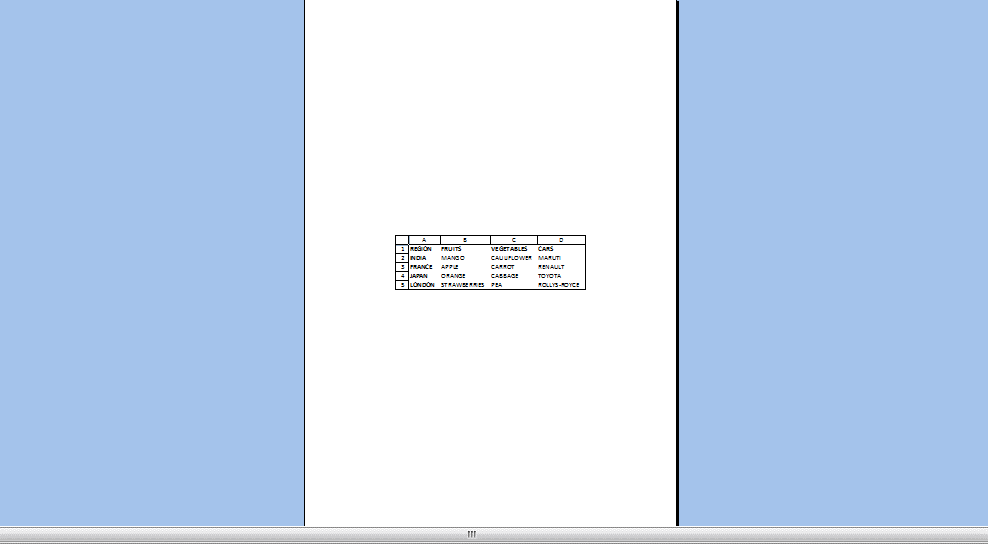
Users can view the preview of how the sheet will print in the preview section.
How to enable row and column titles in all Printed Pages?
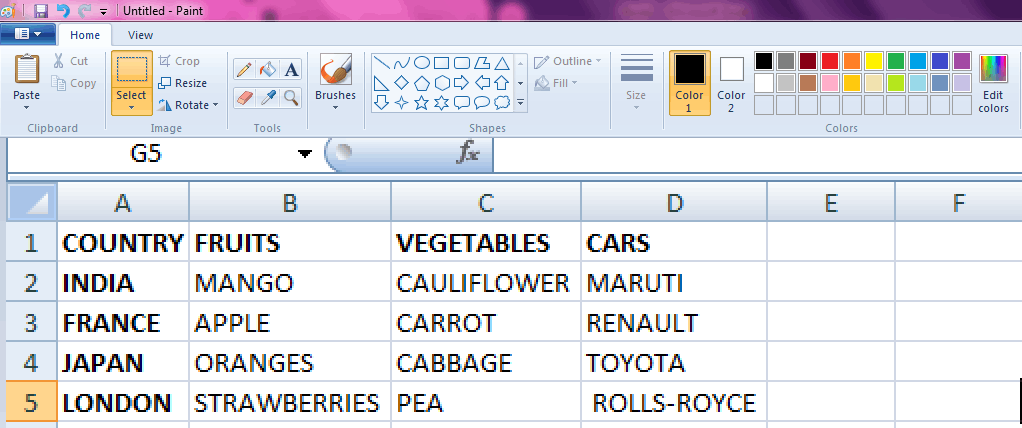
STEP 1: Enter the data in the spreadsheet as follows
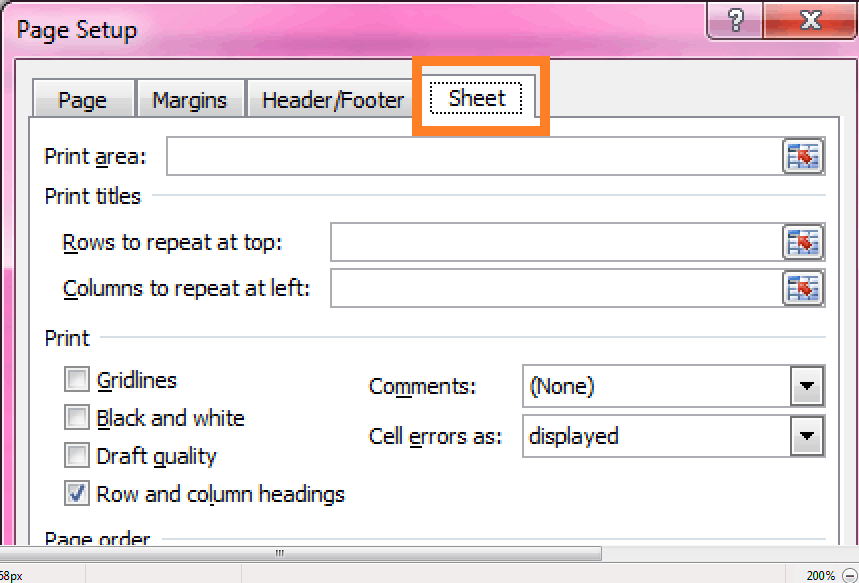
STEP 2: Click on the Page Layout tab. In that choose the option Page Setup. A dialog box will appear as shown below.
STEP 3: In the ‘Row to repeat at top” and “Column to repeat at left” box selects the respective column and row titles to be repeat in every printed page.
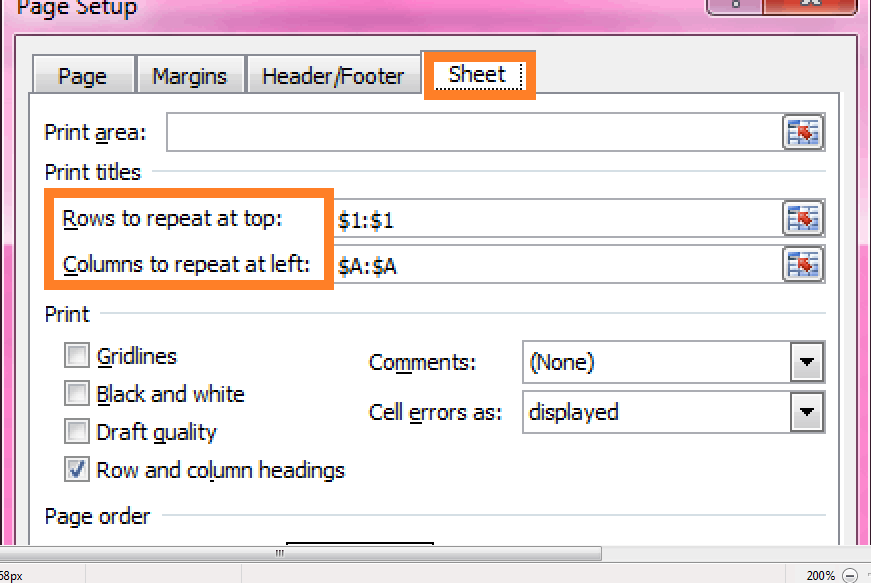
STEP 4: After entering the range in the box, click Ok. The user is allowed to view the preview of the printed sheet as shown below.
How to print a Particular part of a sheet in Excel?
To print selective cells in the worksheet, following steps are followed.
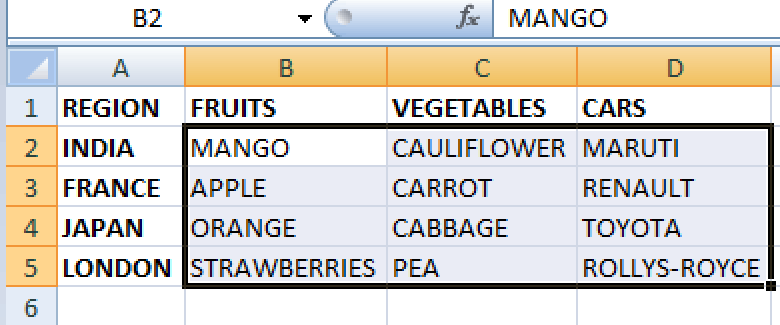
STEP 1: Select the respective cell which you want to print.
STEP 2: Click on the File Menu, choose Print.
STEP 3: In the Print dialog box, click on the Selection option in the drop down list.
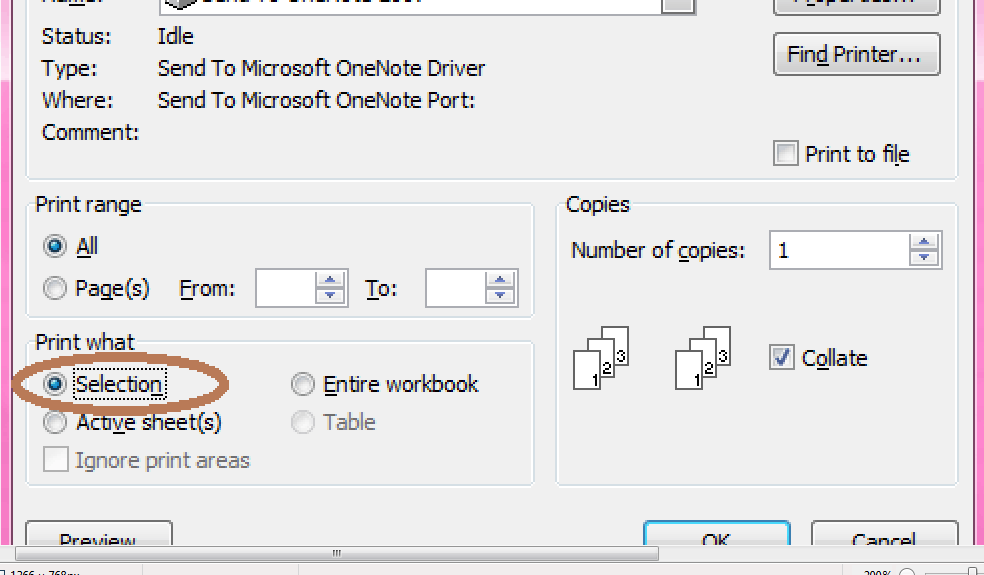
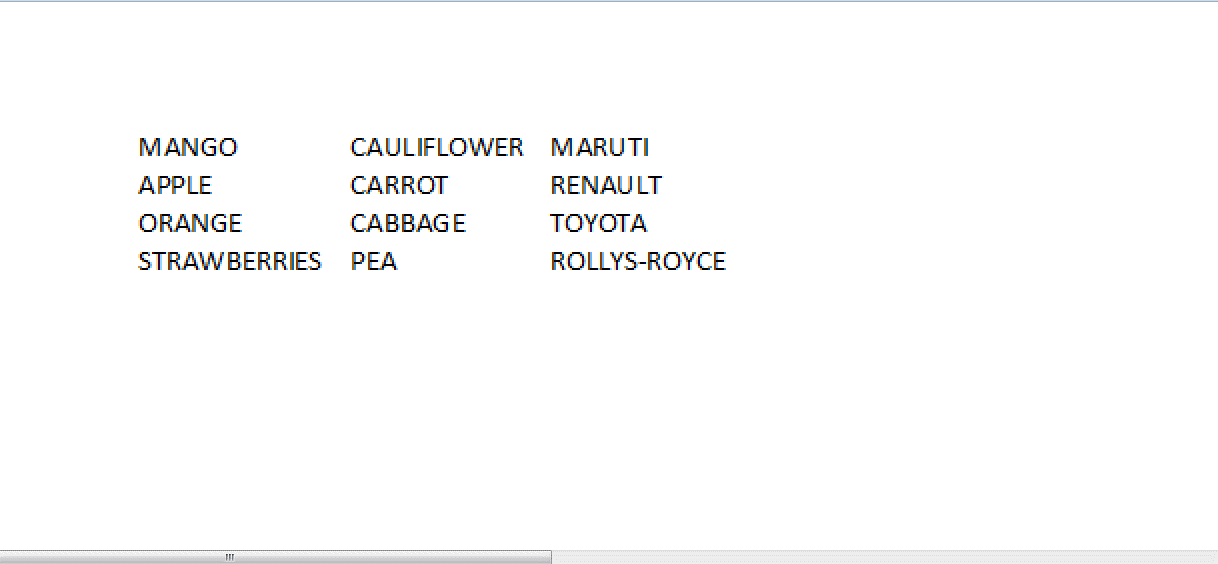
STEP 4: A preview is shown below, where only the selected text is printed in all the worksheets.
How to set Page Margins to print the sheet in Excel?
For better alignment in a worksheet, Margins play a vital role. Microsoft Excel provides various options to change margins, specify custom margins, or align the worksheet horizontally or vertically on the page. It is defined as blank spaces between the data worksheet and the edge of the printed worksheet. Page margins occur at the top and bottom and are used for assigning page numbers, headers, and footers.
To set page Margins in a worksheet, the following steps are followed.
STEP 1: Select the sheet.
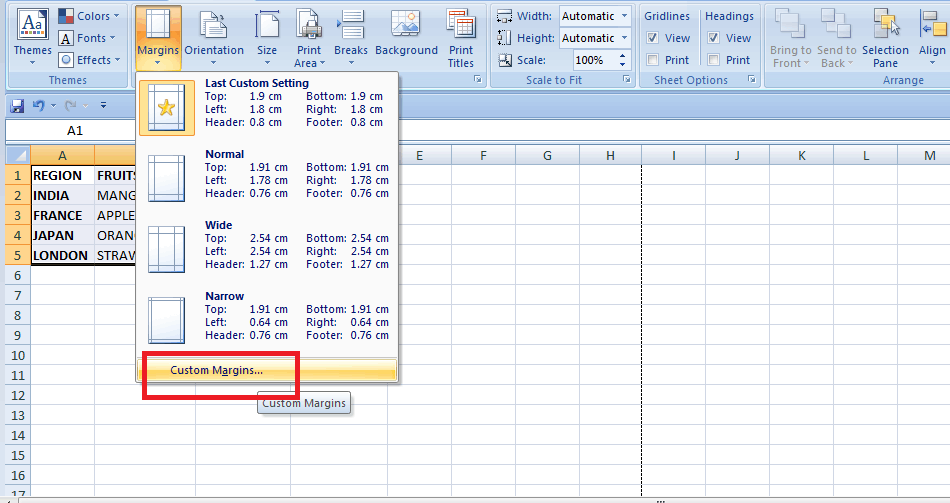
STEP 2: Select Custom Margins from Page Layout Option.
STEP 3: A dialog box will open. In that select the Horizontal and Vertical option from the Center on Page Section.
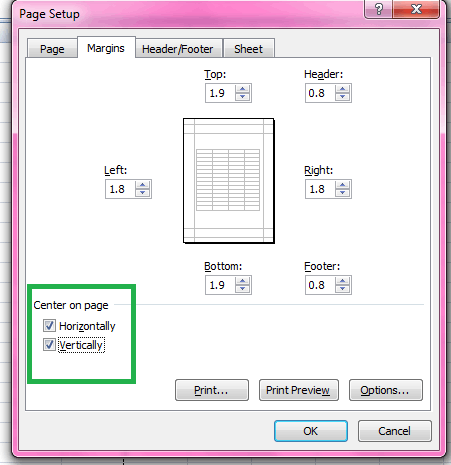
By choosing this option it will helps to align the sheet in center on the page when it is printed.
A preview is shown above, as the sheet is aligned towards the centre.
How to enable Gridlines in the cell?
Usually, gridlines won’t be present in the printed worksheet by default. Users can enable the gridlines in the worksheet along with the option to include modifying the colour, print the gridlines, and a preview option is present on how it works.
To enable gridline in the worksheet, the following steps are followed.
STEP 1: Select the data.
STEP 2: In the Page Layout tab, under the sheet options, click the view and print option in the Gridlines.
Step 3: Choose the print option from the File Menu. A preview of the data is shown along with the gridlines as shown below.
Summary
From the above tutorial, the step-by-step process of how to print the row and column titles on every printed page is discussed. Besides the row and column heading, Excel provides various options for printing a Worksheet like Gridlines, Margins, Titles, Headings etc. By applying this feature, one can make the printed sheet an attractive one.