Selenium WebDriver installation
Installation Steps of Selenium WebDriver
In this tutorial, we will see the process of selenium webdriver installation.
Selenium WebDriver installation process is done in four Stages:
- Java Installation (version 8 or higher version)
- Eclipse Installation and configuration
- Download Selenium WebDriver
- Import web driver jar into the Eclipse project.
Java Installation
We expect that you have already installed Java (version 8 or above) on your system and configure the environment variables required to run and compile the Java programs successfully.
Note: To use Selenium 3, we will need to install Java 8 in our system.
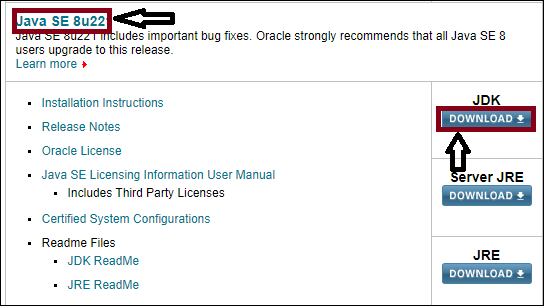
For downloading the latest version of the Java Development Kit (JDK), you can refer the following link: https://www.oracle.com/technetwork/java/javaSE/downloads/index.html
While clicking on the above link, we will see the below screen, where we have to download the JAVA SE 8u22 version.
Remember one thing that downloads only JDK.
Once you downloaded and installed the latest version of Java, and to set the path or configure the environment variable in your system, we will move to our next stage, i.e.
Eclipse Installation and configuration
To install Eclipse following steps are as follows:
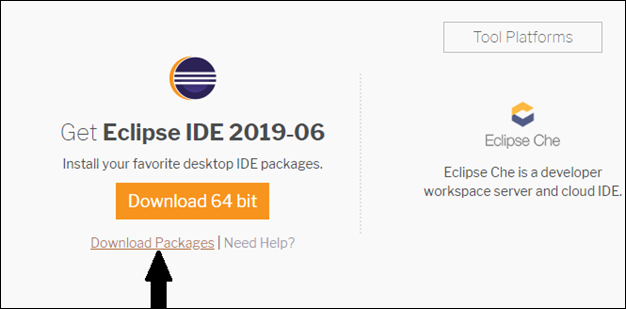
- Open the Url: https://www.eclipse.org/downloads/
- Then click on the Download Packages link (we can also download the Eclipse IDE directly from the given link: https://www.eclipse.org/downloads/download.php?file=/oomph/epp/2019-06/R/eclipse-inst-win64.exe ) available on the official website of eclipse.
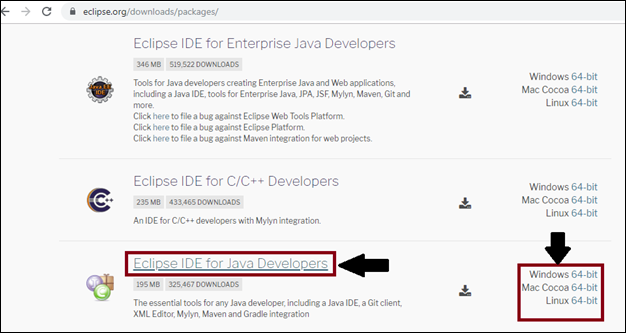
- After click on the Download Packages section, select Eclipse IDE for Java Developers because Eclipse comes with multiple tools like Java, java bean, C++, and PHP.
- And select one of the options between Window 64 bit, macOS 64 bit, and Linux 64 and download it.
- And we have window 64-bit compatibility in our system, so we click on the window 64 bit.
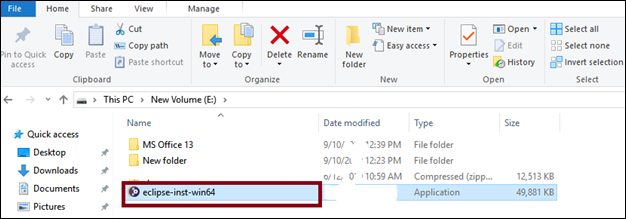
- The downloaded file comes up with the zipped format.
- Extract/unzip the contents in the desired directory.

- Then, double click on eclipse [.exe file].
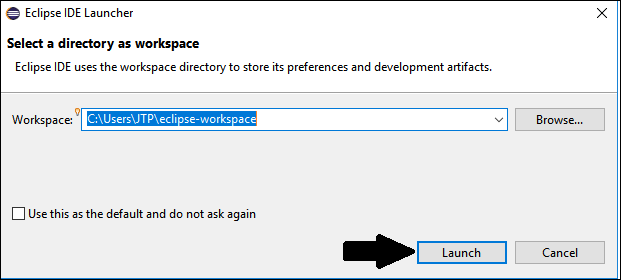
- To configure the workspace, select any available directory where we want to save all of our Selenium test scripts.
- After that, click on the launch button.
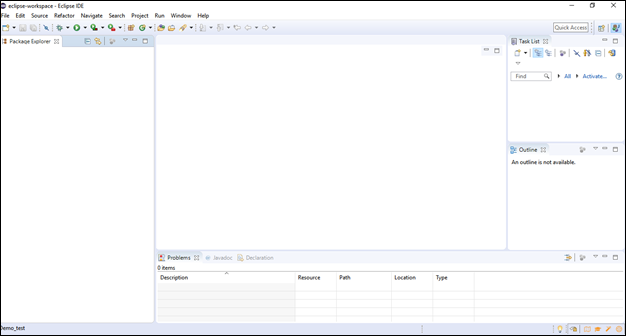
- The default interface of Eclipse IDE is launched, which is as shown below:
After that, we will download selenium webdriver for java which is shown below in the next phase
Download Selenium WebDriver Java Client
- Go to the Google search to download Selenium.
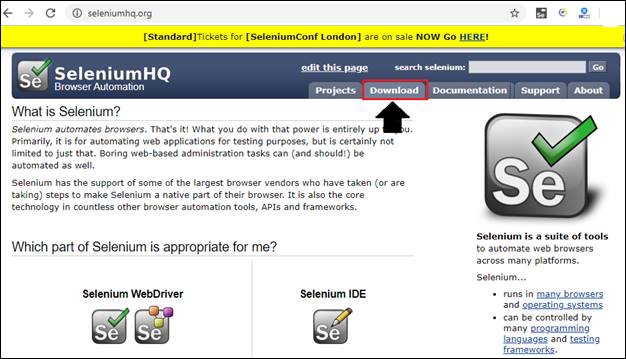
- Click on the first link to navigate the Selenium community.

- After that, click on the download button.
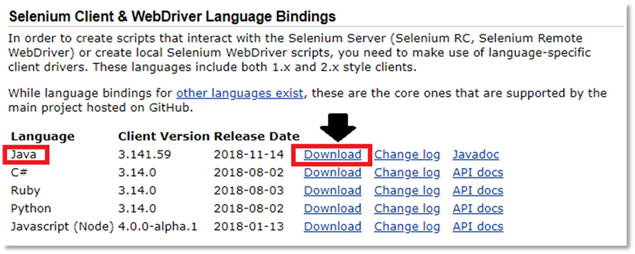
- Now scroll down your web page and go to the selenium client & web driver language bindings and click on the download button for java client driver, which is shown in the below screenshot:
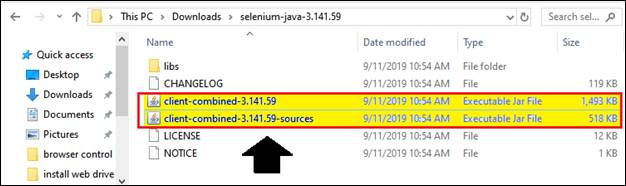
- Then, the downloaded file comes in the zipped format.
- Unzip the folder in the desired directory.
- It contains all the jar files which are required to configure Selenium WebDriver in Eclipse IDE.
Configure Selenium WebDriver
Now we will configure Eclipse IDE with Selenium WebDriver.
- First, we will create a new Java Project in Eclipse and load all the jar files to develop Selenium Test Scripts.
- Open Eclipse IDE with a new workplace.
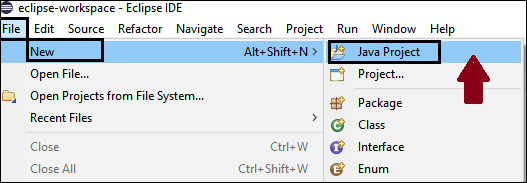
- To create a new java project, click on fileà newà java project.
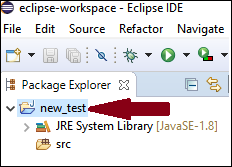
- Give your Project name as new_test, leave the other fields as it is, click on the Finish button.
- The new Java project will be created with the following directories.
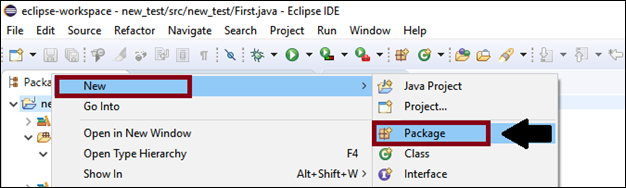
- Now we have to create a package for a newly developed project.
- Right-click on the project and select a new>package and name the package as testpackage.
- After that, create a new Java class under testpackage by right-clicking on it.
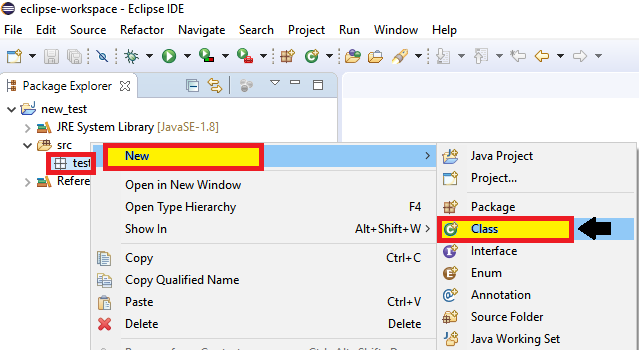
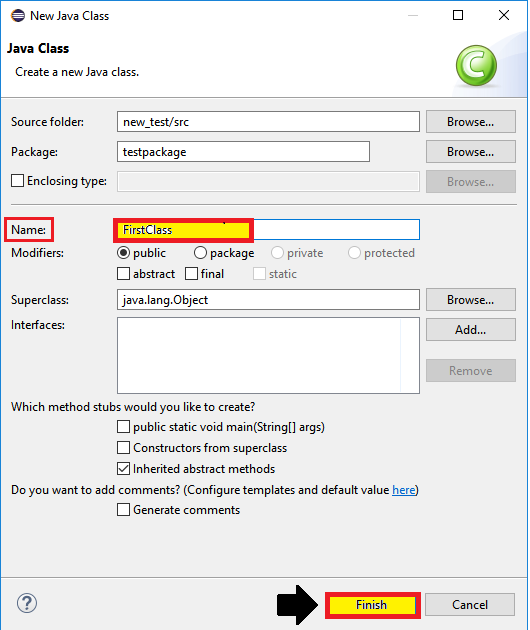
When you click on Class field, a pop-up window will open, then enter details as
- Name of the class
- Click on the Finish button.
Note: Selenium Test Scripts always are written in .class file in Java. Here the project new_test act as a test Suite that may contain one or more Selenium test cases/test scripts.
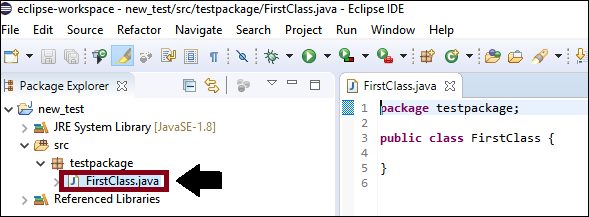
- After successfully creating a class, the below window appears:
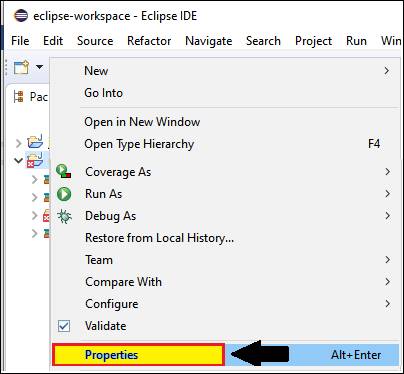
- Now, we add the Selenium jar files in the Test Suite (new_test).
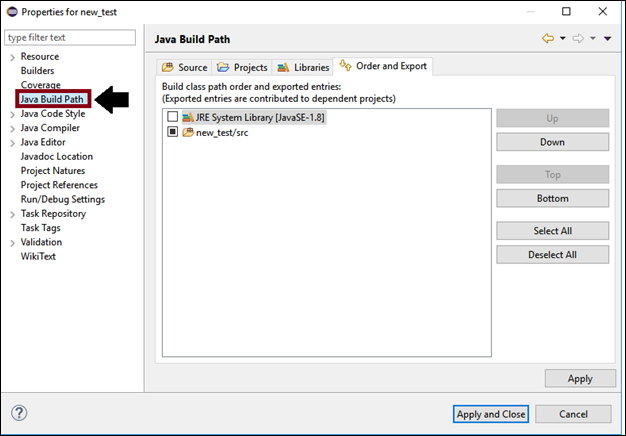
- Right-click on the new_test folder and click on Properties field.
- Then click on Java Build Path from the left-hand side panel.
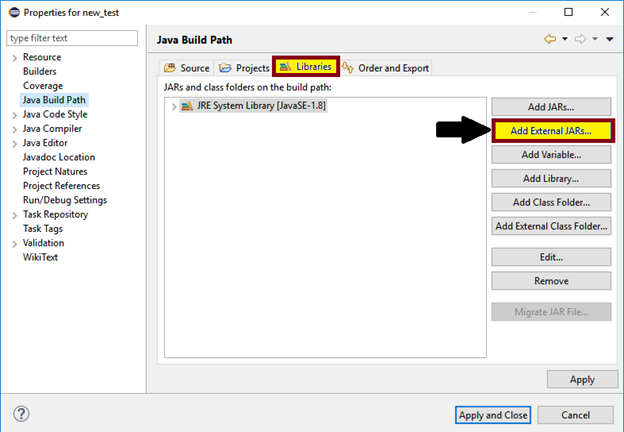
- And then move to Libraries field, and click onthe Add External JARs button.
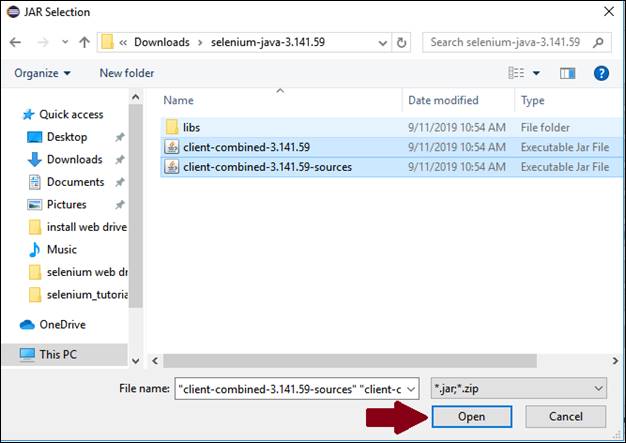
- It will locate you to the directory where we have downloaded the Selenium jar files, select the individual jars, and click on the Open button.
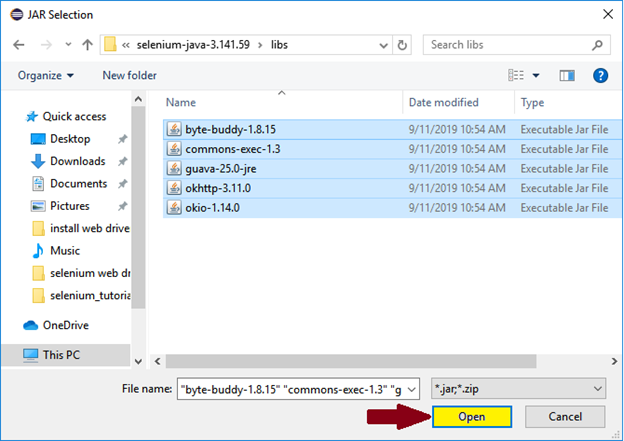
- Follow the same process to upload the jars of the libs folder.
- Open the libs folder and select all the respective jar files and click on the Open button.
- After that, we will get all the Selenium jar files in our Libraries field, then click on Apply and Close button.
- Below snapshot shows the directory structure of our new_test Test suite after adding Selenium jars files.
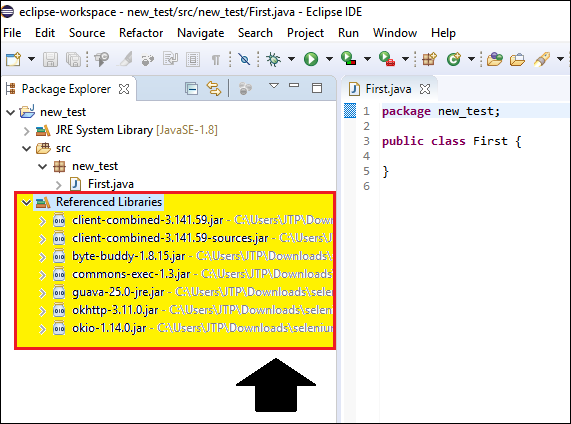
Hence, we have successfully installed the Selenium WebDriver with Eclipse IDE. Now we can write our test script in eclipse and run through web driver.