How to Update Python?
How to Update Python
In this article, we will discuss how we can update Python in our system.
For a better understanding, this article will cover all the steps right from installation to updating Python.
So, first, let's have a look at how we can install python on different operating systems-
Following are the steps for installing Python in Windows-
- Go to the website “Python.org”
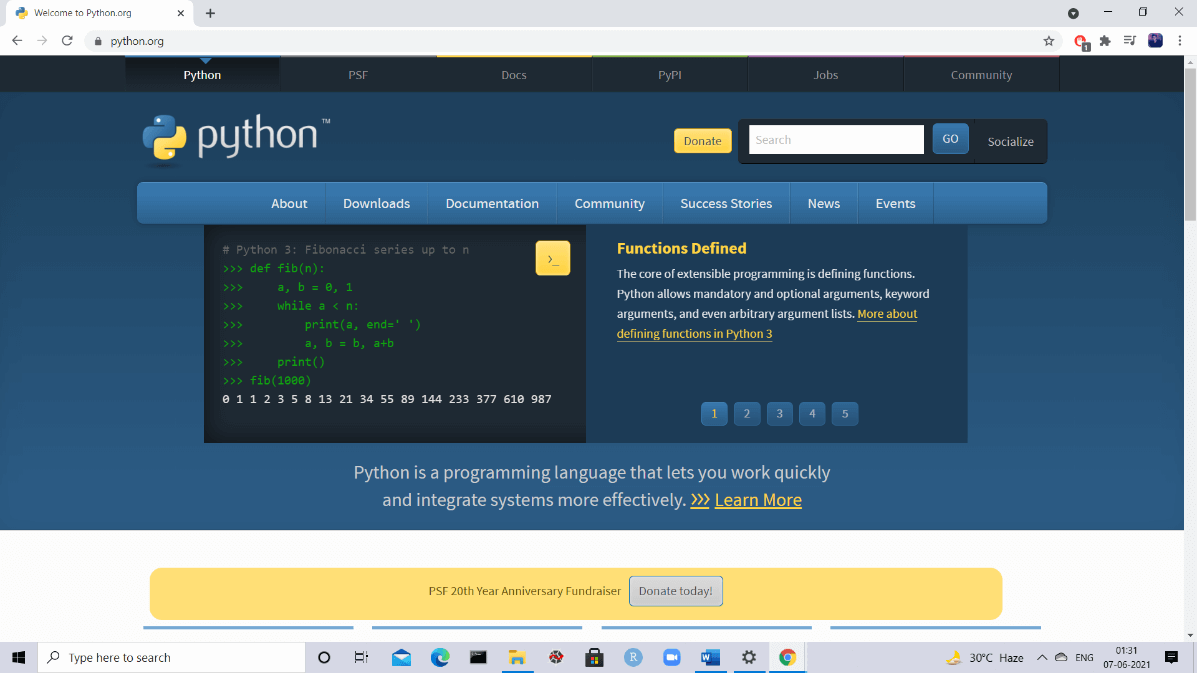
- You will find the ‘Downloads’ tab there and click on it to get the information related to the current version.
- On clicking that, an executable file of Python will be downloaded.
- In the ‘Downloads’ folder, you will find the file and click on it for installation.
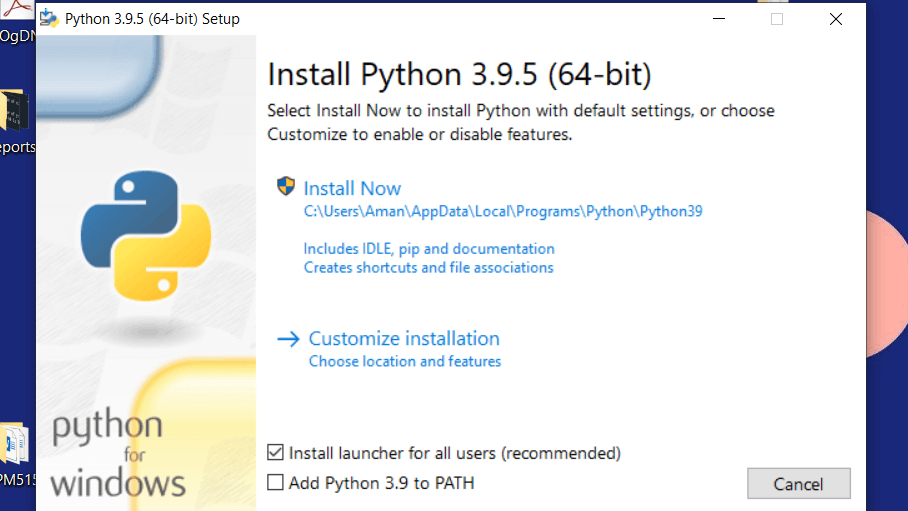
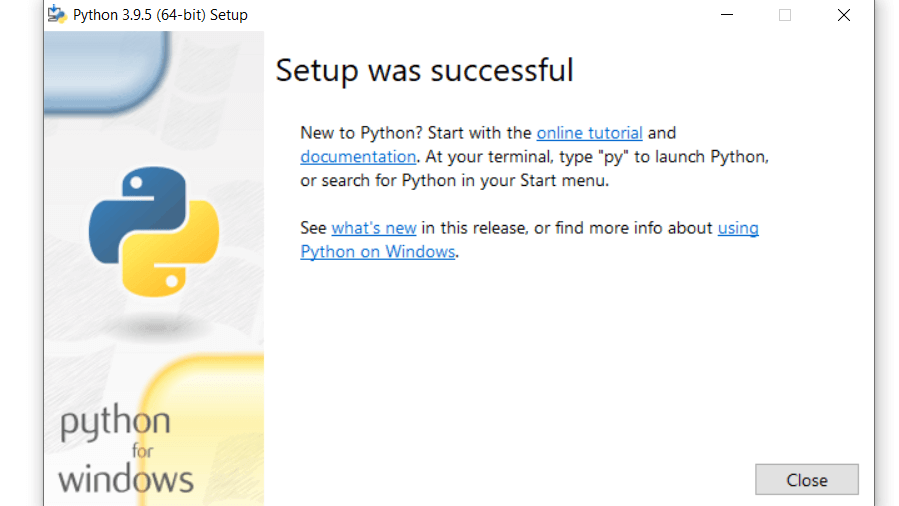
- You will see the installation setup window of Python on your screen.
- Click on Install Now.
- On clicking this, a dialog box would appear named ‘User Account Control’, it will ask you ``Do you want to make changes to your device?”.
- Click on ‘Yes’ to start the installation process.
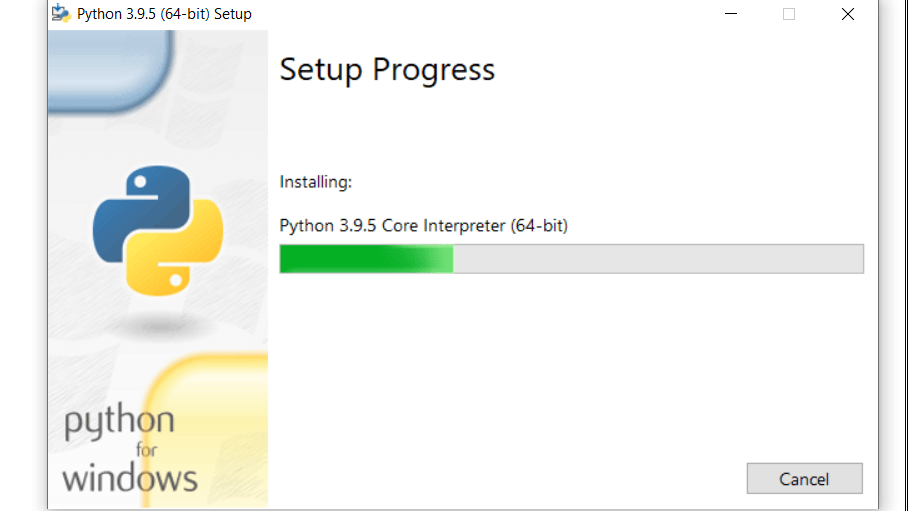
- Once it is installed, we need an IDE (Integrated Development Environment) to write our programs in Python.
- An IDE can help us to integrate the text editor with other essential features that can help in implementing various projects that earlier required complex coding.
Let's have a look at the steps that we must follow to install it in Linux-
- The first step here is to ensure that the list of packages is updated or not, which can be checked by writing the following command-
sudo apt update
- Once the packages are updated, the other essential thing is to have an idea about the prerequisites which can be verified using-
sudo apt install software-properties-common
- The next step here is to add deadsnakes PPA to our sources list.
Here one question that would strike in the mind of readers that what is 'Deadsnakes PPA'
So the answer for the same is that Deadsnakes PPA(Personal Package Archive) allows us to install multiple versions of Python in Ubuntu.
This particular thing can be implemented using the command-
sudo add-apt-repository ppa:deadsnakes/ppa
- Once we found out that the repository is enabled now we can initiate the installation process with the command given below-
sudo apt install python3.8
- So finally we have reached the stage where Python has been installed in Ubuntu successfully, if we again want to cross-check or verify its version, this can be done by writing the command given below-
python –version
The second method to install Python in Ubuntu is explained as follows-
Installing from source
- The first thing is to update the list of packages and install the ones which are important for building Python source-
sudo apt update
sudo apt install build-essential zlib1g-dev libncurses5-dev libgdbm -dev libnss3-dev libssl-dev libsqlite3-dev libreadline-dev libffi-dev wget libbz2-dev
- The next step is to download the latest version of Python from its download page using wget command
wget (Add the address of the latest version, you can obtain it from Python’s download page).
- When the download process is completed, the next step is to extract the gzipped tarball:
tar -xf Python-3.7.4.tgz
- The next thing to implement is running the configure script so that it can perform the required number of checks to ensure that all the necessary things on our system are present.
cd Python-3.7.4
./configure –enable-optimizations
- So now what we have to do is start the python build process using make:
make -j 8
If you want your build time to be faster, you can adjust the -j flag based on your processor.
The number of cores in the processor can be found by typing nproc
- Now we are done with the building process, next, we will install the python binaries with the help of commands written below-
sudo make altinstall
- Finally, here we have successfully installed Python version 3.7.
- The installed version can be verified using-
python3.7 –version
- The output that will be displayed on our screen would be like-
Python 3.7.4
Now let's have a look at how we can update Python in Windows-
The steps for the same are-
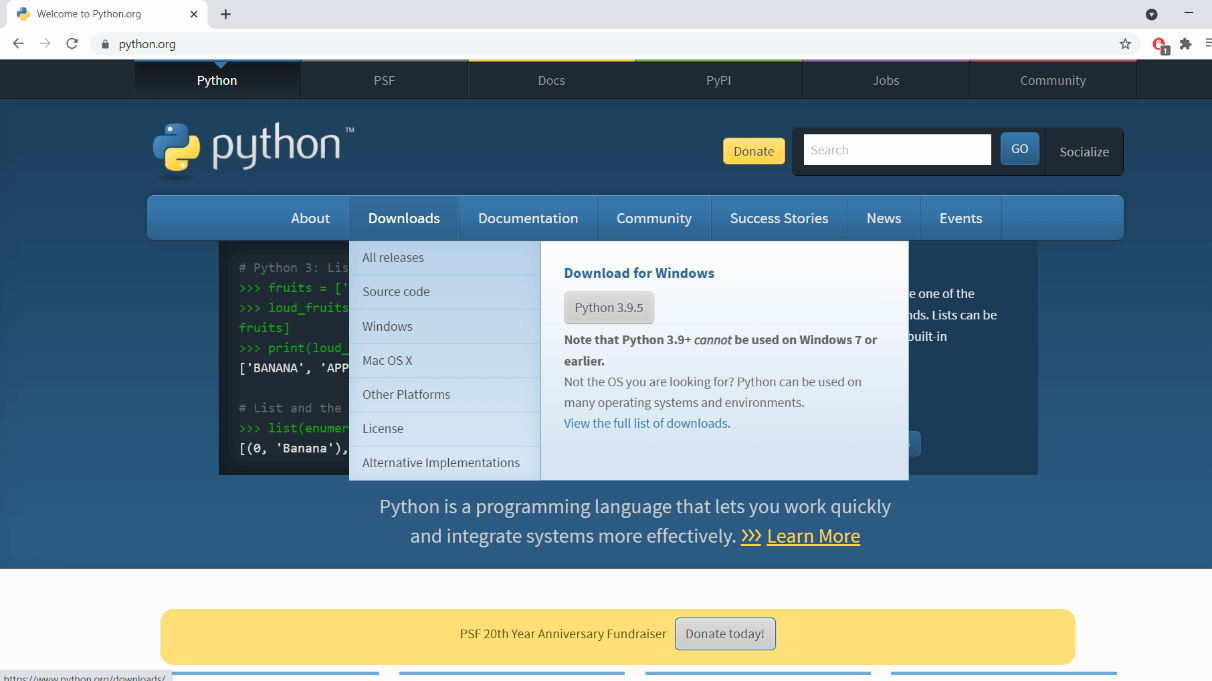
- Go to the website “Python.org” and check its latest version.
- Click on the ‘Downloads’ tab and select ‘Windows’ from the given options.
- Scroll down the page and click on ‘Windows x86-64 executable installer.
- After the .exe file is successfully downloaded, a dialog box will appear which will ask you whether you would like to run the file. Click on the 'Run' option in that.
- After clicking that in the next dialog box, choose the option ‘Upgrade Now’.
- It will be updated successfully.
- We can verify it by typing the following command in Command Prompt-
python –version.
Now let’ see what are the steps to update Python in Linux-
- Check the version of python using-
$python3 –version
- The latest version can be installed by typing-
sudo apt install -y
sudo apt install python_version(Write the name of the version here, for example, Python3.7)
- We can add any two versions as update alternatives –
sudo update-alternatives--install/usr/bin/python3/usr/bin/python_version(Write the name of version here, for example Python3.7)
sudo update-alternatives--install/usr/bin/python3/usr/bin/python_version(Write the name of version here, for example Python3.7)
- The next step is to configure Python 3 so that it works as the required version-
sudo update-alternatives –config python3
So, in this article, we discussed how we can update Python in our system