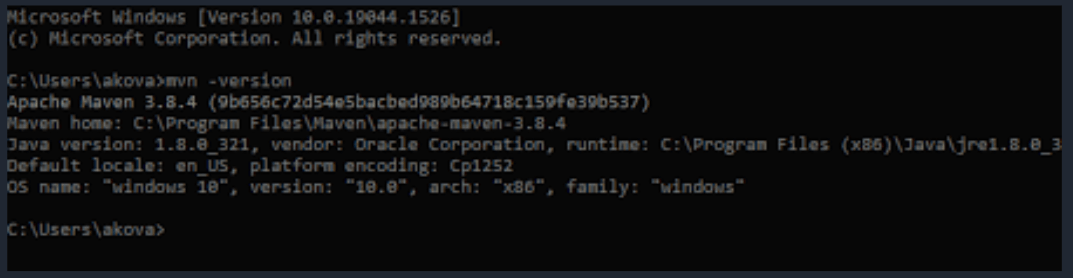
Check Maven Version
On platforms running Windows, Linux, and Mac OS, you can download and install Maven.
Prerequisites
- A Windows-running computer.
- A functioning internet connection
- Gaining access to a user account with administrative rights.
- The ability to use the command prompt.
The procedures below must be followed to install Maven on Windows:
- Install Maven after downloading it.
- Environment variables JAVA HOME and MAVEN HOME should be added.
- environment variable to add the maven path
- Check Maven
Step 1
1) Install Maven
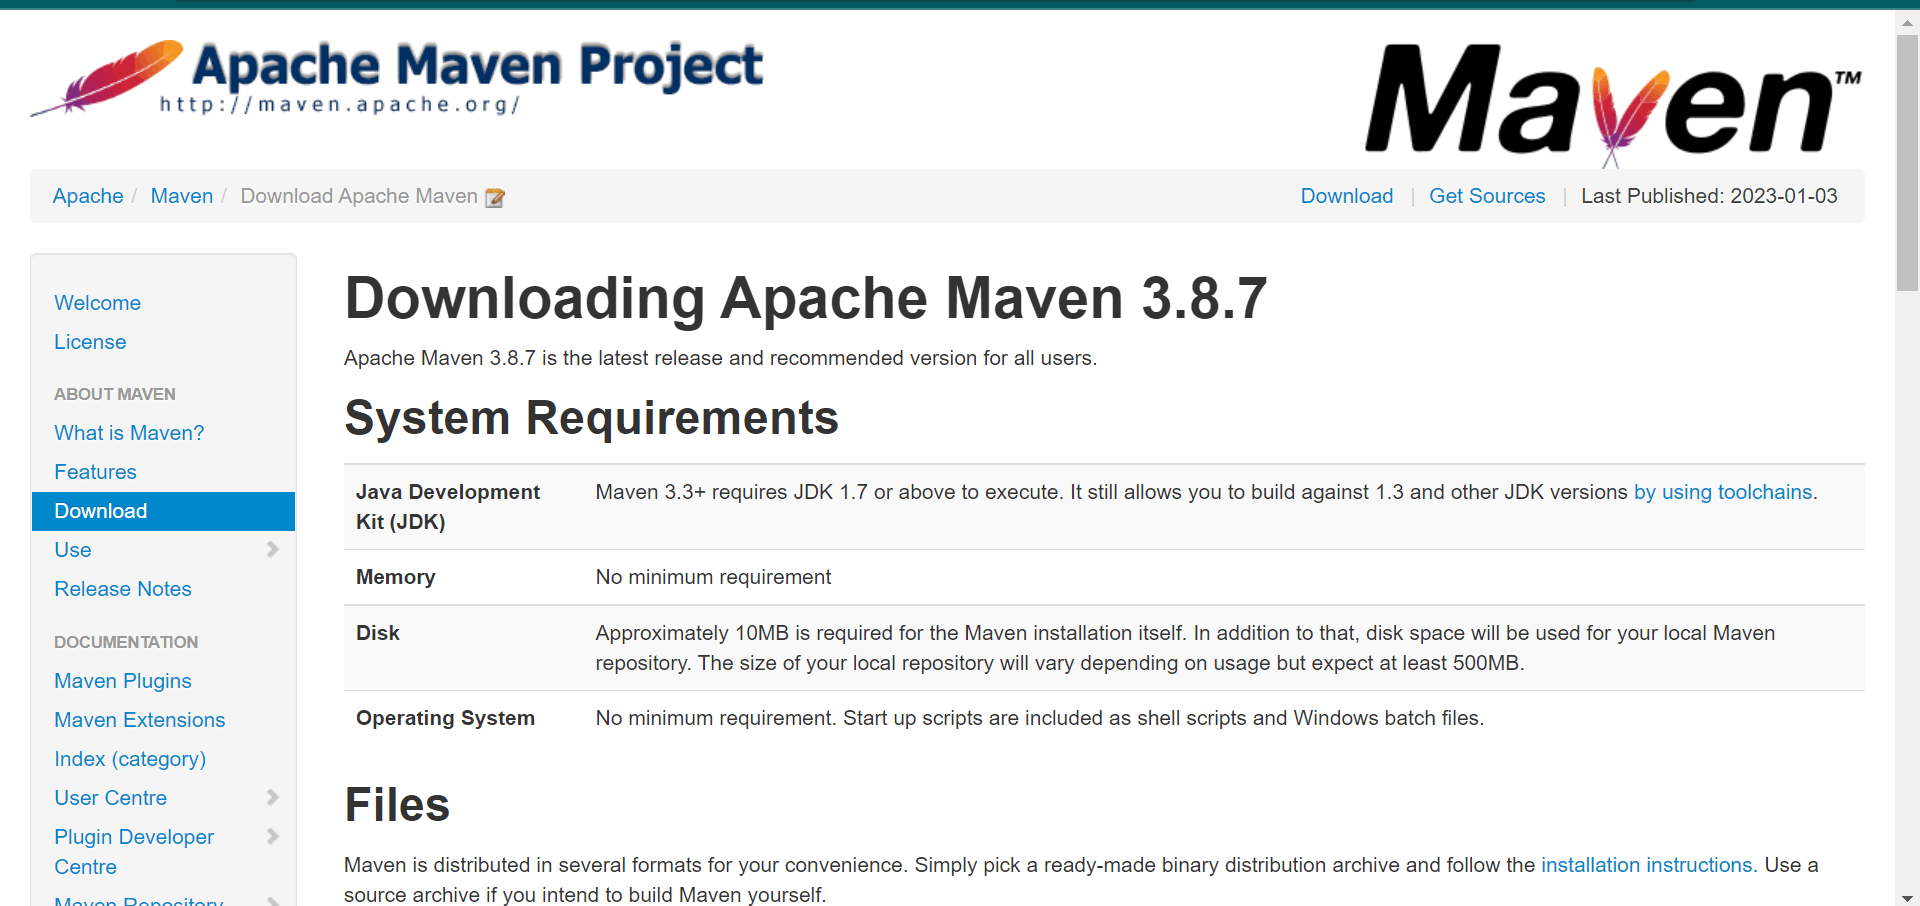
You must first download Apache Maven to install Maven on Windows.
Download the most recent version of Maven software from the website https://maven.apache.org/download.cgi
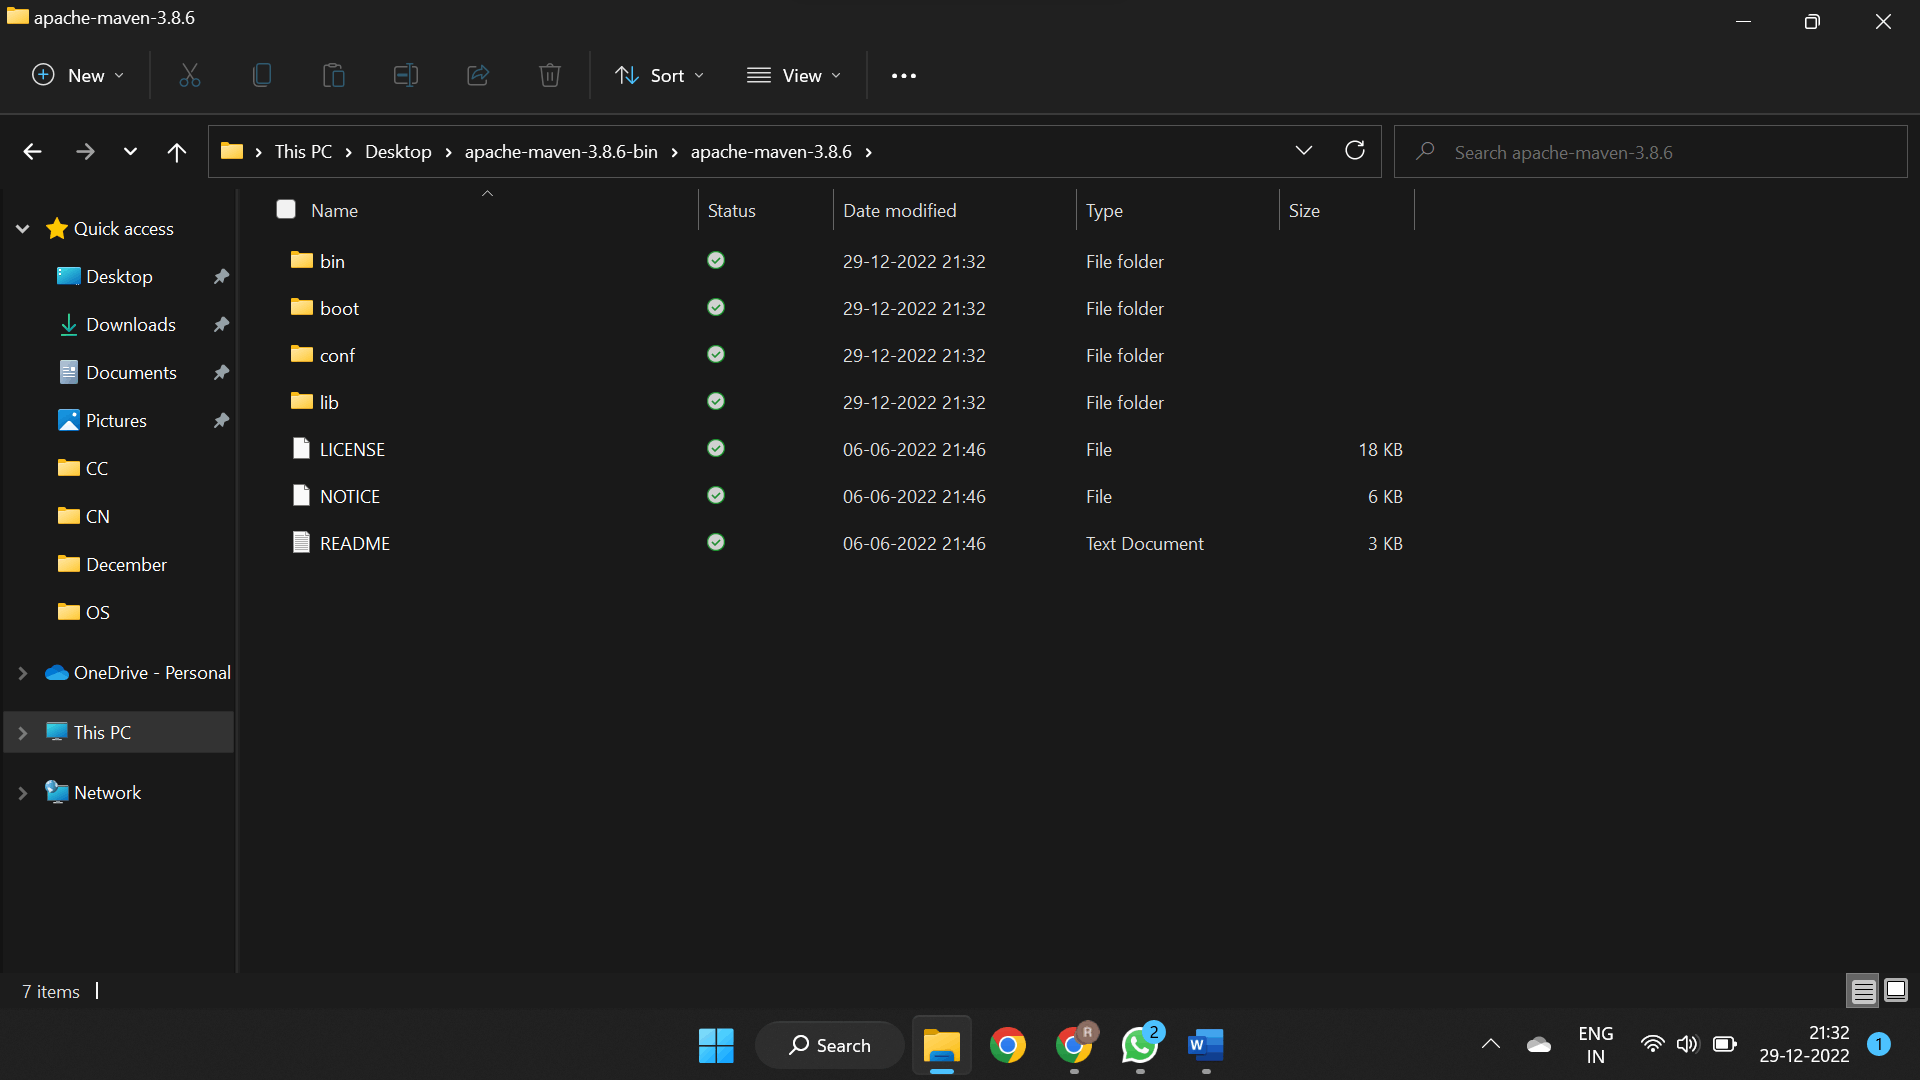
Extract the downloaded zip folder.
Extract the Maven Archive.
Extract the archive to the directory where Maven 3.8.4 should be installed. From the archive, the subdirectory apache-maven-3.8.4 will be made.
C: Program FilesApache Software Foundation on Windows
apache-maven-3.8.4
Step 2
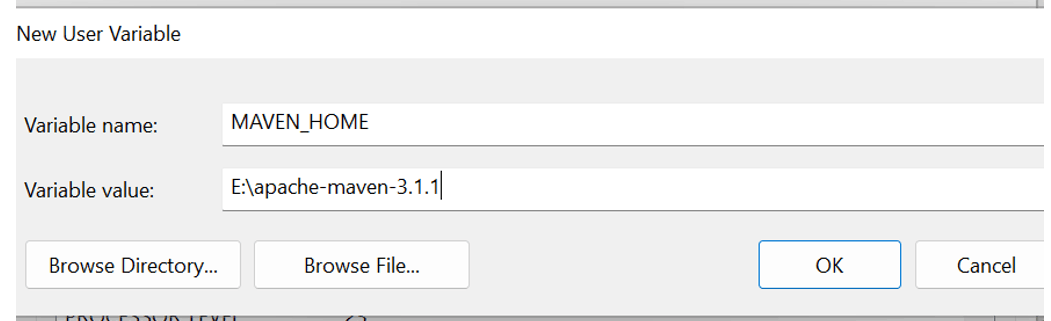
Add the environment variable MAVEN HOME
Environment variables -> Properties -> Advanced System Settings -> MyComputer hit the new button.
Add MAVEN HOME to the variable name and maven's path to the variable value. It must be the outer directory of the bin, also known as Maven's home directory. For instance: E: Apache Maven 3.1.1
Add M2_HOME, M2, MAVEN_OPTS to environment variables.
Set the environment variables using system properties.
Step 3
Insert the Maven Path environment variable.
If the path still needs to beet, click on a new tab and set the maven path. Change the path and add the maven path if it is already configured.
Since JDK is already installed and its default path is already defined, we will add the path for maven.
Maven's home directory should be %maven home%/bin. E:apache-maven-3.1.1bin, for instance.
Step 4
Check Maven
Open the command prompt and type the following into whether maven is installed or not:
Version: mvn