How to uninstall the Java in Ubuntu
We need java on our computers in our daily lives because there are lots of different applications that are developed using the java environment, so we have to install java on our computers to make the java-based application run without difficulty.
we need to remove the java from our computer, such as by updating the latest version of our java or freeing up space on our machine. Installing Java on Ubuntu is easy, but uninstalling it is hard to crack for many things. Here, we are going to learn how many versions of java are there and what distinguishes are there, and how to remove them from our computers completely.
How to check that which type of java on Linux (Ubuntu):
When we are going to erase java from our device, then first we have to check to identify what type of java we are using on our PC. If we have installed java just to run the java applications, then it would be “Java Runtime Environment (JRE).” Or, if you have installed java for development purposes, then we may have these:
- JDK
- Oracle Java
The main difference between the “Open JDK” and “Oracle Java” is that it is open-source and it is license-based. Oracle Java is efficient when it comes to performance and stability.
How to Install the Java on Ubuntu
In Java, various platforms are available to download
- Java Standard Edition (Java SE)
- Java Micro Edition (Java ME)
- Java Enterprise Edition (Java EE)
- JavaFX
we are going to be downloading the standard edition of Java, i.e., Java SE.
In the different Java platforms, there are various Java implementations that we can install on our system. Ubuntu repositories are used to provide an open-source Java implementation that is known as Open JDK and Open JRE. Oracle Java is another way of implementation that you can download.
Install the OpenJDK and OpenJRE
- Launch the terminal by pressing the Ctrl + Alt + T on the keyboard.
- Update the system's package list.
sudo apt-get update
- Issue the following command to download the OpenJDK.
- Type the lettery and press Enterto confirm the installation.
Verify that if Java was successfully installed on your system by typing the java --version in the terminal. If the result displays the version information related to the Java packages, then Java is successfully installed on your system.
Download and Install Oracle Java
The Ubuntu repositories do not provide any official Oracle Java package. Therefore, you have to add third-party repositories to download it.
- Open the terminal by pressing the tabs Ctrl + Alt + T.
- Enter the following command to get the add-apt-repository in your system.
- Two repositories are provided with the Oracle Java package and add any of the two PPA repositories to your system.
- Update your system's package list using the apt
- Install Oracle Java 11 in your system.
we can download the Oracle Java package from the official Oracle website as well. To do so:
- Head over to the Oracle Java Download webpage.
- Scroll down the bar till you find theJava SE 11 (LTS) download section.
RE TO SUBSCRIBE
CLOSE
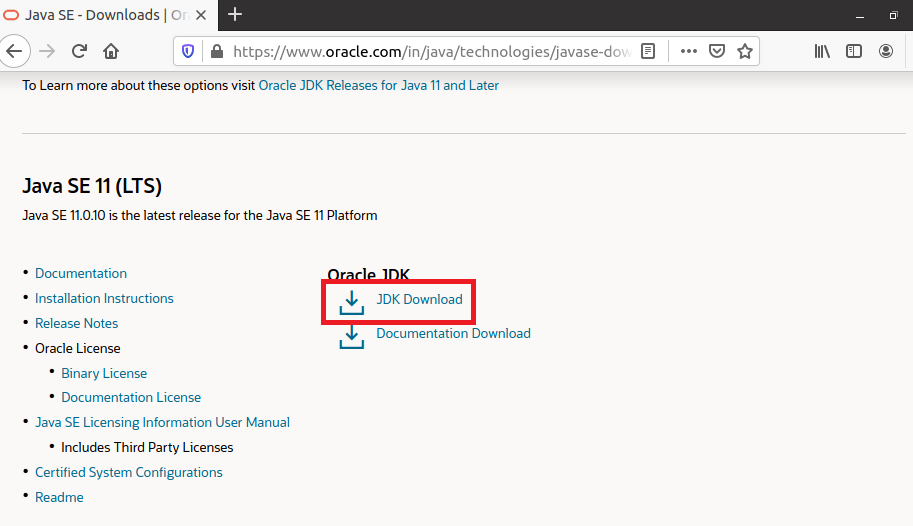
- Download the Linux x64Debian Package from the list of available downloads
- Check that whether I reviewed and accepted the Oracle Technology Network License Agreement for the Oracle Java SE option.
- Click on Download to get the package.
To install the Oracle Java package that you just downloaded then go to the location where you saved the .deb file. Double-click on the file to launch the Ubuntu Software location.
Click on the Installbutton to start installing Oracle Java on your system.
Add the Java to the Environment Variables
If you have installed Oracle Java from the official website then you have to manually set the Java PATH variable on your system.
- Find the directory where the Java is installed on your local storage.
- Issue the given statement in your terminal and replace the path/to/java with the output of the previous command.
- Verify if the JAVA_HOME is the PATHvariable
- Ensure that the Java PATH is properly configured
- path has been set up successfully. The Java directory will be displayed in the output
- Add the Java /bin directory to Remove Java from Ubuntu
Once you're complete with the Java then you can easily uninstall it on Ubuntu. To remove OpenJDK and OpenJRE:
- Launch the terminal using Ctrl + Alt + T.
- Issue the following command to erase the Java from your system.
- the uninstallation process by typing y.
OpenJDK and OpenJRE will be automatically erased from your computer.
The one who has installed the Oracle JDK then there are two ways to uninstall the Java. we can double-click on the.deb package file to open the Software location and then click on the Remove button to uninstall the package.
Alternatively, we can erase the different packages using your system terminal.
- Open up the terminal on Ubuntu.
- Get the JDK package name using pkg and grep
- Remove the package using apt.
- Replace the package name with the output of the previous statement.
- Typethe letter y and press Enter to continue the uninstall process.
Managing Java Installation on Ubuntu
Integrating a database with your Java application has become easier now. JDBC (Java Database Connectivity) is a component of the Java SDK that allows us to add, delete, update, and store records securely containing information.