How To Replace the CMOS Battery
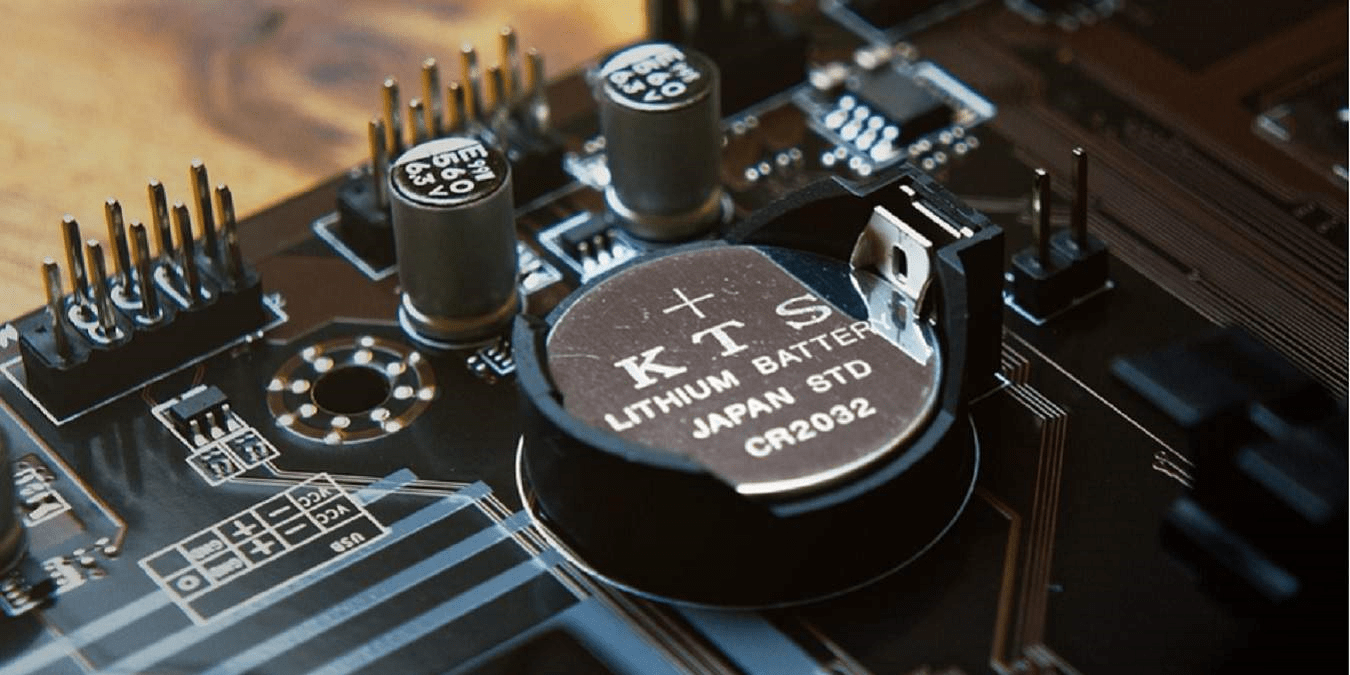
CMOS(Complementary Metal Oxide Semiconductor) stores the information, including date, time, and system firmware setting.
The CMOS battery is responsible for powering up the BIOS firmware in laptops, and that BIOS is responsible for booting up the computer and configuring data flow. Yes, we can boot up the laptop without CMOS Battery, but that will reset the BIOS setting.
Why there is a need to replace the CMOS batteries?
The need for changing the CMOS battery is that if it is not working or it is dead, then it will cause a resetting of the BIOS of the system whenever we turn on the computer.
The setting of date and time is also lost on the system.
If your CMOS battery has any issue, then the system shows the following alert messages or an error when the computer boots up:
- CMOS Read Error
- CMOS Checksum Error
- CMOS Battery Failure
- System battery voltage is low
If you get any of the above alert messages or errors, you most likely need to replace the CMOS battery of the system by performing the following steps in a given sequence:
First Step
We need to plug out the power supply cord of the computer for safety measures and if you have a laptop, then take out the battery, which gives the power supply to it.
While working with a CMOS battery, keep your place clean because it helps in work performance.
Identify the computer case and screw's location, then open it.
No standard process exists for opening any case because it depends on the manufacturers.
Second Step
Locate the CMOS battery.
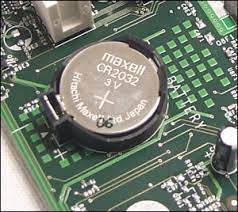
When you have opened the Case, then locate the motherboard.
Make sure you can access and remove the CMOS battery without interruption. Generally, most computers use a coin cell type CMOS battery.
If you cannot find the CMOS, then you can refer to the motherboard documentation you get with it, and if you don't have the documentation, you can call the manufacturer. It is also generally available on the internet.
The battery is removed by sliding the clip that held it down the board.
Never bend the clip; it can cause the loosening of the CMOS battery or not staying in its place.
Also, remember that you might have to remove some parts and cables to access the CMOS Battery.
Third Step
Obtain battery information.

It's a misery that, generally,
not many manufacturers mention the details of the CMOS battery.
It is recommended to write the general specifications of the battery, like the voltage, wiring, etc.
If possible, you can take out the battery and take it to a retail shop to get the exact model.
Fourth Step
Remove the battery.
If you're lucky that your computer uses a coin cell battery, removing it is relatively more straightforward than other battery types.
You can use your finger's tip to grab the battery and pull it out of the socket which holds it.
If you find that the socket has a clip on it, then with one hand, you have to remove the hook and the battery.
Note: You should have a little knowledge of Electrostatic Discharge and its potential dangers.
Here is a twist: not all the CMOS batteries are removable. Few manufacturers only allow replacement batteries.
Unfortunately, if any motherboard has other types of battery than the coin cell battery, you can contact the manufacturer or look for the solution on the provided document.
A jumper must be installed on the motherboard if the CMOS battery of any computer is not replaceable.
Fifth Step
Insert the new battery.
Finally, when you have purchased a new battery, remove the old battery, then you have to insert a new battery at the same spot, then you are ready to go.
Computers with irreplaceable batteries provide a secondary slot for installing a secondary CMOS battery.
Final Step
Enter CMOS values.
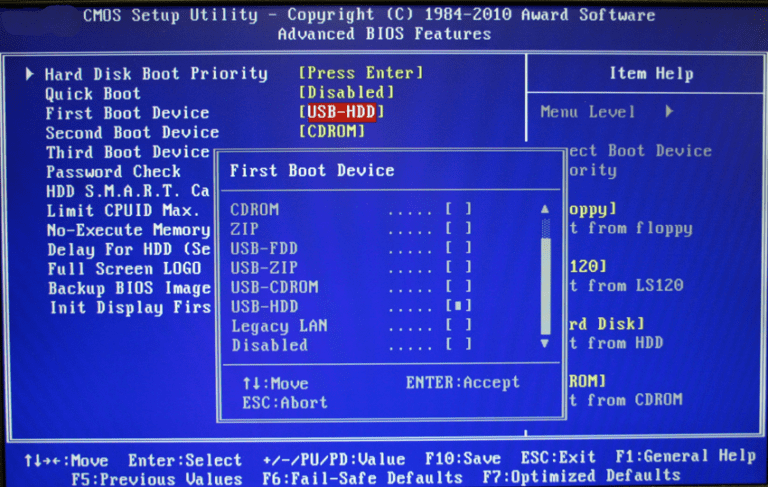
When you have completed all the procedures and finally installed the new CMOS battery on the motherboard, you have to turn on the Computer to set the values of CMOS.
Change the values of CMOS to Defaults and proceed to save the setting that way, you don't need to change the CMOS value every time you turn on the device.