What is a Case fan?
A case fan, sometimes known as a system fan, is a component of a computer that is attached to the front or rear of the device's chassis. Case fans aid in cooling down and expelling heated air from the case. Without them, parts of your computer may experience malfunctions, damage, or even a crash. A computer fan has two functions: it may push warm air out of the computer case while also pulling in cooler air from the outside and into the computer case. It can also flow air across a heat sink to cool a CPU or other computer component.
Types of fans found in computers
- Case fan
- CPU fan
- Power supply fan
- Video card fan
Here, we are going to discuss Case fan.
Case Fan
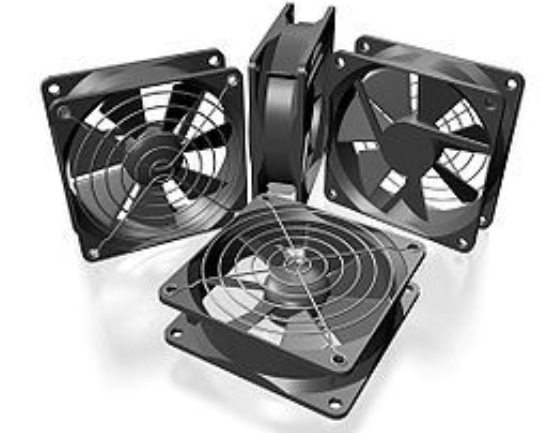
Case fans help in cooling down and expelling heated air from the case. They come in a wide range of sizes, but the most popular ones are 80mm, 92mm, and 120mm (12cm) with a 25mm width. The heated air is expelled from a computer case, A/V equipment case, or other electronic equipment using an electric fan. The fan speed can be changed as needed and is typically temperature controlled. The cooling system often consists of multiple fans, including the power supply fan, CPU coolers, heat sinks, and case fans.
Installing Case fan
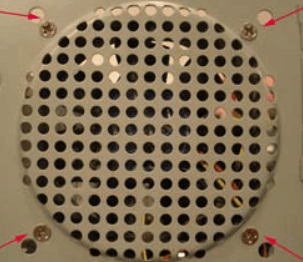
A computer case's front, rear, or side is typically where case fans are installed (connected) using four screws, snap-in brackets, or a combination of the two. Depending on the type of computer case, case fans mounted on the front can be fastened using screws or snap-in brackets. If the case fan is brand-new, the installation screws are already included.
Let's look at how to install a computer case fan:
Step 1: Locate a free fan slot on your computer. These are typically located at your case's front, top, and back; some models could have one or two slots on the case floor.

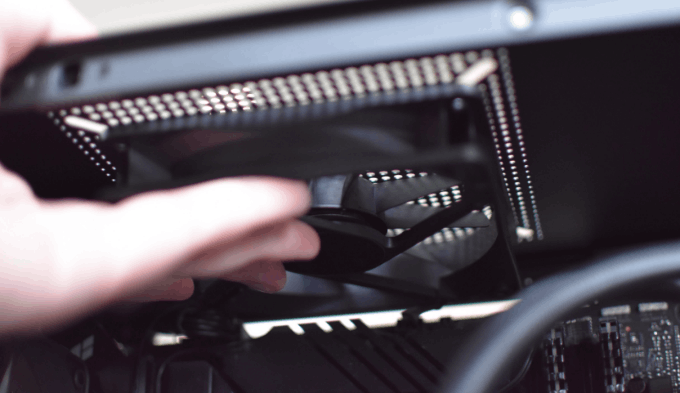
Step 2: With one hand, position the fan so that the screw holes match the holes in the casing. Try to position the cable such that it faces your motherboard or the fan hub since doing so will prevent it from being stretched over the fan once it is connected.
Note: When adding a fan to a case side without mounting brackets or screw holes, the case needs to be physically altered to make room for the fan.
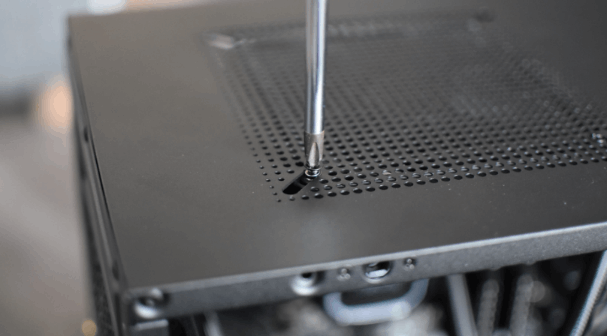
Step 3: With your other hand, take your screwdriver, and mount the fan to the casing using the screws already there. After you've inserted the first screw, it ought to be secure enough that you may release the fan and use both hands to make any necessary adjustments to the screw alignment, tighten the screws more quickly, and so on.
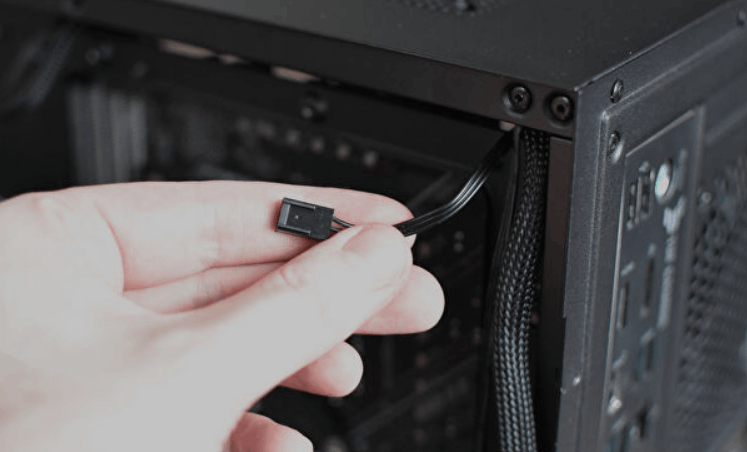
Step 4: Connect the cable now that the fan is in place. Start by tucking it beneath the motherboard tray into the cable management area, or at the very least, away from other components.
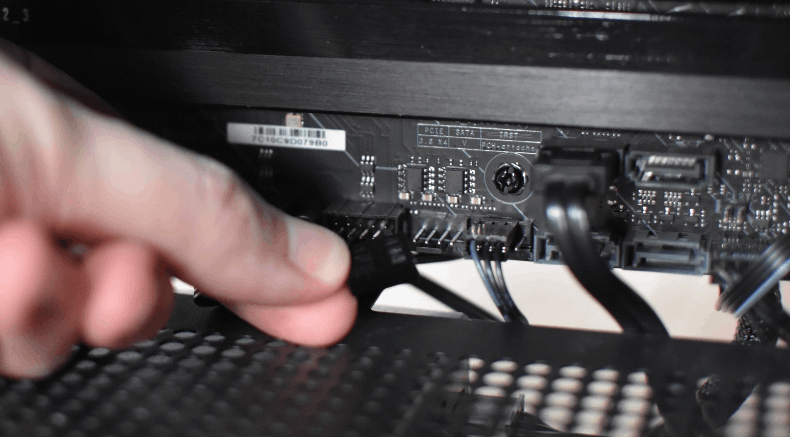
Step 5: Connect the wire to the system fan header or fan hub 4-pin connector on your motherboard.
Note: A case fan can operate without requiring drivers to be installed.
Ensure that the fan is blowing air in the proper direction with your hand after turning on the computer.
Removing Case fan
It may be essential to clean or replace a fan, which may be done by simply removing the computer's case fan. The procedures for removing the majority of computer case fans are listed below.
Unplug the fan.
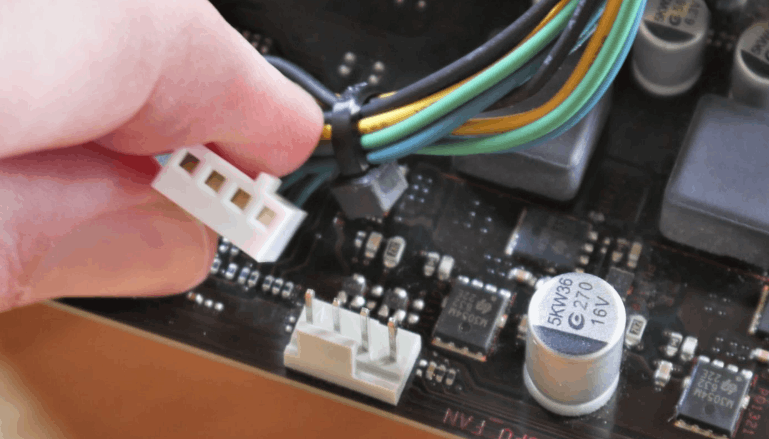
The computer's motherboard should be connected to the fan via a two, three, or four-pin power cable. Find the location of this cable's motherboard connection, then remove it by gripping the connector end and pulling it up on the connector. Before being removed from the computer, the fan has to be disconnected from the motherboard or another power source.
The image displays an illustration of a typical power fan cable and connector.
Remove the fan's screws or clips.
Remove the fan from the computer once it has been detached from the motherboard or power supply. Many case fans include little clips that can be pulled or pressed into the case, or they are screwed into the case.