What is a TAB stop?
The place where the cursor stops after pressing the Tab key is known as a tab stop. The carriage moves to the next tab stop when you click the tab key. Tab stops are explicitly configured. When you press the Tab key, the cursor or insertion point moves to the following invisible tab stop. Although there are no tab stops in the text file, the word processor keeps track of them to respond to the Tab key properly. In word processors, tab stops are employed to enable user text alignment. Modern word processors expand this idea by providing tab stops with an alignment attribute, which automatically aligns the text to the left, right, or center of the tab stop itself. Such tab stops are paragraph-specific features that can be relocated or removed at any time.
Tip
Never use the spacebar to align or position text since it can mess up the formatting. The text should be aligned using one of the alignment options or the Tab key and tab stops.
The tab selector, also known as the tab indication in Microsoft Word, is a button to the Ruler's left that offers alternatives for tab markers. Each left tab stop is shown in the Ruler in the Microsoft Word image below as a large "L" sign. If these were in the right tab stops, the "L" would be in the reverse mirror image position.

Types of Tab stops
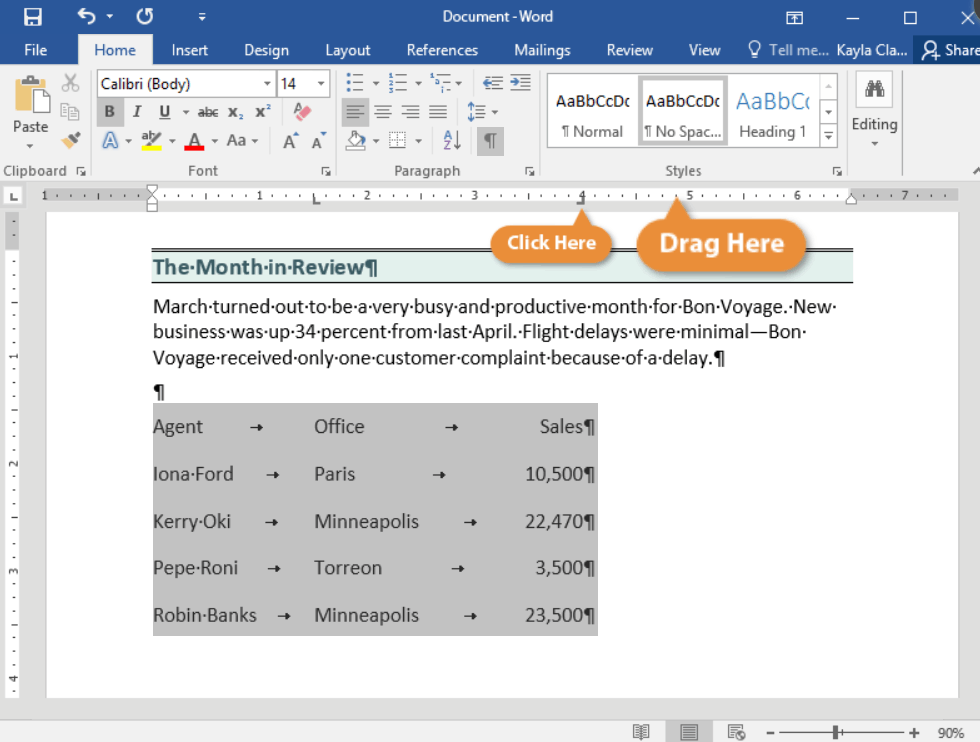
A tab stop is a horizontal setting to align text on a page. In Microsoft Word or word processing programs, at least five types of tab stops are often used. Click the button in the image below to choose one, then keep clicking it until you find the one you want.
Let's see an explanation about each type of tab stop:
| Type Name | Symbol | Description |
| Left | Aligns the tab stop on the left side of the text. | |
| Center | Enables the text to be centered behind the tab stop. | |
| Right | aligns the tab stop on the right side of the text | |
| Decimal | Decimal point alignment for text and numbers. | |
| Bar | At the bar tab, a vertical line character is added. |
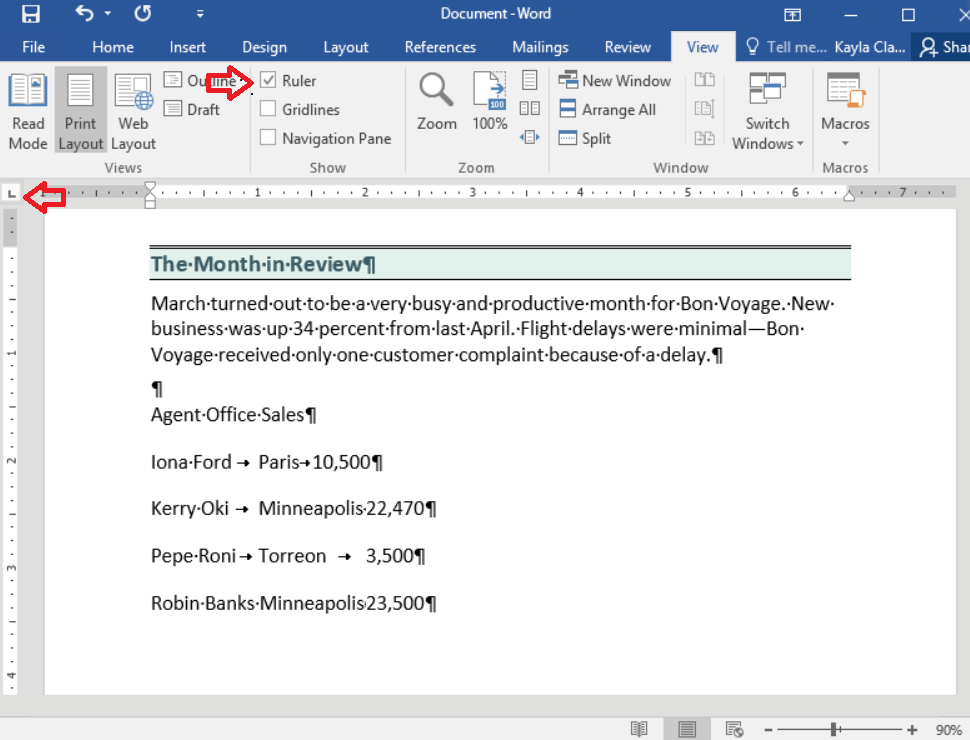
Turn on the Ruler and Formatting Marks:
Before you begin modifying tab stops, be sure to turn on the ruler and formatting marks. It is simple to understand what is happening on your page thanks to the formatting marks, particularly regarding tabs. A ruler is required to add, move, and remove tab stops.
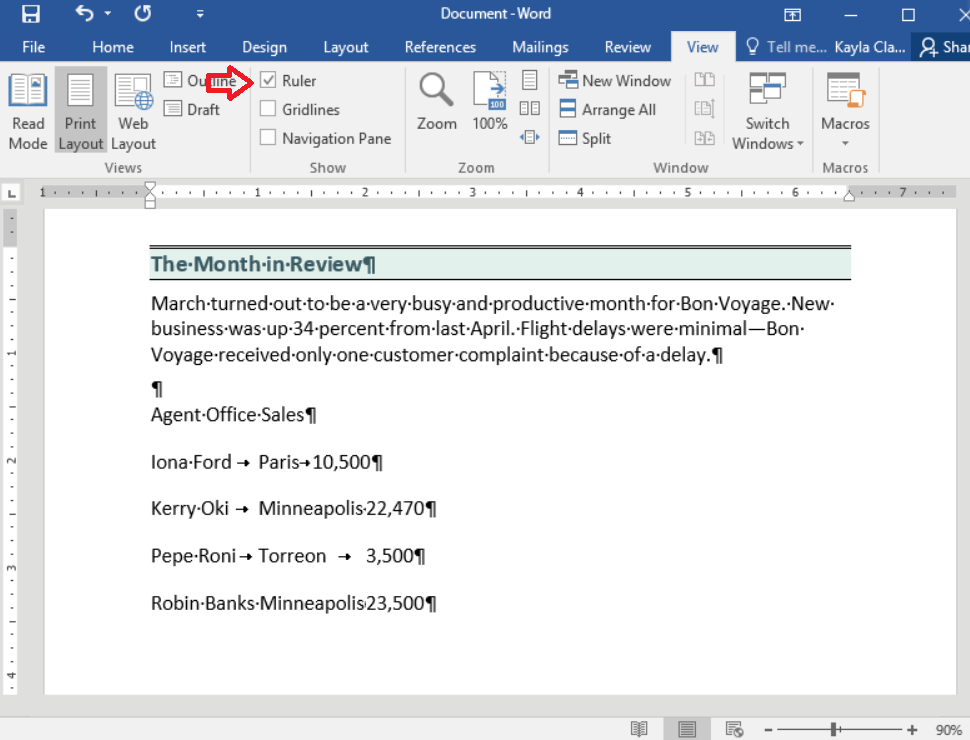
- On the Home tab, select the Show/Hide button.
- On the View tab, click.
- Select Ruler by checking the box next to Show.
How to create a tab stop
Using the Ruler to Set a Tab Stop:
- Choose the text that needs to be aligned.
- Choose the tab stop type you want to employ.
Note: The type of active tab is indicated by the tab icon in the upper-left corner. Click the button to cycle among the various options if you want something else.
- Wherever you want the Tab stop to be placed, click on the Ruler.
Everything is added after the tab is aligned to the tab stop.
Using The Ribbon to set a Tab Stop:
Using the Ribbon, you may also make a tab stop in Microsoft Word.
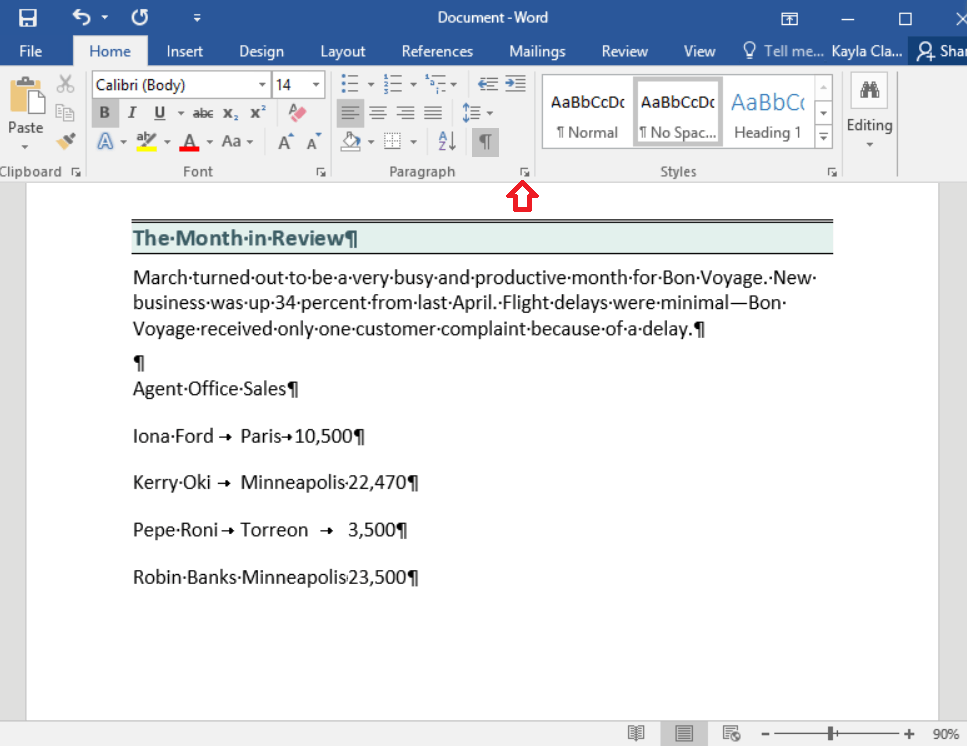
- Use the paragraph options in Microsoft Word. Click the down-and-right arrow located at the bottom-right of the paragraph section.
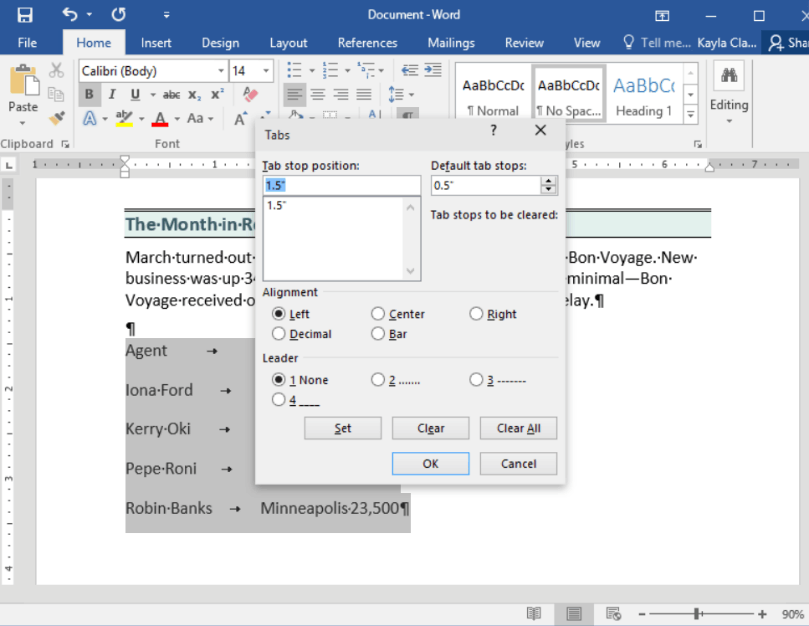
- Click the Tabs button in the lower-left corner of the Paragraph box that appears.
- The window for Tabs settings appears. The tab stop's default value is 0.5. In the text field and list for the "Tab stop position," you can input or modify the settings for extra tab stops.
How to remove a tab stop
Directly from the Ruler, you can change a tab stop's location or remove it entirely. To move a tab stop along the Ruler, click and drag it. Place the mouse pointer above the tab stop and take the following actions to remove the tab stop from the Ruler:
- To remove a tab stop from the Ruler, click it and drag it away.
Note: The text impacted by a tab stop will move as you drag it to a new location on the Ruler.
The text will move to the subsequent tab stop when a tab stop is removed. The text will instead use the half-inch tab spacing by default if another tab stop isn't specified.