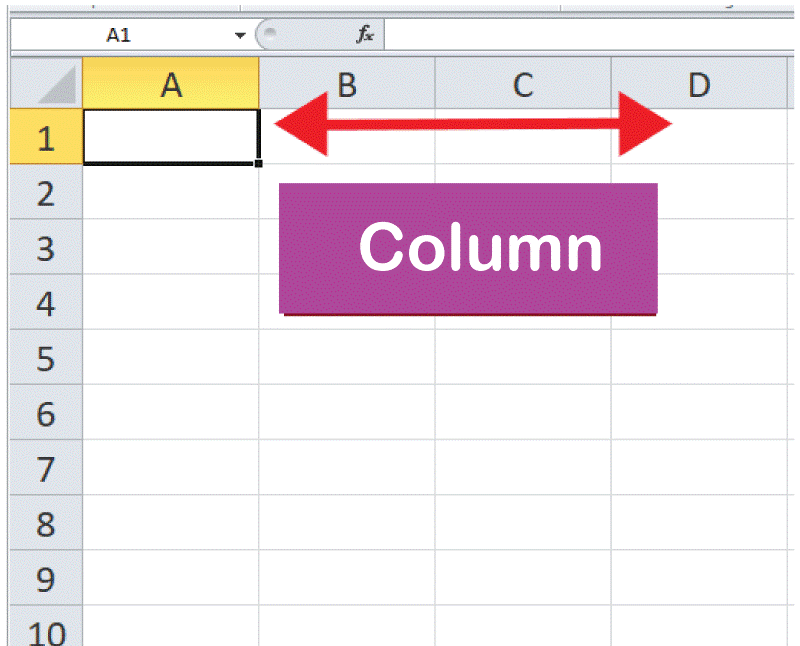
What is a Column?
In the context of databases and spreadsheets, a column is a vertical set of cells or fields containing similar data types. In a spreadsheet program, such as Microsoft Excel or Google Sheets, a column is identified by a letter at the top of the column, such as "A," "B," "C," and so on. In a database, a column is also referred to as a "field," and it is identified by a name, such as "First Name," "Last Name," "Address," and so on.
Each column in a database or spreadsheet is typically designed to hold a specific data type, such as text, numbers, dates, or other information. For example, a spreadsheet might have a column for "Sales Revenue" that contains numeric data and another column for "Product Name" that contains text data. Columns can be sorted, filtered, and searched to help users analyze and manipulate data in the database or spreadsheet.
How to Add or Remove Column
The steps to add or remove a column will depend on the software or application you are using. Here are some general steps that may apply to common applications:
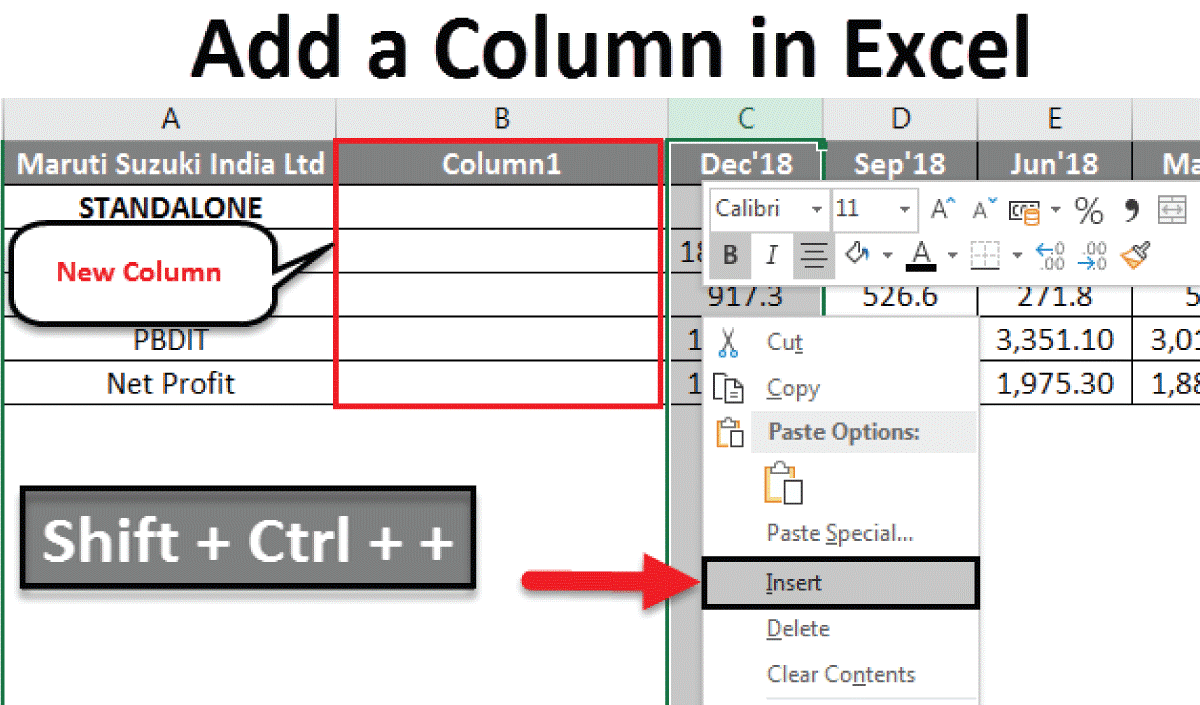
Adding a Column:
1) Open the spreadsheet or database where you want to add a column.
2) Select the column where you want to add the new column to the right.
3) Right-click on the column header and choose "Insert Column" or "Insert Left" from the drop-down menu.
4) A new column will be added to the left or right of the selected column.
If necessary, you can rename the new column header to reflect the data entered into the column.
Removing a Column:
1) Open the spreadsheet or database where you want to remove a column.
2) Select the column that you want to remove.
3) Right-click on the column header and choose "Delete Column" or "Remove Column" from the drop-down menu.
4) The selected column will be removed, and the data in the adjacent columns will be shifted to fill the gap.
5) If you are prompted to confirm the deletion, click "Yes" or "OK" to confirm
How to Hide a Column
To hide a column in a spreadsheet or database, follow these steps:
- Open the spreadsheet or database where you want to hide a column.
- Select the column or columns you want to hide by clicking on the column header(s). Hold down the Ctrl key (Windows) or Command key (Mac) while clicking on the column headers to select multiple columns.
- Right-click one of the column headers and choose "Hide" or "Hide Column" from the drop-down menu.
- The selected column(s) will be hidden from view, but the data in the column(s) will still be present in the spreadsheet or database.
- To unhide the column(s), select the adjacent columns on either side of the hidden column(s), right-click on one of the selected column headers, and choose "Unhide" or "Unhide Column" from the drop-down menu.
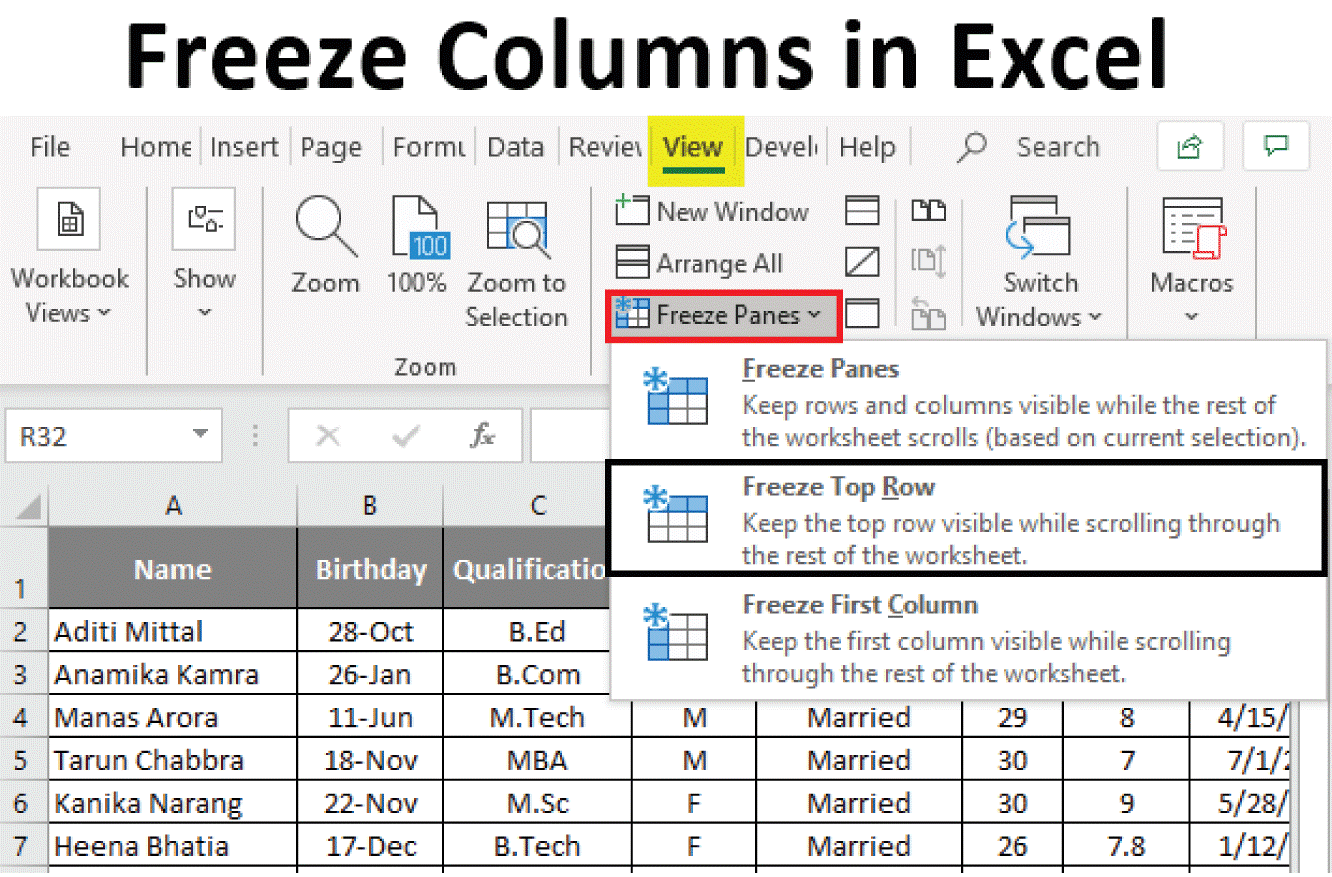
How to Freeze a Column
Freezing a column in a spreadsheet or database allows you to keep a specific column visible as you scroll horizontally through the rest of the data. This is especially useful when working with large amounts of data that extend beyond the screen's width. Here are some general steps to freeze a column:
1. Open the spreadsheet or database where you want to freeze a column.
2.Scroll to the right until the column you want to freeze is the left most visible on the screen.
3.Select the column to the right of the column that you want to freeze.
4. Click on the "View" or "Window" menu (depending on the software or application you are using).
5. Look for an option that says "Freeze" or "Freeze Panes" and select it from the menu.
6. A line will appear to the left of the selected column, indicating that the columns to the left of the line are frozen in place.
You can now scroll horizontally through the data, and the frozen column will remain visible on the left side of the screen.
How to Highlight a Column
To highlight a column in a spreadsheet or database, follow these steps:
- Open the spreadsheet or database where you want to highlight a column.
- Click on the column header of the column that you want to highlight. The entire column will be selected.
- To change the background colour of the selected column, click on the "Fill Color" button or option in the formatting toolbar or menu. A paint bucket icon typically represents this.
- Choose the colour you want to apply to the column from the colour palette or colour picker tool.
- The selected column will now be highlighted with the new background colour.
How to Format a Column
To format a column in a spreadsheet or database, follow these general steps:
1. Open the spreadsheet or database where you want to format a column.
2. Select the column or columns that you want to format. You can do this by clicking on the column header of the column or by dragging the mouse over the cells in the column to select them.
3. Click the "Format" or "Cell Format" button or option in the formatting toolbar or menu. A paintbrush icon or a drop-down menu typically represents this.
4. Choose the type of formatting you want to apply to the selected column. Some common types of formatting include:
- Number format: This allows you to specify how numbers in the column should be displayed, such as currency, percentage, date, time, or custom formats.
- Font format: This allows you to change the font type, font size, font colour, and other font-related settings for the selected column.
- Border format: This allows you to add or remove borders around the cells in the selected column.
- Alignment format: This allows you to specify how the data in the column should be aligned, such as left-aligned, right-aligned, or centred.
5. Adjust the formatting settings as desired. This may involve selecting a specific format from a list, entering a custom format code, or choosing specific options from a dialogue box or menu.
6. Click "Apply" or "OK" to save the formatting changes to the selected column.
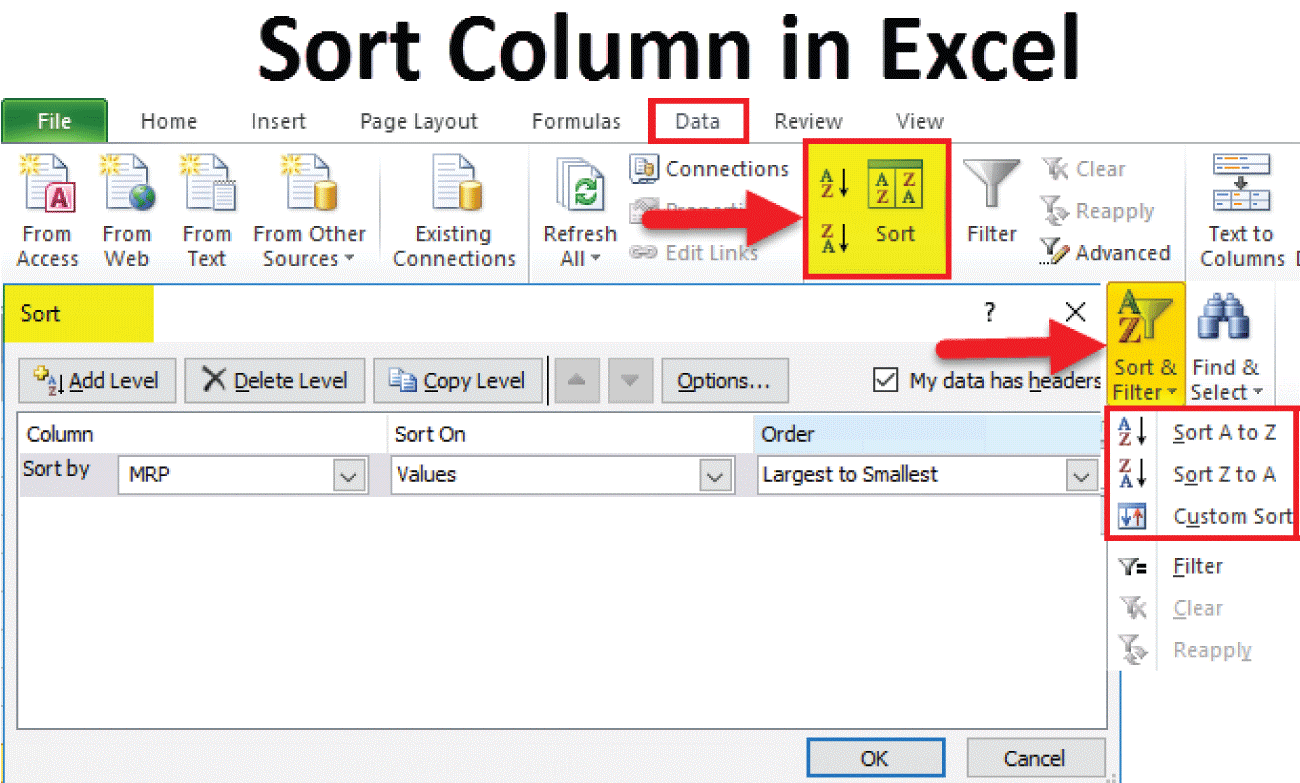
How to Sort Data in Column
To sort data in a column of a spreadsheet or database, follow these general steps:
1. Open the spreadsheet or database where you want to sort data in a column.
2. Select the column or columns that you want to sort. You can do this by clicking on the column header of the column or by dragging the mouse over the cells in the column to select them.
3. Click the "Sort" or "Sort & Filter" button or option in the toolbar or menu. This is typically represented by an A-Z or Z-A icon.
4. Choose the sorting you want to apply to the selected column. Some common types of sorting include:
- Ascending: This will sort the data in the selected column alphabetically or numerically from A to Z or from the smallest to the largest value.
- Descending: This will sort the data in the selected column in reverse alphabetical or numerical order from Z to A or from the largest to the smallest value.
- Custom: This will allow you to specify a custom sort order based on specific criteria or conditions, such as sorting by a specific date range or multiple columns.
5. Adjust the sorting settings as desired. This may involve selecting a specific sorting option from a list, entering a custom sorting rule, or choosing specific options from a dialogue box or menu.
6. Click "Apply" or "OK" to save the sorting changes to the selected column
How to Filter Data in Column
To apply a filter in a column of a spreadsheet or database, follow these general steps:
1. Open the spreadsheet or database where you want to apply a filter in a column.
2. Select the column or columns that you want to filter. You can do this by clicking on the column header of the column or by dragging the mouse over the cells in the column to select them.
3. Click the "Filter" or "Sort & Filter" button or option in the toolbar or menu. A funnel icon typically represents this.
4. Choose the type of filter that you want to apply to the selected column. Some common types of filters include:
- Text filter: This will allow you to filter the data in the selected column based on specific text values, such as containing or not certain words or phrases.
- Number filter: This will allow you to filter the data in the selected column based on specific numerical values, such as greater than, less than, or between certain numbers.
- Date filter: This will allow you to filter the data in the selected column based on a specific date or time values, such as before, after, or between certain dates.
- Custom filter: This will allow you to specify a custom filter based on specific criteria or conditions, such as filtering by a specific date range or by multiple columns.
5. Adjust the filter settings as desired. This may involve selecting a specific filter option from a list, entering a custom filter rule, or choosing specific options from a dialogue box or menu.
6. Click "Apply" or "OK" to save the filter changes to the selected column.
Difference Between Column and Rows
Columns and rows are fundamental components of tables or spreadsheets used to store and organize data. The main difference between columns and rows is their orientation.
Columns run vertically, from top to bottom, and are identified by letters (A, B, C, etc.) in most spreadsheet applications. Each column typically contains specific data or information, such as names, dates, numbers, or descriptions.
Rows run horizontally, from left to right, and are identified by numbers (1, 2, 3, etc.) in most spreadsheet applications. Each row represents a record or a set of related data points and contains the values or attributes for each column in the table.
Columns and rows create a grid-like structure that can store, manipulate, and analyze large amounts of data.